Key Takeaways
- Monogrammed ice turns an ordinary whiskey pour into a branded moment, but the outcome depends on mold engineering, not just artwork.
- A customizable ice cube trays program can be specified across cavity design, product shape, size, color, logo, and packaging [K1].
- Most projects move through design review, sampling, tooling, production, and inspection — and each stage needs a named decision owner on the buyer side [K3].
- Buyers should plan MOQ, tooling, sampling, and lead-time questions before design freeze, not after [K3].
- The strongest use cases are distilleries, hotel and cocktail bars, restaurant groups, corporate gifting, and premium whiskey subscription boxes.
1. Introduction
Whiskey service has become a visible brand surface. A distillery tasting room, a hotel bar, or a corporate gift box is judged in the first few seconds — and in a whiskey glass, the single largest visible object is the ice. A clear cube carrying a company initial, a family crest, or a two-letter monogram does something a printed coaster cannot: it puts the brand inside the drink, at the exact moment the guest is paying attention.
That is why demand for monogrammed ice has grown alongside the broader premiumization of spirits service. The problem is that most buyers approach it the wrong way around. They start with a logo file and a budget, then discover that legibility, ice clarity, release from the mold, and shipping weight are all design decisions that were effectively locked in before the first sample was ever frozen.
This article explains how monogrammed ice is actually produced, what a customizable ice cube trays project can realistically customize, how the development process runs from design file to shipped carton, and what buyers should verify before approving a sample. It is written for bar operators, distillery marketing teams, promotional product buyers, and private-label brands who want a defensible sourcing plan rather than a novelty item.
2. Why Initialed Ice Changes the Whiskey Serve
Core conclusion: monogrammed ice is a service and branding tool first, and a novelty second. It earns its cost when the ice is visible, repeatable, and consistent across hundreds of serves.
The reasoning is straightforward. Ice occupies the center of the glass and sits at eye level. Unlike a garnish, it does not disappear after the first sip. Unlike a branded glass, it can be produced in-house on demand, so a venue can run initials every night rather than only on special events. For a distillery, an initialed cube in a tasting flight creates a photographic moment that guests share — free distribution that a printed menu rarely achieves.
There is also a practical service benefit. Standard bagged ice varies in shape and melt rate, which makes drink consistency hard to control. A fixed cavity geometry produces a repeatable cube, so bartenders can standardize dilution across a menu. That consistency matters more at scale than any single serve.
Where this breaks down is legibility. Reversed or recessed lettering reads clearly; shallow surface marks disappear the moment the cube frosts or the drink is poured. If a buyer wants a two-letter monogram to be readable across a bar, the relief depth and the letter proportions have to be designed for the viewing distance, not for a flat artwork preview. This is the point where a supplier's mold engineering experience shows, and it is worth asking how a proposed cavity design will read in a real glass before approving artwork. Buyers evaluating this stage can review how custom silicone ice molds are specified for cavity, shape, and logo detail as a starting reference [K1].
Practical advice: define the viewing scenario first — handed to a guest, photographed on a bar top, or floating in a rocks glass — and specify letter height and relief depth from that distance.
3. What Is Actually Customizable in an Ice Mold Program
Core conclusion: a well-run ice mold project is not just "a tray with a logo." It is a configurable product with six independent decision areas, and each one has a cost and a lead-time consequence.
According to documented product-line information, typical customization for custom silicone ice molds covers cavity design, product shape, size, color, logo, and packaging [K1]. Those six areas are not equally important, and confusing them is a common source of rework.
| Customization area | What it controls | What the buyer must specify |
|---|---|---|
| Cavity design | Letter or shape geometry, relief depth, release behavior | Monogram, letter height, raised vs. recessed, minimum wall thickness |
| Product shape | Cube, sphere, block, or specialty form | Cube face length, corner radius, stackability |
| Size | Ice volume, melt rate, glass fit | Finished cube dimensions and tray footprint |
| Color | Tray appearance, brand match, promotional fit | Color reference, food-contact suitability |
| Logo | Branding on the mold or the packaging | Placement, line weight, whether it appears on the ice or only the tray |
| Packaging | Retail, gifting, or foodservice presentation | Sleeve, box, insert, private-label artwork |
The extended portfolio information also places ice cube trays, ice ball trays, and ice block molds alongside popsicle molds and soap molds in a broader silicone mold family [K2]. That matters commercially: a supplier already producing multiple mold types usually has existing cavity tooling logic that can shorten development. It also means buyers can consolidate a promotional order — monogrammed whiskey trays for a spirits brand, novelty trays for a gift-with-purchase campaign — into a single project rather than running two supplier relationships.
Color choice deserves a caution. A tray color is a branding decision, but the material and colorant still have to be appropriate for a food-contact, freezer-to-serve application. Buyers should ask for the material specification in writing rather than assuming that an attractive color swatch implies suitability.
Practical advice: rank the six areas by business importance before the first supplier call. If monogram legibility is the top priority, say so explicitly — otherwise a supplier may optimize for tray appearance or unit cost instead. Working with a manufacturer that handles silicone OEM/ODM production across household, kitchen, and promotional categories makes it easier to keep those priorities in one project brief [K2].
4. From Design File to Shipped Trays: How the Project Runs
Core conclusion: the difference between a smooth ice mold launch and a costly one is almost always sequencing — resolving design, sampling, and tooling decisions in the right order.
Documented content topics for this product category describe the project path as design review, then sampling, tooling, production, packaging, and quality inspection — with MOQ and lead-time planning running alongside rather than at the end [K3]. A practical sequence looks like this:
- Brief and use case — Where will the ice be used? Glass size, serve volume, guest volume, and whether the tray runs in a kitchen or a bar.
- Design file preparation — Monogram artwork, letter proportions, cavity dimensions, and any logo placement on the tray itself. This is a documented preparation topic in its own right [K3].
- Design review — Confirm release behavior, wall thickness, stacking, and whether the design can actually be molded at the target size.
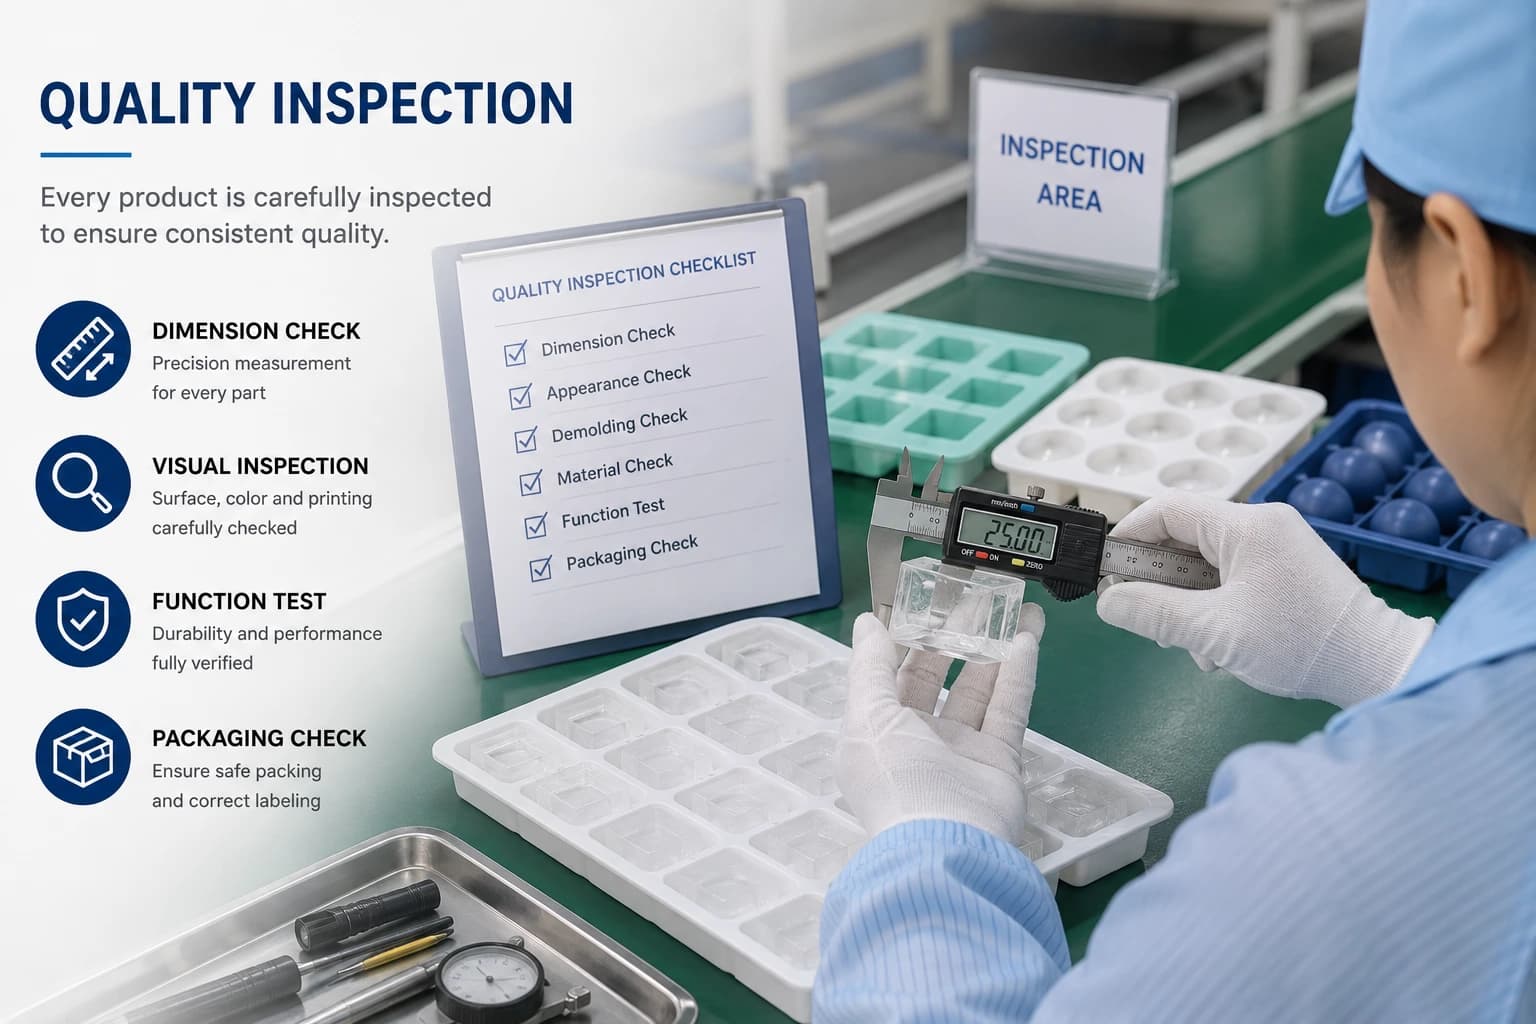
- Sampling — Freeze real cubes, serve them in the real glass, photograph them, and check legibility under bar lighting.
- Tooling — Commit to the cavity design once the sample is approved, not before.
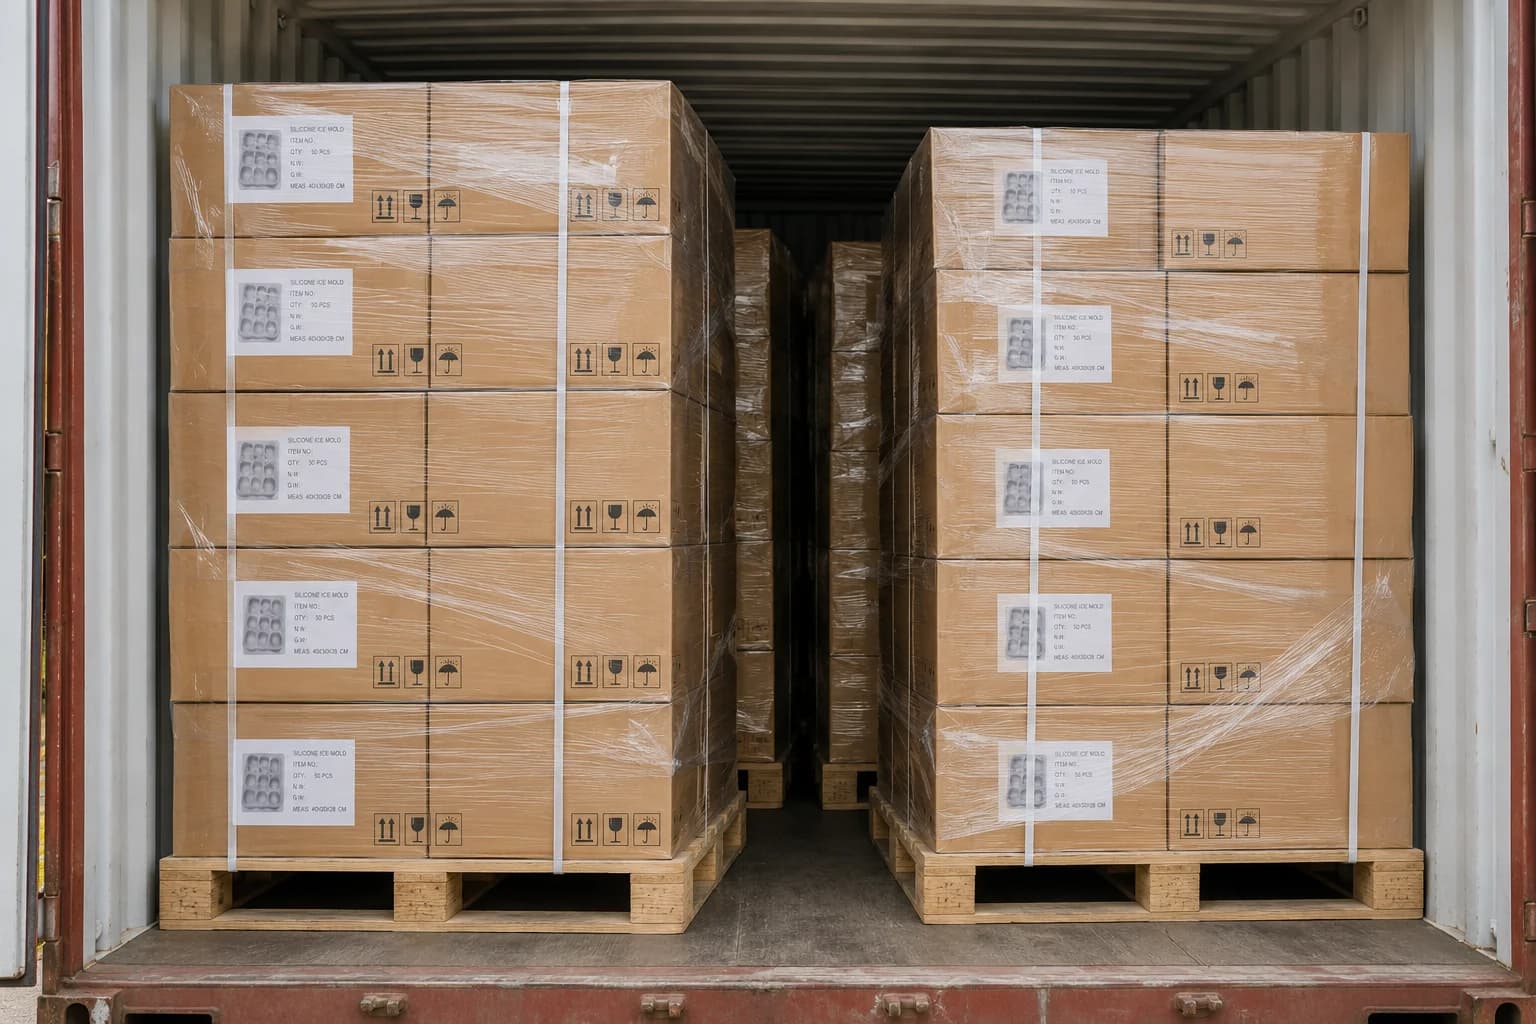
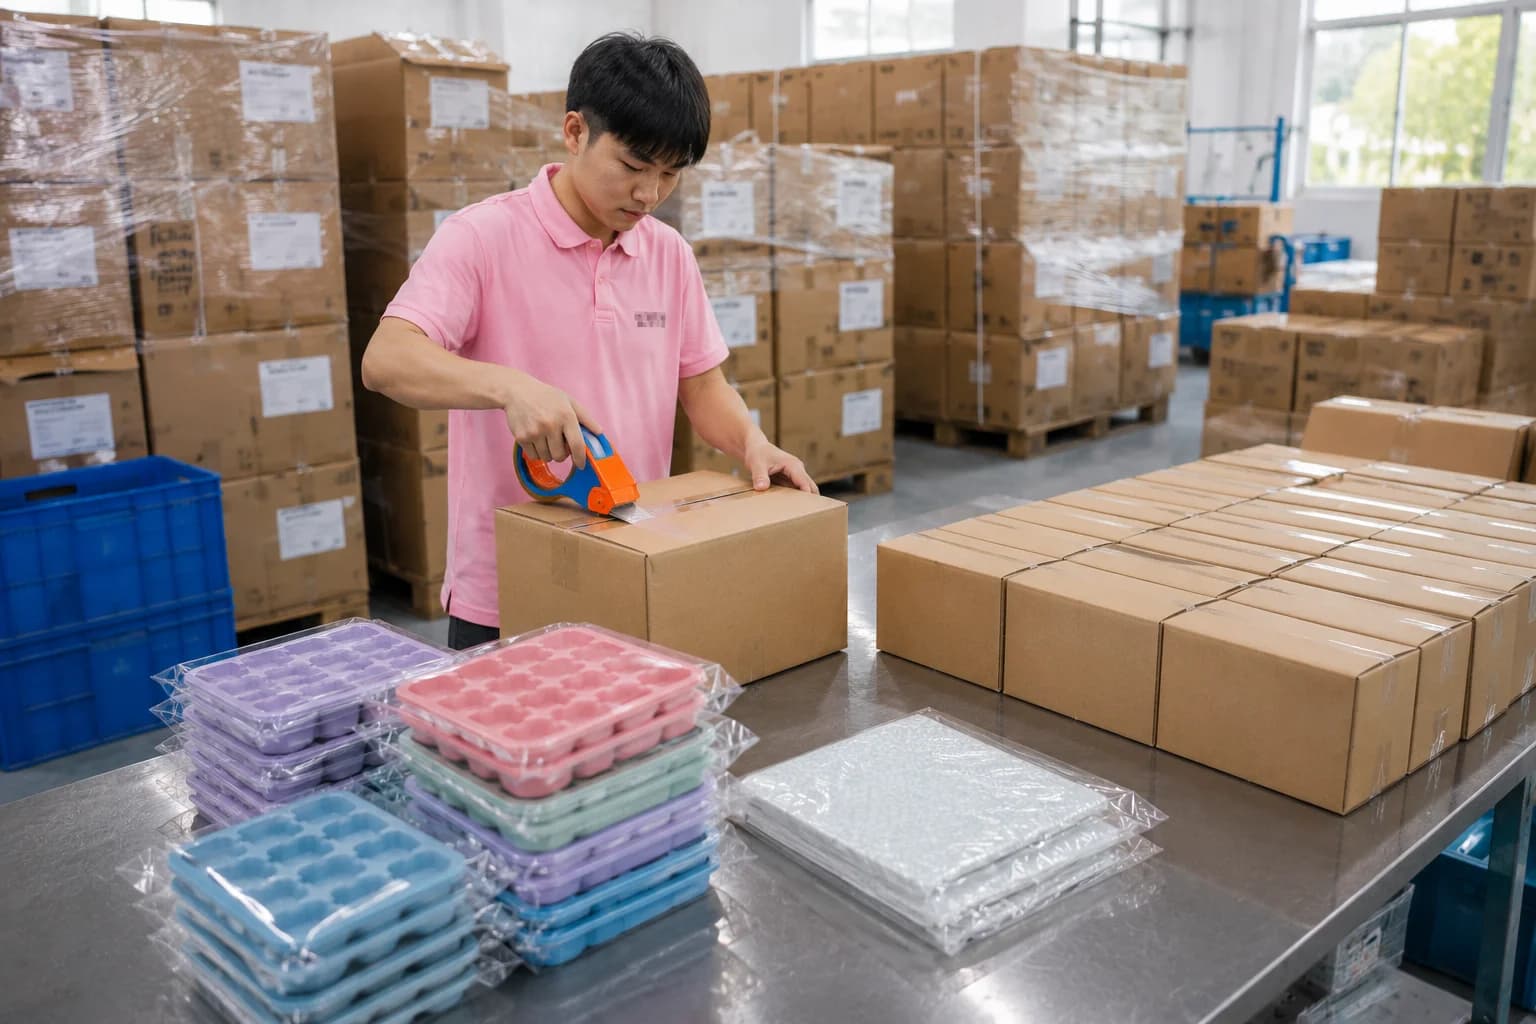
- Production, packaging, and inspection — Production run, packaging assembly, and pre-shipment inspection against an agreed checklist [K3].
A recurring failure mode sits between steps 4 and 5. Buyers often approve a sample after looking at a photograph taken under bright studio light, then discover at scale that the same cube reads faintly under dim bar lighting. Build the viewing test into sample approval, and document the approved sample so production has a physical reference.
The second recurring failure is underestimating packaging. Monogrammed ice is frequently sold as a gift or retail product, which means the packaging carries as much brand weight as the tray. Deciding on a plain foodservice carton versus a printed retail sleeve changes artwork timelines, MOQ structure, and inspection criteria, so it should be raised during the brief rather than after production.
Practical advice: appoint one internal owner for sample approval and one for pre-shipment inspection, and keep both decisions on the same written checklist. Buyers new to silicone sourcing can review a structured overview of custom silicone product development, including design-file preparation and sampling, as a planning baseline [K3].
5. Key Considerations and Buyer Checklist
Before committing to a monogrammed ice program, work through the following.
- Legibility boundary: if the monogram must be readable at one meter, relief depth and letter size must be designed for that distance. Flat surface marks will not survive frosting.
- Melt and dilution: a larger cube melts more slowly and dilutes less. Cube size is a service decision, not only a mold decision.
- MOQ and tooling: ask how MOQ relates to cavity count and color, and whether tooling cost changes with design complexity [K3].
- Sampling rounds: clarify how many sampling rounds are included and what triggers a new tooling charge.
- Compliance: market-specific requirements vary. Plan compliance around documented, applicable standards rather than accepting broad certification claims [K3].
- Supplier fit: check whether the manufacturer supports the categories you actually need — household, kitchen, baby, pet, and promotional silicone products are covered under a broader portfolio, and ice trays sit within promotional and household ranges [K2].
- Supplier values: quality statements are worth reading. One manufacturer's published philosophy commits to making products responsibly, serving customers helpfully, and contributing to the industry with accountability [K4]; public background information describes a custom silicone manufacturer and OEM/ODM provider founded in 2013 serving international B2B buyers [K5].
6. FAQ
Q1. Can initials be added to ice without a fully custom mold?
Only partially. Existing trays can sometimes be adapted if the letter geometry fits an available cavity, but a true monogram — where letter shape, relief depth, and cube size are designed together — generally requires a dedicated cavity design. That is why cavity design is listed as a core customization area rather than an add-on [K1].
Q2. How long does a monogrammed ice tray project take?
Timing depends on design complexity, the number of sampling rounds, and tooling requirements, so no single figure applies to every project. The practical approach is to ask a supplier for a stage-by-stage schedule covering design review, sampling, tooling, production, and inspection, and to treat MOQ and lead-time planning as part of the initial brief rather than a later conversation [K3].
Q3. Does ice clarity affect the mold design?
Yes. Clear ice and cloudy ice behave differently in a cavity, and the same letter geometry can read sharply in one and faintly in the other. Clarity is driven mainly by the freezing method, but the mold design determines whether the letter detail is deep enough to survive frosting.
Q4. What should be checked before approving a production run?
At minimum: cube dimensions against the specification, monogram legibility in realistic lighting, release behavior after repeated freeze cycles, tray color against the approved reference, packaging artwork and fit, and the pre-shipment inspection checklist agreed with the supplier [K3].
7. Conclusion
Monogrammed ice is worth doing when it is treated as a designed product rather than a novelty order. The brands and venues that get the most from it define the serve first — glass, viewing distance, guest volume — then let cavity design, cube size, color, and packaging follow from that. The customization surface is genuinely broad, covering cavity design, shape, size, color, logo, and packaging [K1], and the process is well established when design review, sampling, tooling, and inspection are sequenced properly [K3].
For a first project, the sensible next step is a scoped brief: one monogram, one cube size, one tray format, one packaging direction, and a written approval checklist. That brief is what turns an eye-catching idea into a repeatable, brand-consistent whiskey service.