Key Takeaways
- Ice is the one ingredient at a whiskey party that you fully control. A single large sphere melts more slowly than several small cubes, so it changes how the pour evolves from the first sip to the last.
- Clear ice is a process problem before it is a mold problem. Directional freezing and filtered water usually matter more than which tray you buy.
- Silicone ice ball trays are easy to release and tolerate both freezer and warm-water demolding. Food-grade silicone in this category is odorless and rated from -40°C to 240°C (-40°F to 464°F) [K5].
- For bars, brand launches, and hotel programs, custom silicone ice molds support cavity design, shape, size, color, logo, and packaging customization [K1]. Confirm availability, dimensions, MOQ, tooling, and lead time before quoting or publishing specs [K4].
- Plan one ice ball per pour plus a small buffer, and start freezing at least 24 hours ahead.
1. Introduction
A whiskey ice ball party sounds simple: buy whiskey, buy ice, invite people. In practice, most hosts run into the same three problems. The ice is cloudy, so the glass looks dull. The spheres crack or refuse to release from the tray. And the pours turn watery before the second round, which flattens the tasting you spent money on.
None of these problems are about expensive whiskey. They are about process — how the ice is frozen, how the molds are built, and how the serving flow is paced. A host who gets those three things right can run a compelling tasting with mid-range bottles and a $20 tray. A host who ignores them will waste good whiskey on bad ice.
This article covers the full setup for a whiskey ice ball party: why sphere ice behaves differently from cubes, what gear genuinely earns its place on the table, how to produce clear ice balls at home, how to sequence a tasting for six to ten guests, and how to source custom branded ice molds if you are running this at bar or event scale. If you have been searching for practical, non-hyped guidance on ice tray whisky setups, this is written to be that reference.
2. Why Ice Geometry Decides How Your Whiskey Tastes
Core conclusion: The shape of your ice controls the dilution curve, and the dilution curve controls how the whiskey tastes over 20 minutes.
A sphere has the lowest surface-area-to-volume ratio of the common ice shapes. For the same volume of frozen water, less surface is exposed to the liquid, so the melt rate per unit of chilling is slower. That is the mechanical reason sphere ice became standard in whiskey bars: it chills the pour without turning a 45 ml serve into a weak highball within five minutes.
Three practical consequences follow:
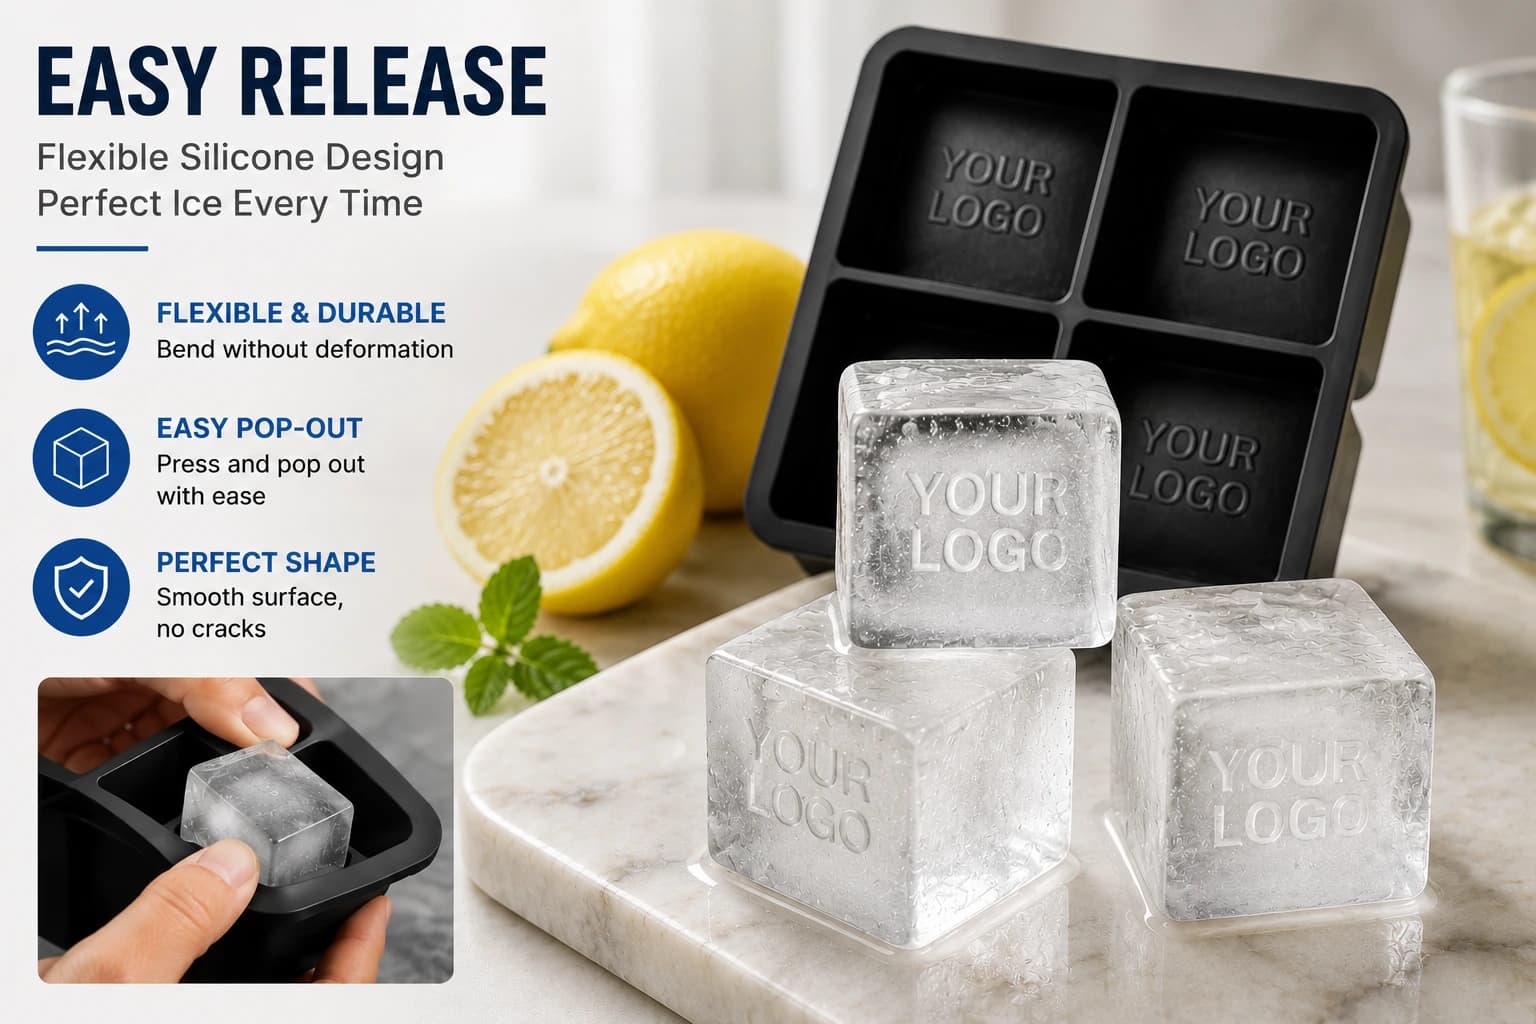
- Glass compatibility comes first. A 2-inch (roughly 5 cm) sphere is the common working size, but it only works if it fits through the mouth of your rocks glass and still leaves room for liquid. Measure the glass opening before you buy molds in bulk.
- Dilution is not automatically the enemy. Barrel-strength whiskey at 55–60% ABV often improves with a little water. A large sphere gives you that release gradually, which is easier to manage than dumping in a splash from a jug.
- Boundary condition: sphere ice slows dilution, it does not stop it. In a warm room, with a warm glass, and a warm pour, even a large sphere will give up water quickly. Pre-chill your glasses and keep backup balls in an insulated container if the room runs hot.
Scenario: You are pouring four whiskies for eight guests. With small cubes, most glasses will be noticeably diluted by the third whiskey, and the tasting notes you planned will blur together. With one sphere per glass and a 45 ml pour, guests can taste the whiskey at near full strength first, then watch it open up — which is the actual point of the party.
For a manufacturing view of mold structure, branding, and production planning, review RENJIA’s custom silicone ice mold manufacturing capabilities.
3. The Gear List: What You Actually Need
Core conclusion: You need far less gear than most shopping lists suggest. Six items do 90% of the work.
| Gear | Why it matters | Practical spec |
|---|---|---|
| Ice ball tray or mold set | Produces the spheres; quality determines release and clarity | Flexible silicone preferred for demolding; check stated temperature range [K5] |
| Second tray (or a spare set) | One tray rarely covers a full guest list in a single freeze cycle | Freeze in batches, 24 hours per cycle |
| Insulated cooler or tub | Holds finished balls so they don't fuse together in the freezer | Keep separate from food; line with a clean towel |
| Ice tongs or a small scoop | Handling ice with hands transfers heat and dirt | Metal tongs, chilled |
| Jigger | Consistent pours make a tasting comparable | 25 ml and 45 ml measures cover most serves |
| Rocks glasses, pre-chilled | Pre-chilled glass slows first-minute melt | Short, wide base, mouth wider than your sphere |
Two optional additions are worth considering. A water dropper or pipette lets guests add controlled drops of room-temperature water to higher-proof pours. A small drip tray or folded cloth under each glass keeps the table from becoming a puddle — a small detail that matters when eight people are swirling whiskey for an hour.
What you can skip: whiskey stones, expensive branded chillers, and decorative ice molds that produce shapes too thin to chill anything. Ice that melts slowly and looks clear does the job; novelty shapes mostly change the photograph, not the drink.
4. How to Make Clear Ice Balls for a Party
Core conclusion: Clear ice comes from freezing water directionally so dissolved air and minerals are pushed to one end, not trapped throughout the block.
Cloudiness forms because air bubbles and dissolved solids get trapped as ice freezes from all directions at once. Control the direction and you control the clarity.
A repeatable home process:
- Start with the right water. Filtered or distilled water reduces dissolved minerals, which reduces haze. Tap water with high mineral content will show cloudiness even with good technique.
- Freeze directionally. The most common home method is an open insulated cooler placed in the freezer with the lid off. Water freezes from the top down; the air and impurities concentrate at the bottom, leaving a clear upper block.
- Wait a full cycle. In most home freezers this takes roughly 24 hours, sometimes closer to 36 depending on freezer temperature and container size. Do not rush it — partially frozen blocks shatter when you try to shape them.
- Harvest and shape. Remove the block, let it temper briefly, then cut or carve spheres. Work with chilled tools and cold hands where possible.
- Store finished spheres properly. Keep them in a sealed insulated container in the freezer. Balls stored loosely in a tray will fuse together or pick up freezer odors.
- Release from silicone trays cleanly. If you are using a silicone ice ball tray rather than carving, fill, freeze fully, then flex the tray and briefly rinse the outside with cool-to-lukewarm water. Food-grade silicone with the verified spec of -40°C to 240°C (-40°F to 464°F) handles this range without issue [K5].
Cautions:
- Do not use hot water to force release. Thermal shock can crack the sphere, and cracked spheres melt fast.
- Do not stack trays without support; spheres deform when pressed.
- If your freezer is shared with strong-smelling food, seal the container. Odorless silicone does not mean odor-proof storage [K5].
5. Running the Party: Timeline and Serving Flow
Core conclusion: Most hosting failures happen before guests arrive. A simple timeline removes the improvisation.
| When | Task |
|---|---|
| 48–36 hours before | Start first clear-ice batch; clean and pre-chill glasses |
| 24 hours before | Start second batch; confirm guest count and pour sizes |
| 4 hours before | Move finished spheres to insulated storage; set out jiggers, tongs, water dropper |
| 1 hour before | Remove whiskey bottles from cold storage to bring pours to serving temperature; lay out tasting cards |
| During | One sphere per glass, 45 ml pour, no ice handling with bare hands |
| Between rounds | Replace spheres rather than reusing melted ones |
Serving order matters as much as gear. A common approach is to move from lower-proof, lighter pours to higher-proof, heavier pours, or the reverse if you want guests to start with intensity and finish delicate. Whichever direction you choose, state it out loud before the first pour so guests know what is coming.
Buyers turning a concept into an RFQ can compare these decisions with RENJIA’s OEM silicone product customization process.
For six to ten guests, plan one sphere per pour plus about 20% spare for accidents. If you are freezing in trays that produce four to six spheres per cycle, that means two trays running across two days for a comfortable margin.
6. Custom and Branded Ice Molds for Bars and Events
Core conclusion: If your event or venue needs consistent, on-brand ice at volume, custom silicone tooling is the practical route — but it is a manufacturing project, not a retail purchase.
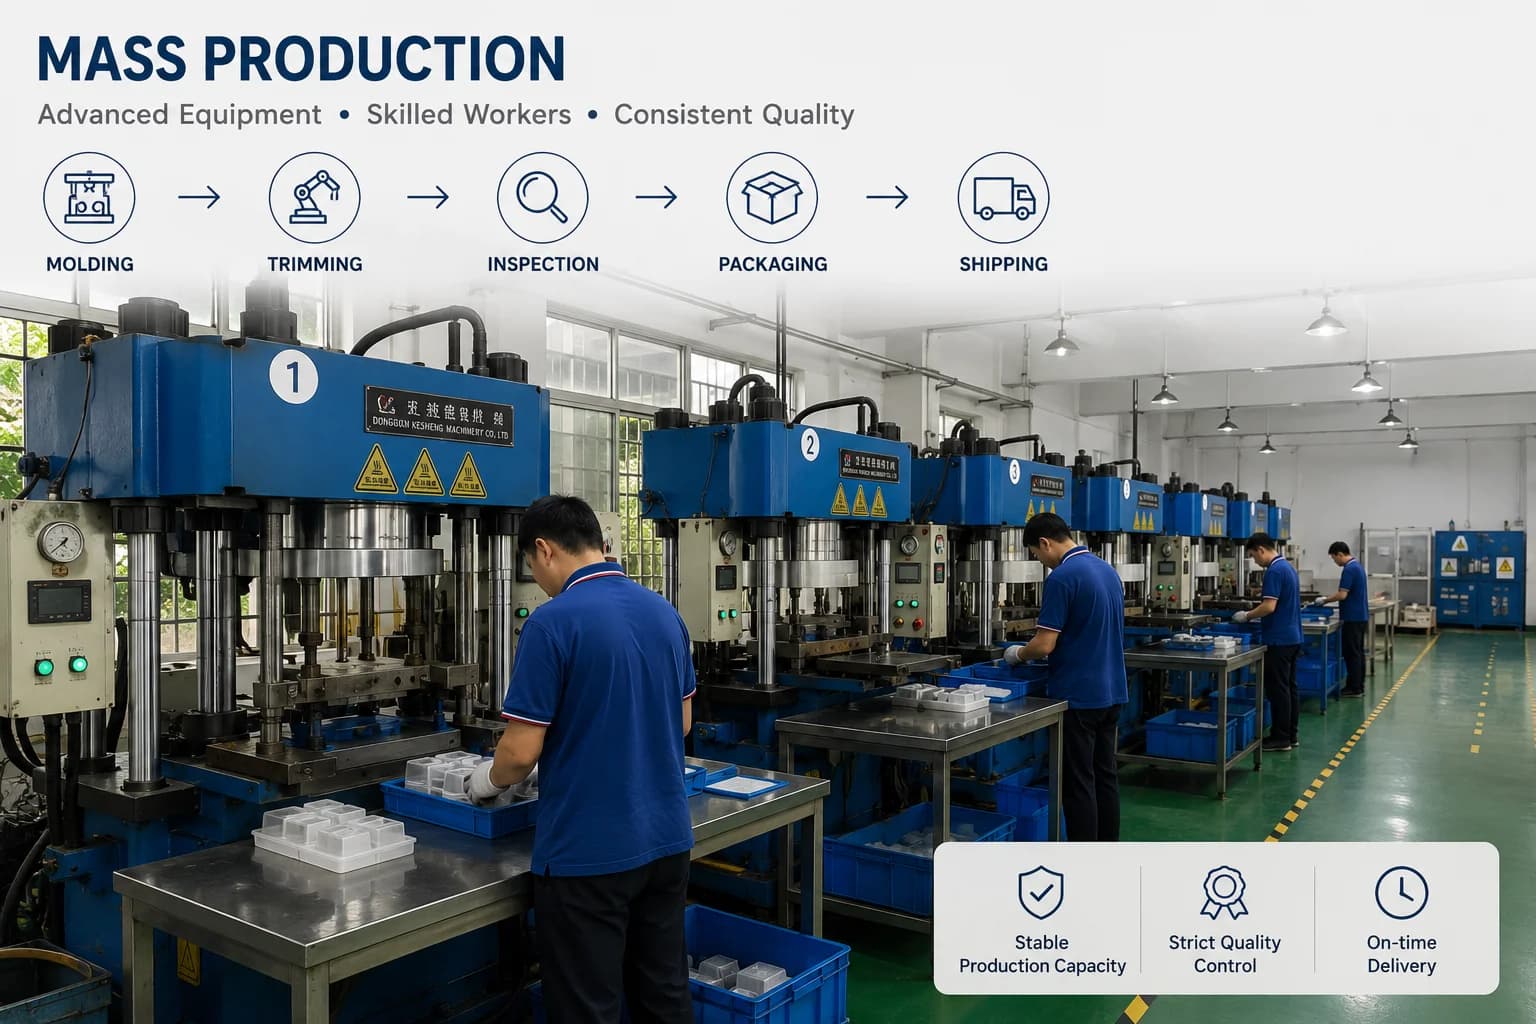
Custom silicone ice molds are developed with defined cavity design, product shape, size, color, logo, and packaging [K1]. Ice molds sit across household, kitchen, and promotional use cases, so the same tooling can serve a home-goods line, a bar program, or a branded giveaway [K4]. That cross-category flexibility is useful for brands that want one product platform across several channels.
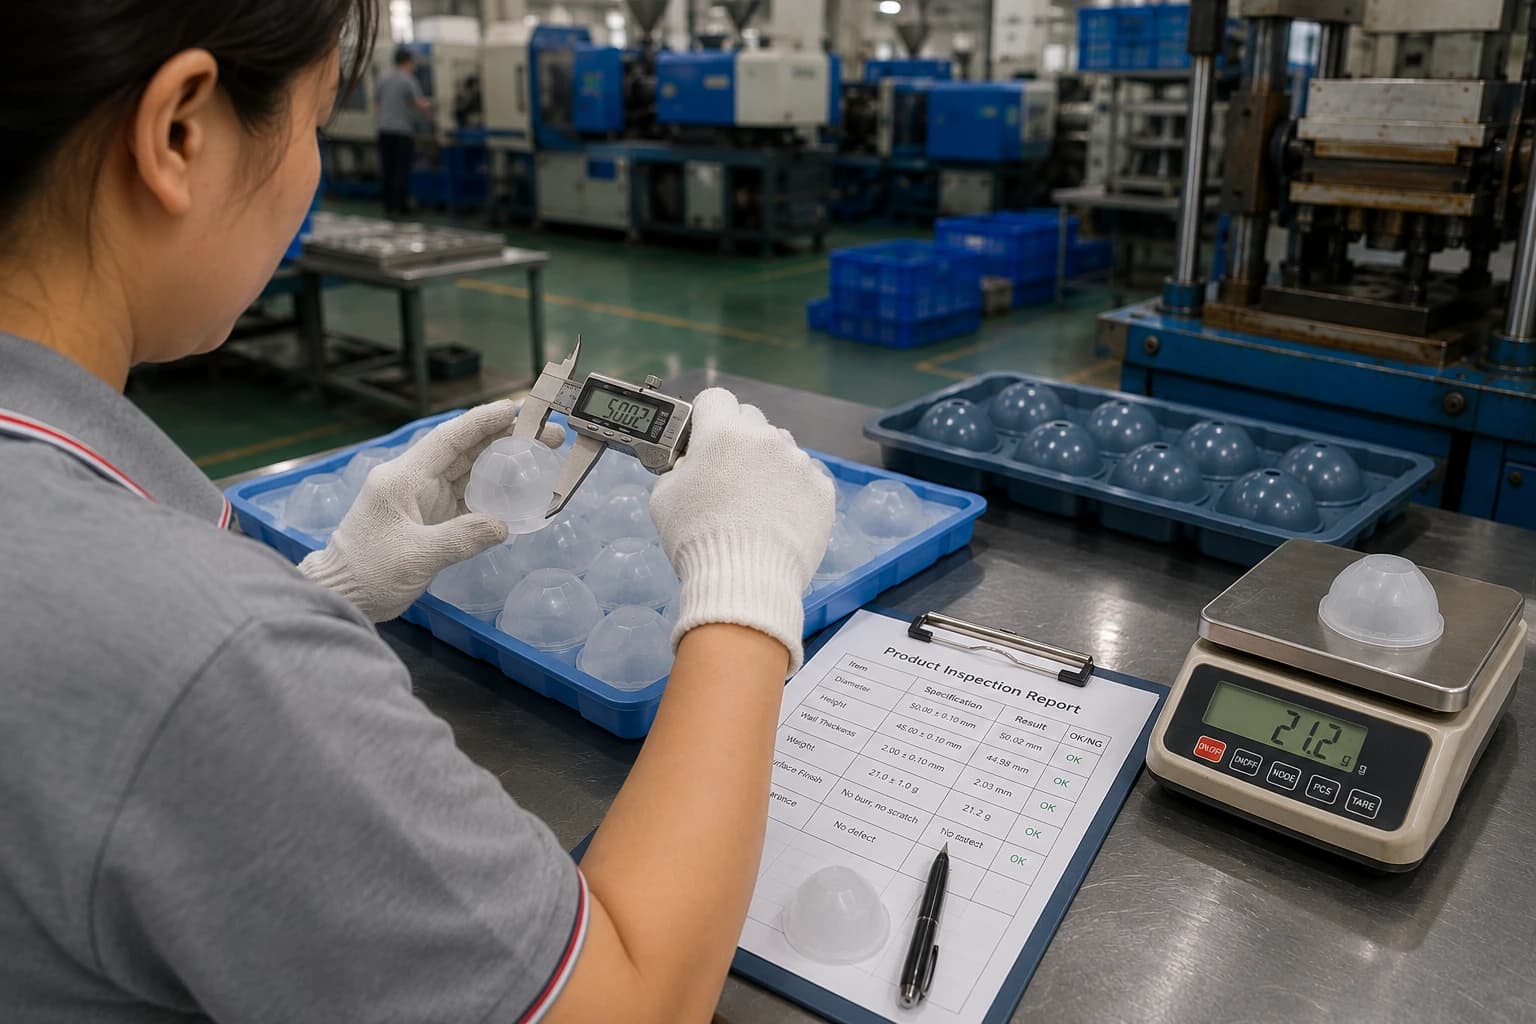
Before approving mass production, align the specification with a documented silicone product quality control plan.
A typical project moves through these stages:
- Design review — clarify cavity geometry, sphere diameter, and mold layout so the finished ball fits your target glassware.
- Design-file preparation — artwork, logo placement, and packaging files are prepared for sampling [K3].
- Sampling — a physical sample is produced and reviewed for release behavior, surface finish, and clarity performance.
- Tooling — production tooling is built once the sample is approved.
- Production and inspection — a buyer checklist for sample approval and pre-shipment inspection helps catch issues before shipping [K3].
Practical cautions for buyers:
- The reported product portfolio is evidence of capability, not proof that every item is currently stocked or available in every market. Confirm current availability, material composition, dimensions, certifications, MOQ, and lead time before publishing a product-specific page or request for quotation [K4].
- Plan MOQ, tooling, sampling, and lead time early — these are the variables that most often delay an event or launch [K3].
- Do not publish certification claims you cannot substantiate. Compliance planning should be market-specific and evidence-based [K3].
- Ice molds may be tagged under household, kitchen, or promotional categories; category placement should not restrict cross-category use [K4].
7. Key Comparison: Ice Ball Tray and Mold Options
| Option | Clarity potential | Ease of release | Batch size | Best suited to |
|---|---|---|---|---|
| Flexible silicone sphere tray | Moderate to high with good technique | High — flexes to release | 4–6 typically | Home hosts, branded promotional sets [K2][K4] |
| Rigid plastic sphere mold | Moderate | Lower — often needs twisting or warm rinse | 4–8 | Occasional use |
| Individual round molds | Moderate | High | 1–2 per mold | Small tastings, gifting |
| Directional freeze block + carving | Highest | Not applicable (carved) | Large block, many spheres | Serious tastings, bar programs |
| Commercial clear-ice machine | Highest | Not applicable | High volume | Bars with steady demand |
If you are choosing for a single party, a flexible silicone tray plus two freeze cycles is the lowest-friction path. If you are choosing for a venue or a brand program, tooling and consistency become the deciding factors, which is where custom mold development applies [K1].
8. FAQ
Q1. Can I make clear ice balls at home without special equipment?
Yes, if you control the freezing direction. An open insulated cooler in a standard freezer, filled with filtered or distilled water, pushes air and minerals to the bottom and leaves a clear upper block you can shape. The main requirements are time (roughly 24 hours or more per batch) and patience during harvest. Molds alone do not create clarity; they shape water that has already been frozen well.
Q2. Should I buy silicone or rigid plastic ice trays for a whiskey ice ball party?
Silicone is generally easier for demolding, because the tray flexes and the sphere releases without force. Food-grade silicone in this category is odorless and rated from -40°C to 240°C (-40°F to 464°F), so it handles freezer storage and a brief warm rinse without damage [K5]. Rigid trays can work, but they are more likely to require twisting, which cracks spheres. For repeat batches during a party, silicone is the more practical choice.
Q3. How much ice should I prepare per guest?
Plan one sphere per pour, plus roughly 20% spare. For a party of eight with two pours each, that means around 20 spheres — usually four to five freeze cycles on a standard tray. Start 48 hours ahead and store finished spheres in a sealed insulated container so they do not fuse or absorb freezer odors.
Q4. Can I order custom-branded ice molds for a bar or event?
Yes. Custom silicone ice molds support customization of cavity design, shape, size, color, logo, and packaging [K1], and ice molds can be positioned across household, kitchen, and promotional channels rather than a single category [K4]. Before you commit, confirm current availability, material composition, dimensions, certifications, MOQ, and lead time with the manufacturer [K4], and treat tooling and sampling as scheduled stages in the project rather than afterthoughts [K3].
9. Conclusion
A whiskey ice ball party succeeds or fails on three decisions: how the ice is frozen, how much gear you actually deploy, and how the tasting is paced. Get the freezing right and your pours stay expressive for the full glass. Get the gear list short and functional, and you spend the evening with guests instead of hunting for tongs. Pace the tasting deliberately, and even a modest lineup becomes a genuine comparison rather than an open bar.
For a home host, the practical starting point is one flexible silicone sphere tray, filtered water, and two freeze cycles before guests arrive. For a bar, brand team, or event organizer, the equivalent step is treating custom mold development as a structured project — design review, sampling, tooling, production, and inspection — with MOQ and lead time confirmed before any date is announced [K1][K3][K4].
The next step is small and specific: put a tray of filtered water in the freezer tonight, and finalize your pour order while it freezes. Good ice buys you time, and time is what makes a whiskey tasting worth hosting.