Key Takeaways
- Cloudy ice is a freezing-direction problem, not a water-brand problem. Most of the white core comes from trapped air bubbles and dissolved solids that are pushed into the last pocket of liquid to freeze.
- Directional freezing is the single most reliable technique. If heat can only escape in one direction — usually downward from the top surface — the freezing front pushes gas ahead of it, and you cut the cloudy end off.
- Boiling, filtering, and distilling help, but only as supporting measures. Driving dissolved gas out of the water improves results; it does not replace single-direction freezing.
- Home setups and production programs have different bottlenecks. A home freezer needs insulation and time; a bar or branded program also needs mold design, demolding, tooling, sampling, and lead-time planning.
- Clarity claims need boundary conditions. "Crystal clear" is a visual outcome; statements about purity, taste, or food-contact compliance require verification before you print them on packaging.
1. Introduction
If you have ever dropped a cloudy ice cube into a glass of whiskey and watched the center go chalky white, you already know the frustration behind the question: how do you get crystal clear ice cubes — and why do some bars seem to manage it effortlessly while a home freezer produces ice that looks like frosted glass?
The confusion usually comes from advice that mixes up three different things: the water you start with, the container you freeze it in, and the direction heat leaves through. Water quality matters, but it is rarely the main reason a cube turns cloudy. The dominant variable is how the water freezes — specifically, whether it freezes from one side or from every side at once.
This article separates the science from the shortcuts. It explains why cloudy ice forms, walks through the techniques that consistently produce clear ice at home, and then covers what changes when clear ice becomes a product decision — for cocktail bars, hotels, or a branded promotional item with a custom mold. Where a claim depends on a specific product or market, we flag it rather than assume it.
2. Why Ice Turns Cloudy: The Physics Behind the White Core
Core conclusion: Cloudiness is trapped gas and dissolved solids, concentrated in the last region of water to freeze. Freeze that region in one direction, and you can simply cut it away.
When water cools, its ability to hold dissolved gas drops. Air — mainly nitrogen and oxygen — comes out of solution as tiny bubbles. In the same way, dissolved minerals in tap water become more concentrated as the water around them turns to solid ice.
A standard ice cube tray makes this worse in a very specific way. In a freezer, cold air touches the top of the tray, the cold shelf touches the bottom, and chilled air circulates around the sides. Water is a poor conductor of heat, so all four of those surfaces begin freezing inward at roughly the same time. The freezing fronts converge in the middle, and the last liquid — now loaded with bubbles and minerals — gets trapped in the center. That is the white core.
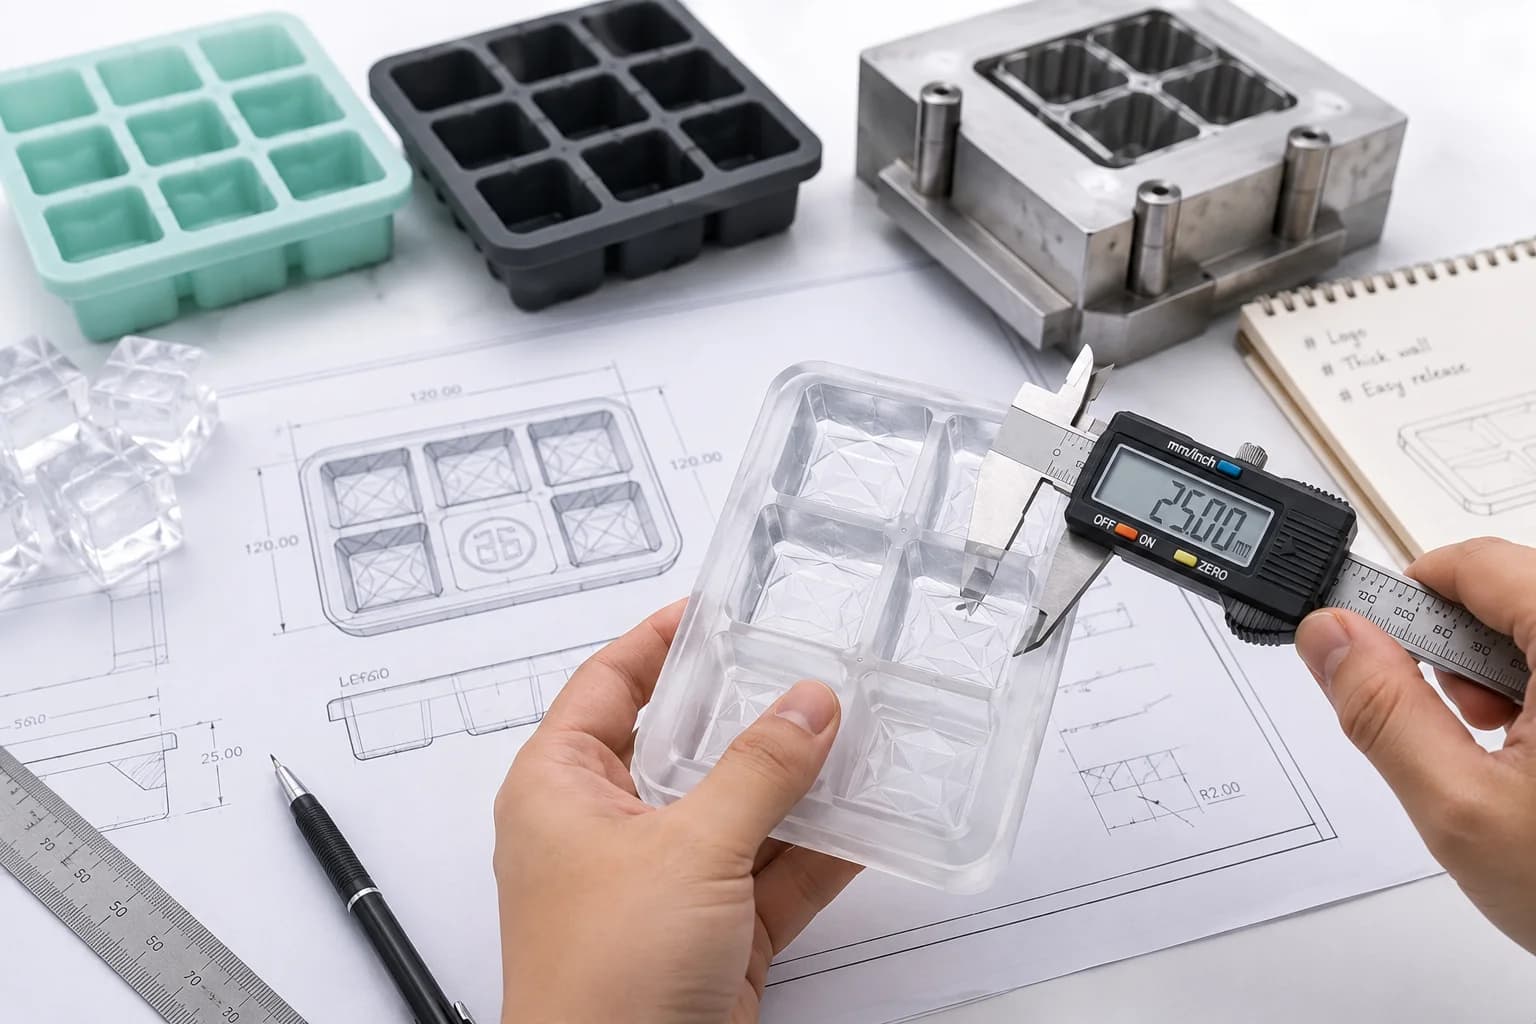
Directional freezing flips the geometry. Insulate the sides and bottom, and heat can only escape from the top surface. The freezing front moves steadily downward, pushing bubbles and impurities ahead of it. The result is a clear block with a cloudy layer at the very bottom, which you discard.
Practical scenario: If you cannot build a directional setup, you can still improve results by slowing the freeze. A warmer freezer setting, an insulated tray, and starting with water that has already been boiled and cooled will all reduce the density of trapped bubbles — but you should still expect a cloudy lower third.
3. Directional Freezing at Home: The Cooler Method
Core conclusion: The insulated-cooler method is the most dependable home technique because it forces a single freezing direction using equipment most people already own.
The setup is simple: a small hard-sided cooler, filled with water, placed in a freezer with the lid off or partially open. Because the cooler walls are insulated, the sides and bottom barely lose heat. Almost all heat escapes through the open top, so the water freezes from the surface downward.
A typical workflow looks like this:
- Fill the cooler to about 80% of its depth, leaving room for expansion. Water expands by roughly 9% when it freezes, so a full container can crack.
- Freeze slowly. An overnight cycle is the practical minimum; thick-walled coolers often need closer to 24 hours. A slightly warmer freezer produces a slower, cleaner front.
- Temper the block. Let it sit at room temperature for several minutes so the outside softens and releases from the walls.
- Invert and remove. The block should slide out. If it resists, a short dip in cool water helps.
- Cut off the cloudy base. The bottom layer holds the concentrated bubbles. Saw or score it away, then cut the clear portion into cubes with a serrated knife or a clean saw. Let cut cubes temper briefly so they do not shatter.
Two refinements are worth knowing:
- Add gentle agitation. A small aquarium pump or slow stirring during the first hours keeps the freezing front smooth and helps bubbles escape upward instead of being frozen in place.
- Design the container around demolding. Rigid containers release large blocks awkwardly, which is why flexible-walled molds are common in both home and commercial settings. For production contexts, cavity design, shape, size, and demolding behavior are treated as part of the mold specification rather than an afterthought, and are typically developed alongside the freezing method — see these custom silicone ice mold development considerations for how that scope is usually defined.
Boundary condition: Directional freezing produces a clear block, not automatically a clear cube. The final shape still depends on how you cut or mold it, and a rushed cut on a too-cold block will fracture faces.
4. Water Quality, Degassing, and What Actually Helps

Core conclusion: Treating the water reduces the amount of gas and mineral load the freezing front has to push, but no water treatment removes the need for directional freezing.
Three interventions come up constantly. Each has a real mechanism and a real limitation:
- Boiling. Boiling drives dissolved gas out of solution. The catch is reabsorption: if boiled water cools uncovered at room temperature, it takes gas back in. Boil, then cool it covered before freezing.
- Distilling or reverse-osmosis filtering. These remove dissolved minerals, which reduces the mineral haze in the cloudy core. They do not remove dissolved gas, and distilled water is sometimes described as tasting flat on its own — some bartenders blend it with a mineral-containing water for that reason.
- Filtering. Carbon filtration mainly addresses taste and odor compounds rather than the gas that causes cloudiness.
There is also a long-running debate about whether warm or hot water freezes faster in a freezer. Reports of this effect exist, but conditions vary widely and the outcome is not reliable enough to build a household routine on. Treat it as an interesting variable, not a method.
Practical scenario: For most home users, the best return on effort is a three-step combination — boil and cool the water covered, freeze it in an insulated single-direction setup, and cut the cloudy layer off. That sequence addresses gas, minerals, and direction at once.
Caution for anyone selling ice or ice-related products: Clarity is a visual claim; purity, mineral content, and food-contact safety are regulated claims. If clarity messaging appears on packaging, plan it inside a defined framework for market-specific compliance planning rather than implying certifications that have not been verified for the destination market.
5. Key Comparison: Clear Ice Methods Side by Side
The table below compares the methods most often used, along with the practical trade-offs.
| Method | Mechanism | Typical time | Clarity outcome | Best suited for |
|---|---|---|---|---|
| Standard ice tray | Multi-directional freezing; fronts converge | 3–6 hours | Clear edges, cloudy core | Everyday chilling, not presentation |
| Insulated cooler, lid off | Single-direction freezing (top-down) | Overnight to ~24 hours | Clear block with cloudy base | Home bars, hobbyist setups |
| Cooler + gentle agitation | Directional freezing with a smoother front | 24 hours or more | Improved clarity and fewer internal cracks | Users willing to manage equipment |
| Boiled, cooled water + insulated tray | Reduced dissolved gas, slower freeze | 12–24 hours | Noticeably clearer than tray-only | Low-equipment improvement |
| Distilled water + directional freezing | Removes minerals and reduces gas load | 24 hours or more | High clarity, less mineral haze | Presentation-focused home use |
| Commercial clear ice machine | Controlled directional freeze, often continuous flow | Continuous or batch | Consistent, repeatable clarity | Bars, hotels, high-volume service |
| Large block cut to size | Slow freeze in bulk, then saw and shape | 24–48 hours plus cutting | Very clear faces, handcrafted look | Craft cocktail programs |
Considerations when clear ice becomes a product
Clarity method is only half the decision. If you are sourcing molds rather than buying finished ice, these are the points that most often cause problems later:
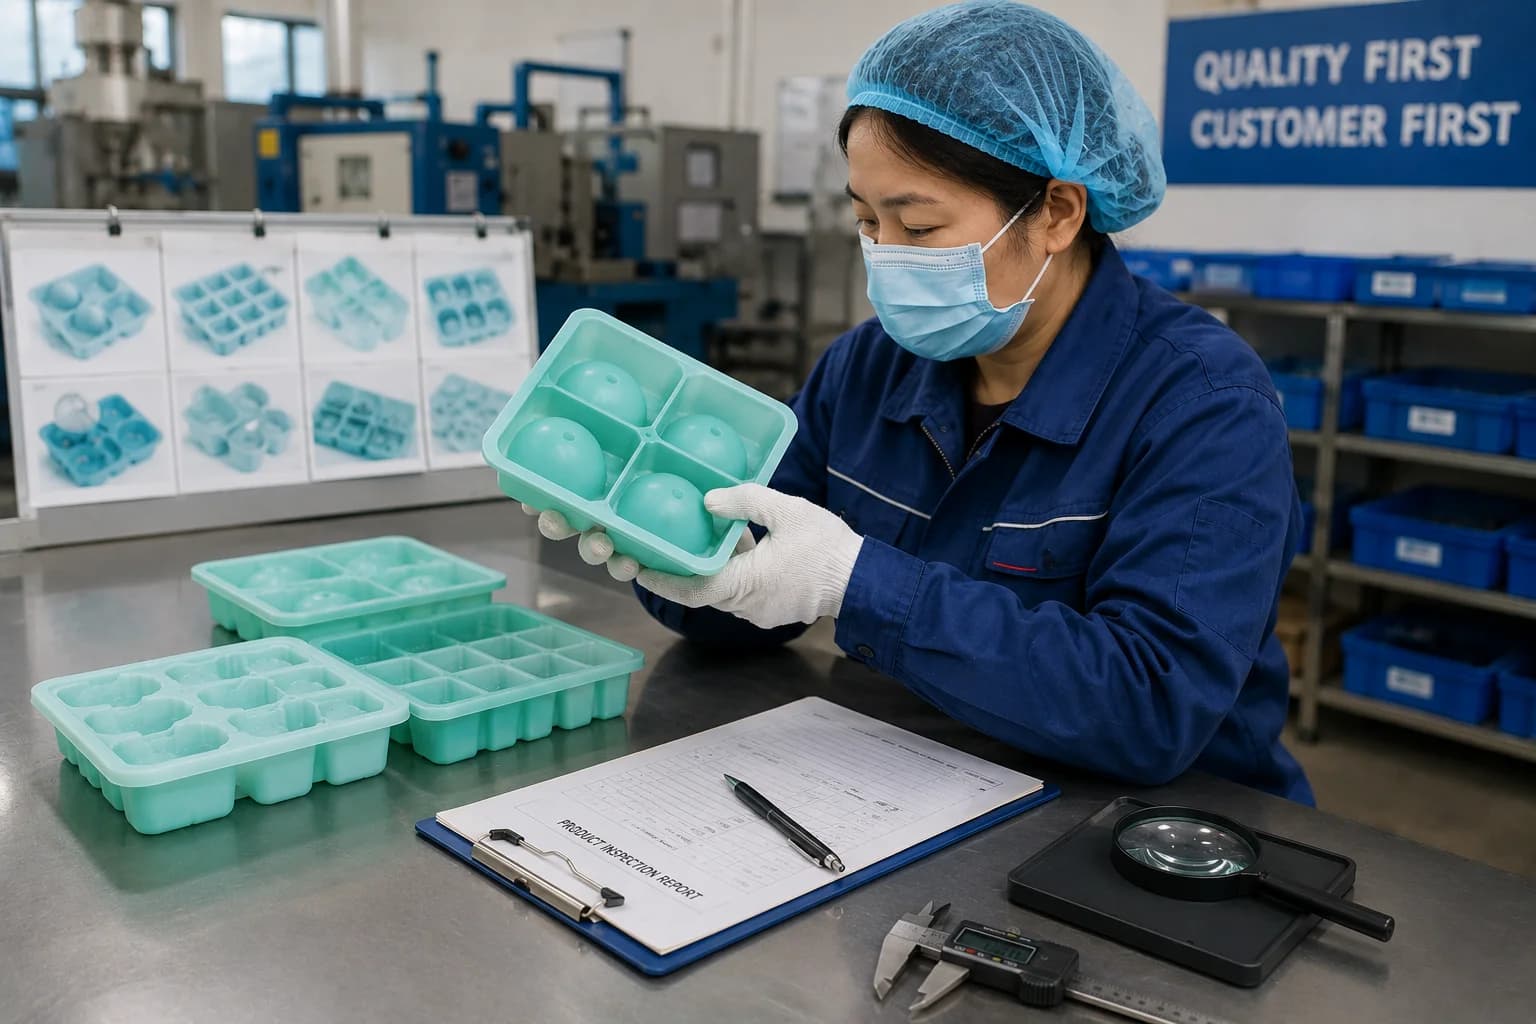
- Verify before you publish. Portfolio diagrams show reported product ranges, not proof that every item is stocked, certified, or available in every market. Confirm availability, material composition, dimensions, certifications, MOQ, and lead time before quoting or publishing a product page [K1].
- Do not over-claim materials. Some portfolio items, such as stone drying products, may use composite or non-silicone materials. They should not be described as pure silicone without a product-specific specification [K1].
- Keep category tagging flexible. Ice molds can reasonably sit under household, kitchen, and promotional use cases, and a single category placement should not restrict cross-category content [K1].
- Plan the project stages. Design review, tooling, sampling, and lead-time planning are separate milestones with separate risks; the production path moves through them in sequence rather than in parallel [K2].
- Prepare design assets early. Customization typically covers cavity design, product shape, size, color, logo, and packaging, and each of those needs artwork or specification files before sampling [K3].
- Use a buyer checklist. Sample approval and pre-shipment inspection checkpoints reduce preventable quality and delivery problems, and surfacing customer risk internally is part of a responsible sourcing process [K2][K5].
6. FAQ
Q1. Can you get crystal clear ice cubes with a regular ice cube tray?
Not fully clear ones. A standard tray freezes from all sides at once, so gas and minerals concentrate in the center and form a cloudy core. You can improve the result by boiling and cooling the water covered, insulating the tray, and freezing more slowly, but the center will usually still cloud over. A single-direction setup is what reliably produces a clear block you can cut into cubes.
Q2. Does clear ice taste better or melt more slowly?
Clarity itself does not create flavor. Taste comes mostly from the water source, the container, and any odors absorbed in the freezer — which is one reason covered storage matters. On melting, geometry and surrounding temperature dominate: a large cube has less surface area per unit of volume and therefore melts more slowly than several small cubes. Trapped air can affect the texture and how the cube fractures, but it is not the primary factor in melt rate, and the effect is often overstated.
Q3. How long does clear ice take to make?
With the insulated cooler method, plan on a minimum of one overnight cycle, and often close to 24 hours for a thick-walled container. Larger blocks and slower freezes can take 24–48 hours depending on freezer temperature and container insulation. Colder is not automatically better — a fast freeze traps more gas and reduces clarity.
Q4. Are silicone molds a good choice for clear ice?
Yes, for shape and demolding. Flexible walls make it much easier to release large cubes or blocks without cracking them. Keep two things in mind: silicone is not a freezing technique, so a mold alone will not make ice clear unless the freezing direction is controlled, and food-contact compliance depends on the specific material grade and the destination market, which should be confirmed rather than assumed.
7. Conclusion
Clear ice is less mysterious than it looks once you separate the variables. The white core in a standard cube is trapped gas and dissolved solids concentrated in the last water to freeze. Change the direction of heat loss — insulate the sides, expose the top, freeze slowly — and those impurities collect in one discardable layer instead of spreading through the cube.
For home use, the practical formula is short: boil and cool the water covered, freeze it top-down in an insulated container, temper the block, and cut off the cloudy base. That gets you most of the way without special equipment. If you want repeatable clarity at volume, a dedicated machine or a disciplined block-freezing routine is the more realistic path.
If you are approaching this from a product side — a bar program, a hotel, or a branded promotional item — settle the freezing method before you settle the mold. Cavity design, material, packaging, and compliance context all shape what the mold needs to do, and confirming current availability, tooling, and lead times up front prevents most of the avoidable delay later [K1][K2][K3]. Start with the physics, then specify the product around it.