Key Takeaways
- Cloudy ice is usually caused by dissolved gases, minerals, and trapped air being pushed into the center of the cube as water freezes from all sides at once — not by a "bad" freezer.
- Distilled water removes dissolved minerals; pre-boiling removes dissolved gases. Doing both helps, but water treatment alone rarely produces fully transparent cubes.
- Directional freezing — insulating the sides and bottom so ice grows from the top down — is the biggest single lever for clarity, because it concentrates impurities in a discardable bottom layer.
- Vessel choice matters as much as technique: thick-walled coolers suit large single blocks, while flexible silicone molds make large pieces easier to release without cracking.
- For commercial volumes, the question shifts from "which trick works" to tooling, sample approval, repeatability, and supply planning [K1].
1. Introduction
Anyone who has spent an evening trying to make presentation-quality ice knows the frustration: you fill a tray with filtered water, wait overnight, and pull out cubes with an opaque white core. They melt unevenly, dilute drinks faster than expected, and simply don't look the way clear ice looks in a bar or a product photo. The natural next question — how can I make crystal clear ice cubes — usually leads to a pile of contradictory advice about distilled water, boiling, salt, and "freeze it slower."
The conflicting advice exists because most guides treat one variable as if it were the whole problem. In reality, ice clarity is the result of three things working together: what is dissolved in the water, how the water freezes (direction and speed), and what vessel the water freezes in. Change only one, and you typically get a partially clear cube with a cloudy core.
This article explains the cause of cloudiness first, then walks through the practical sequence: preparing water, setting up directional freezing, and choosing the right container or mold. It closes with a comparison table, common failure modes, and answers to the questions people ask most often. The goal is not a laboratory explanation but a process you can run in a normal home freezer — and, for buyers and product developers, a set of criteria you can use when clear ice has to be reproducible rather than occasional.
2. Why Clear Ice Is Hard: The Physics in Plain Terms
Core conclusion: opacity is a light-scattering problem. Anything suspended in the ice — air bubbles, dissolved gases released during freezing, mineral precipitates — scatters light and shows up as white. Remove the scattering sites, or push them somewhere you can cut them off, and the ice becomes transparent.
When water freezes in a standard tray, all six faces of the tray are cold at roughly the same time. Ice therefore grows inward from every direction simultaneously. The last liquid to freeze is trapped in the middle, and by that point it has concentrated most of the dissolved gases and minerals from the entire cube. That final pocket is the white cloud you see in the center.
Freezing speed compounds the effect. Fast freezing produces many small crystal boundaries and traps more gas before it can escape; slower, more orderly growth from a single direction gives larger crystals and fewer trapped bubbles. This is also why "blast freeze" settings, an overfilled freezer, or a tray pressed against the freezer wall tend to make clarity worse, not better.
The practical implication is a priority order. If you only change one thing, change the freezing direction. If you can change two, change direction and water. Nothing about the container alone will rescue a cube that is freezing from all sides at once.
3. Step 1 — Fix the Water: Distilled, Boiled, or Filtered
Core conclusion: distilled water removes the minerals; boiling removes the dissolved gases. Using both is measurably more effective than using either alone, but expect "clear with a small cloudy core" rather than perfectly transparent ice in a normal tray.
Here is what each option actually does:
| Water prep | What it removes | Effort | Effect on clarity |
|---|---|---|---|
| Tap water | Nothing | None | Poor — minerals and chlorine both contribute |
| Carbon-filtered tap | Some chlorine and particulates | Low | Slight improvement |
| Distilled water | Dissolved minerals and solids | Low (purchase) | Good — removes most precipitate sources |
| Twice-boiled water | Dissolved gases | Medium | Good — fewer bubbles, but minerals remain |
| Distilled + twice-boiled | Minerals and gases | Medium | Best of the home options |
Practical notes and cautions:
- If you boil water to drive off dissolved gas, cool it covered. An open pot reabsorbs air as it cools, which partly undoes the benefit.
- Boiling does not soften water in a way that matters here; it does not remove calcium or other dissolved minerals. That is what distillation or reverse osmosis does.
- Distilled water is neutral in taste, which is an advantage for spirits and coffee. It is not required for every use — if you are chilling a punch bowl, filtered water plus directional freezing is usually enough.
- Do not add salt to the freezing water. Salt lowers the freezing point and slows things down, but it does not remove the impurities that cause cloudiness, and it introduces its own residue.
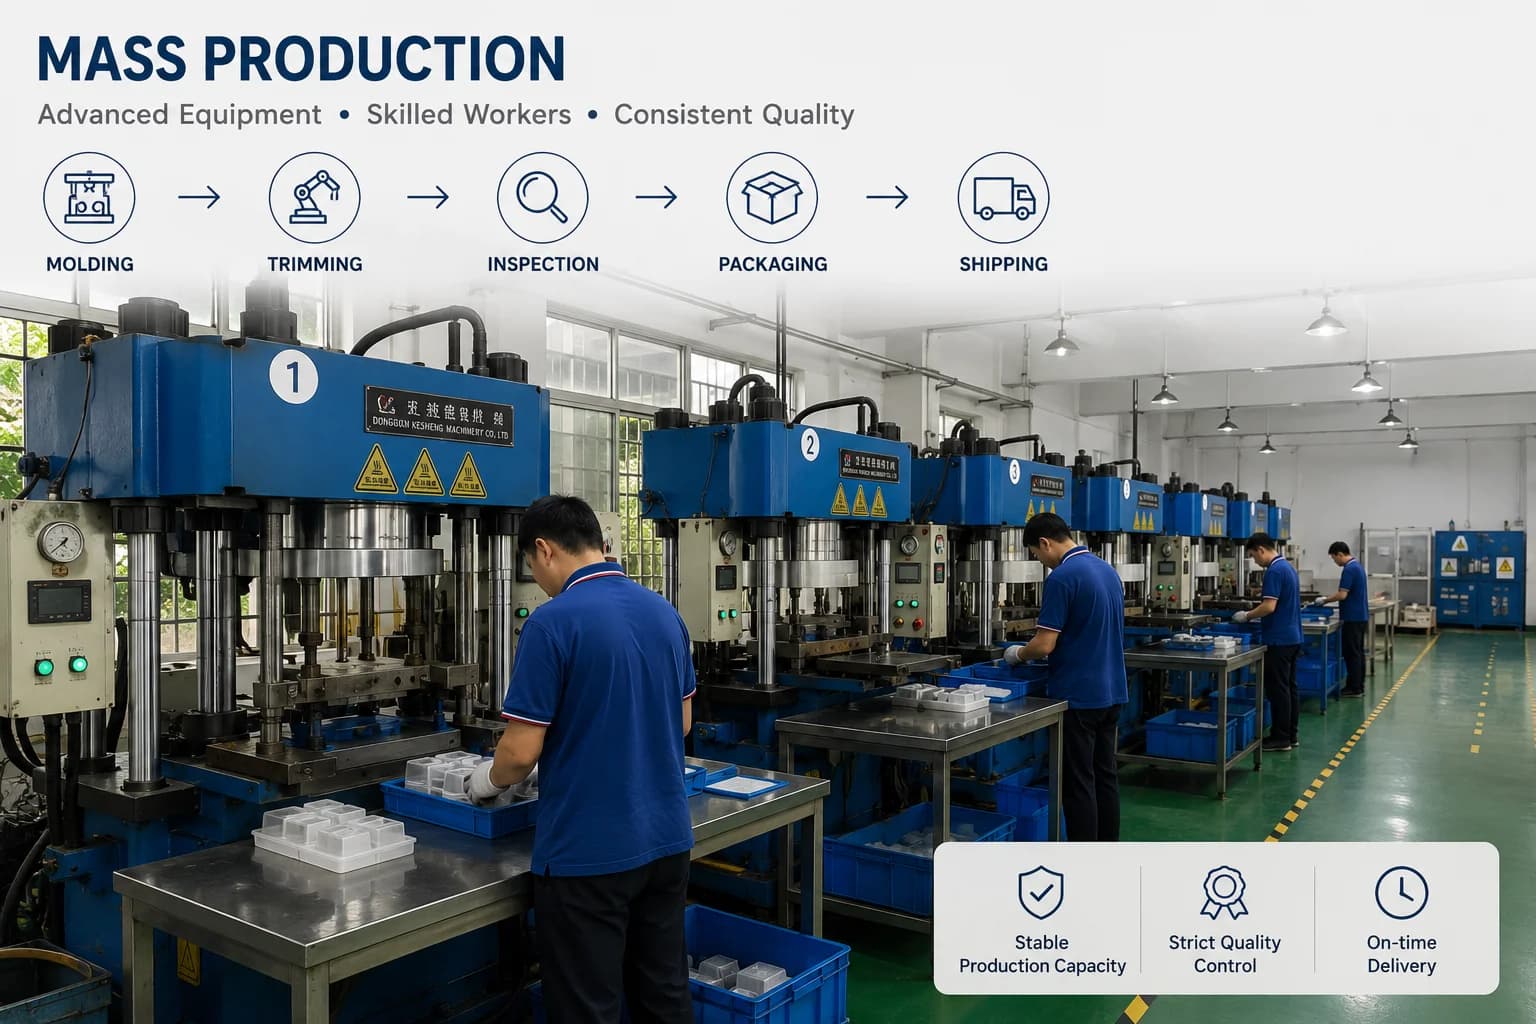
Water quality is also one variable in a larger system. Buyers developing clear-ice products for retail — large-format cubes, spheres, branded shapes — generally find that water treatment and mold design have to be specified together, since the shape of the cavity determines where the last water freezes. Suppliers that support custom silicone ice molds typically treat cavity geometry, wall thickness, and release design as part of the clarity conversation rather than as separate purchasing decisions [K1].
4. Step 2 — Freeze Directionally, Not All at Once
Core conclusion: directional freezing means insulating every surface of the container except the top, so ice grows downward in a single front. The impurities are pushed to the bottom, where you can cut or melt them away. This is the step that converts "mostly clear" into genuinely transparent ice.
The cooler method (most reliable at home):
- Use a small, thick-walled cooler or insulated box with the lid removed.
- Fill it with prepared water, leaving headroom for expansion.
- Place it in a freezer with stable temperature and no direct airflow across the surface — away from vents and not in the door.
- Let it freeze from the top down. Depending on block size and freezer temperature, expect several hours for a 2-inch block and overnight or longer for a 4–5 inch block.
- Remove the block, let it temper at room temperature for about 5–10 minutes, then split it. The cloudy bottom third goes to the sink; the clear top becomes your cubes.
Why it works: the insulated walls slow heat loss from the sides and bottom to near zero, so the only meaningful cold surface is the open top. The freezing front advances in one direction, and the dissolved gases and minerals are carried ahead of it like a moving filter.
Common mistakes:
- Turning the freezer colder. Cold is not the objective; direction is. Blast settings accelerate the freezing front and trap more gas.
- Using a thin plastic container. Thin walls conduct heat too quickly, so the sides freeze at nearly the same rate as the top and the benefit disappears.
- Using glass. Glass can crack under the expansion and thermal stress of a large freeze. Use food-grade plastic, silicone, or a lined cooler.
- Rushing the harvest. Ice straight from the freezer is brittle. Tempering it briefly before cutting reduces shattering and gives cleaner edges.
If you want smaller finished pieces, cut the clear portion of the block with a serrated knife or a clean chisel, then store the cut cubes in a sealed bag in the freezer so they don't frost over.
5. Step 3 — Choose the Right Vessel and Mold
Core conclusion: the vessel has one job besides insulation — it has to release a large, rigid block without cracking it. That is a materials and design problem, not a technique problem.
Three common options, with their real trade-offs:
- Rigid plastic trays. Cheap and widely available, but large blocks grip the walls and often crack on release. Fine for narrow, small-format cubes.
- Insulated cooler inserts. Excellent for a single large block, but you get one shape and you cannot scale it easily.
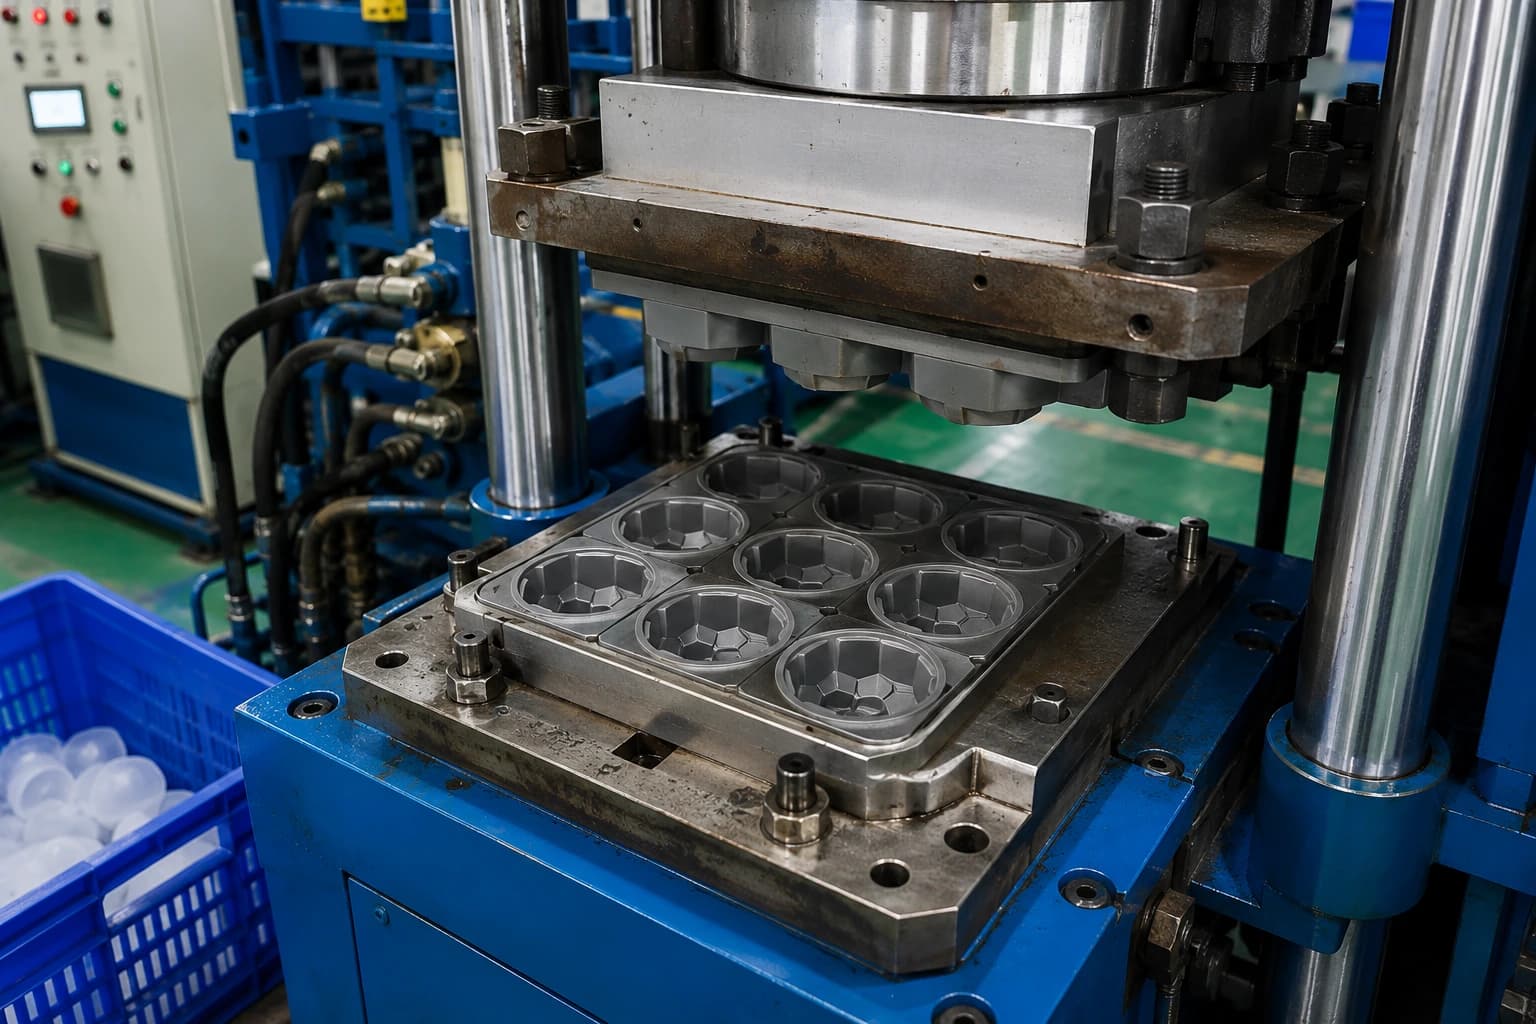
- Silicone molds and trays. Flexible walls allow twisting and peeling away from the block, which makes releasing large or unusually shaped pieces much easier. Food-grade silicone also tolerates the wide temperature swings of repeated freezer-to-kitchen use, and it can be manufactured to a specific cavity shape, size, and finish.
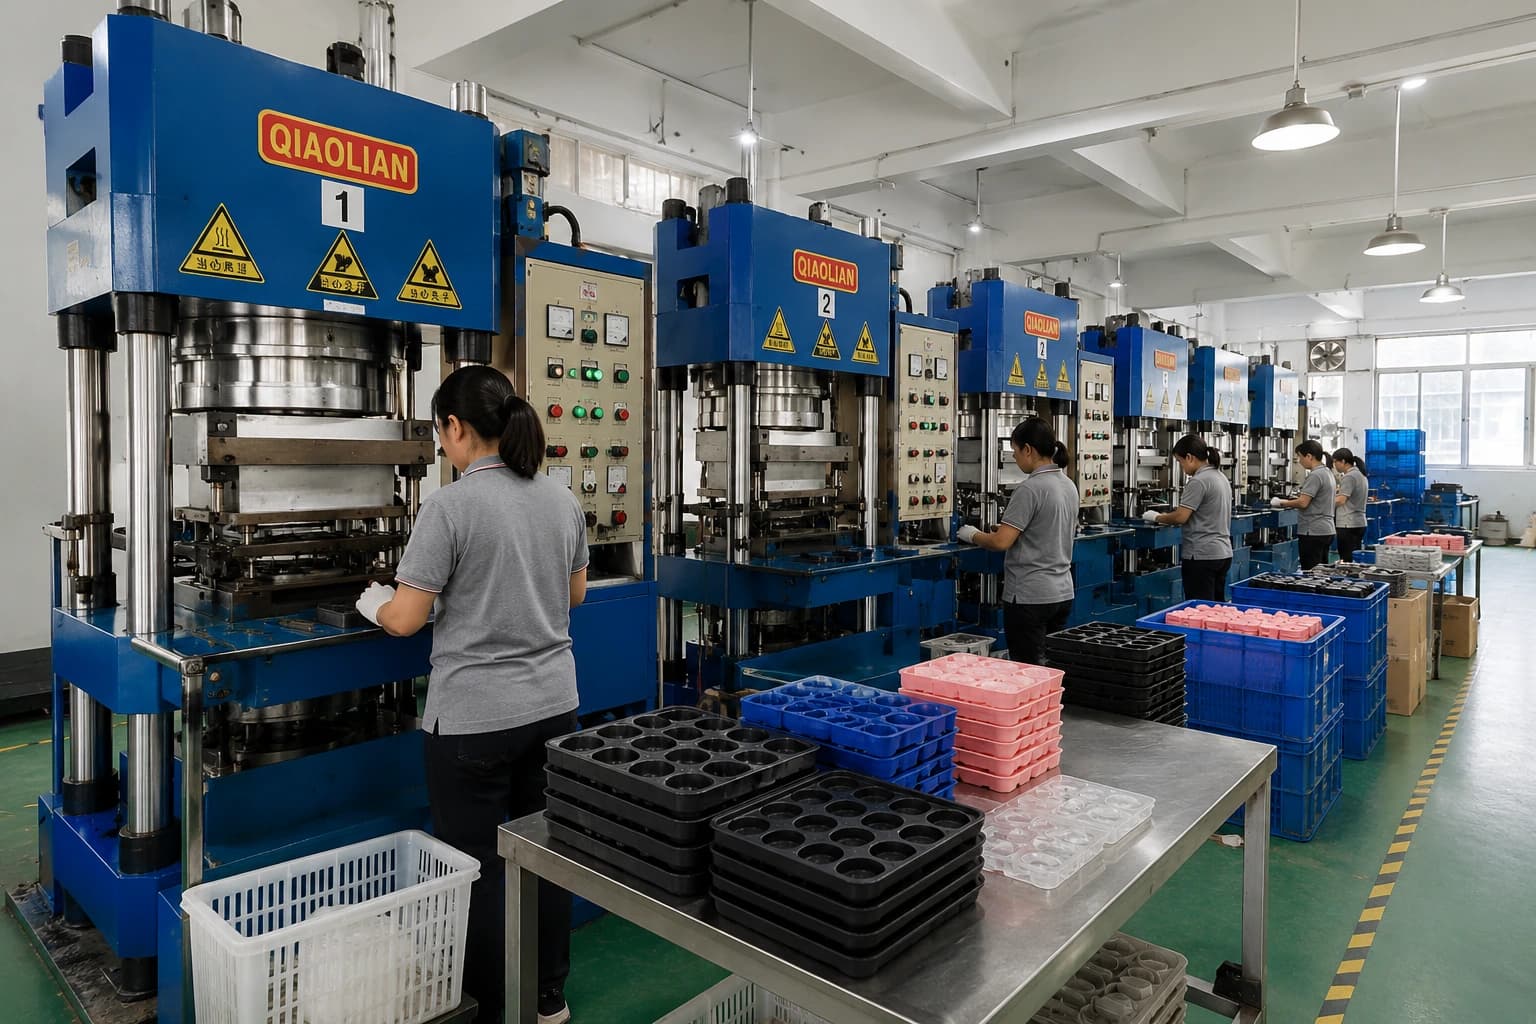
For anyone moving from personal use to product development, the criteria change. Production-grade mold projects are usually evaluated on shape and size capability, color and logo options, packaging, and the practical path from design review to tooling and sampling. A structured approach to tooling, sampling, and lead-time planning helps separate what can be prototyped quickly from what requires new tooling and a longer qualification cycle [K1].
Two governance points worth keeping in mind when evaluating suppliers:
- Ask for evidence, not adjectives. Claims about material certifications should be tied to specific documents for the specific product, and compliance planning should be market-specific rather than generalized [K1].
- Use defined checkpoints. A buyer checklist for sample approval and pre-shipment inspection reduces the risk of a clarity or finish problem appearing only after mass production.
Renjia, a Shenzhen-based custom silicone manufacturer founded in 2013, positions its work around custom development for shape, size, color, logo, artwork, and packaging, combined with practical project guidance from tooling through inspection [K2][K3]. For ice-related projects specifically, that means the clarity discussion should start with cavity geometry and freezing direction, then move into materials, packaging, and market documentation requirements.
6. Key Comparison: Methods, Effort, and Results
Use this table to choose based on your goal rather than on which method sounds most impressive.
| Method | What it fixes | Effort | Typical clarity | Best for |
|---|---|---|---|---|
| Tap water in a standard tray | Nothing | Minimal | Cloudy core, often hazy overall | Everyday chilling, not presentation |
| Distilled water in a standard tray | Minerals | Low | Clear edges, visible cloudy center | Small batches where direction isn't controlled |
| Twice-boiled water in a standard tray | Dissolved gases | Medium | Fewer bubbles, minerals still present | Situations where distilled water is unavailable |
| Distilled + boiled, standard tray | Minerals and gases | Medium | Mostly clear with a residual core | Home bars with limited freezer space |
| Directional freezing in an insulated cooler | Direction of freezing front | Medium–high | Transparent through most of the block | Large cubes, spheres, carved shapes |
| Directional freezing + silicone mold | Direction and release | High (setup) | Transparent and repeatable in a fixed shape | Product development, cafes, retail programs |
| Commercial clear-ice machine | Direction and throughput | Capital cost | Consistent and repeatable | Operations where labor time exceeds equipment cost |
Boundary conditions to accept up front:
- Home freezers fluctuate in temperature; perfect repeatability is not realistic without a dedicated unit.
- Larger blocks take disproportionately longer to freeze and to temper — plan the timeline before a dinner service, not during it.
- Clear ice still melts. Clarity improves appearance and slows dilution slightly because there is less surface-area chaos inside the cube, but it does not make ice last indefinitely.
7. FAQ
Q1. Does distilled water alone make crystal clear ice cubes?
Usually not on its own. Distilled water removes dissolved minerals, which eliminates one major source of white haze, but if the water still freezes from all sides at once, the last remaining liquid concentrates dissolved gases in the center and you get a cloudy core anyway. Distilled water plus directional freezing is the combination that reliably produces transparent ice; distilled water alone typically produces cubes that are clear at the edges and opaque in the middle.
Q2. How long does directional freezing take?
It depends on block size and freezer temperature rather than on the method itself. As a rough guide, a 2-inch block may need several hours, while a 4–5 inch block often needs overnight or longer. A useful check is to look for a clear, hard top layer with a still-liquid or slushy lower section. When in doubt, wait longer rather than raising the freezer temperature — colder and faster works against clarity.
Q3. Why is the center of my cube still white after boiling the water?
Boiling removes dissolved gases, not dissolved minerals, and it does nothing about the direction of freezing. A white center after boiling almost always means the cube froze inward from all six faces, pushing the remaining impurities into the middle. Fix the insulation before changing the water again: an insulated cooler with the lid off, placed away from freezer vents, addresses the cause directly.
Q4. Can I make clear ice in a normal silicone tray?
A standard flexible tray alone will not produce clear ice, because the thin walls allow freezing from every direction. What silicone does help with is releasing large pieces without cracking them, which matters once you have a clear block to cut. Combining an insulated setup for the freeze with a silicone mold for shaping and release gives you both clarity and usable finished pieces.
8. Conclusion
The reliable path to clear ice is a sequence, not a single trick. Start with water that has fewer minerals and fewer dissolved gases — distilled plus twice-boiled is the strongest home combination. Then control the direction of freezing by insulating everything but the top, using a thick-walled container, and keeping the freezer at a stable normal temperature rather than a blast setting. Finally, choose a vessel or mold that lets you release a large block cleanly, because a cracked block wastes all the clarity you just produced.
For home use, a small cooler and a serrated knife will get you most of the way there in one overnight cycle. For cafes, bars, and product developers, the variables multiply: cavity design, release behavior, sample approval, packaging, and market documentation all need to be settled before volume production, and those questions are best answered with a manufacturing partner rather than improvised in a home freezer. Pick the method that matches your volume, run it twice before judging the results, and treat water quality and freezing direction as two halves of the same problem.