Key Takeaways
- Personalized ice trays turn a low-cost consumable into a repeatable branding surface: the mold is the product, and the ice is the message.
- Custom silicone ice tray projects are driven by five variables — cavity geometry, overall product shape and size, color, logo or artwork placement, and packaging (K1).
- A reliable project moves through design-file preparation, sampling and tooling review, production, inspection, and market-specific documentation planning (K2, K3).
- Buyers should treat ice clarity, demolding behavior, temperature range, and food-contact documentation as specification items to verify per product, not as generic promises.
- Silicone OEM/ODM capability matters most in the early stages: clear drawings and a sample-approval checklist prevent expensive rework later.
1. Introduction
A bar that hands a guest a drink with a logo-shaped ice cube has achieved something a coaster or a napkin rarely does: the guest photographs the ice, not the cup. The same logic applies to a wedding favor, a product-launch kit, or a holiday gift box. Ice is temporary, which is exactly why it works as branding — it is experienced in the moment and remembered in the photo.
The practical problem is that most buyers do not know how the physical product is specified. They know they want "our logo in ice," but they do not know whether that means a cavity shaped like the logo, a logo embossed on the base of a cube, a colored tray, or branded packaging around a standard mold. Each choice has a different tooling implication, a different sample timeline, and a different cost structure. Choosing badly at the design stage is the most common reason a custom ice tray project runs over budget.
This article explains how personalized ice trays work as a custom branding tool for bars, events, and gift programs, and how a silicone ice tray custom shape project is actually specified and produced. It is written for bar operators, event planners, promotional-product buyers, and private-label brands who need to move from an idea to a repeatable, inspectable order — and who want to know which questions to ask a manufacturer before sampling begins.
2. Why Ice Works as a Branding Surface — and Where It Fails
Core conclusion: Ice trays are an effective branding tool because they combine a low unit cost with a high-visibility moment, but they only work when the mold design matches how the ice will be used and how the drink will be served.
Ice branding succeeds for three reasons. First, it is experiential: the brand appears inside the product being consumed, not beside it. Second, it is photographic: shaped ice reads clearly in a top-down phone photo in a way that small printed logos often do not. Third, it is repeatable: one tray produces the same shape hundreds of times, so a single tooling investment supports an entire season of service.
It fails for equally specific reasons:
- The shape is unreadable in ice. Fine detail, thin strokes, and sharp interior corners do not translate well into a frozen, translucent medium. A logo with 1 mm letter strokes may look correct in a design file and illegible in a glass.
- The cavity does not release cleanly. Deep undercuts or aggressive geometry make demolding difficult, which slows bar staff and increases breakage.
- The tray is too large for the freezer or the service volume. A 12-cavity tray that does not fit the venue's freezer shelf is a design error, not a production error.
- The branding is on the packaging only. This is a legitimate and cheaper option, but buyers should know they have chosen it rather than assume the ice itself is branded.
For a venue, the sensible recommendation is to prototype the shape at the intended drink size before committing to tooling. Ask the manufacturer to produce a physical sample and evaluate it in an actual glass under actual lighting — not in a catalog render.
3. How a Silicone Ice Tray Custom Shape Project Is Specified
Core conclusion: A custom ice mold is defined by five customization levers — cavity design, product shape, size, color, logo, and packaging — and every one of them should be written into a specification sheet before sampling (K1).
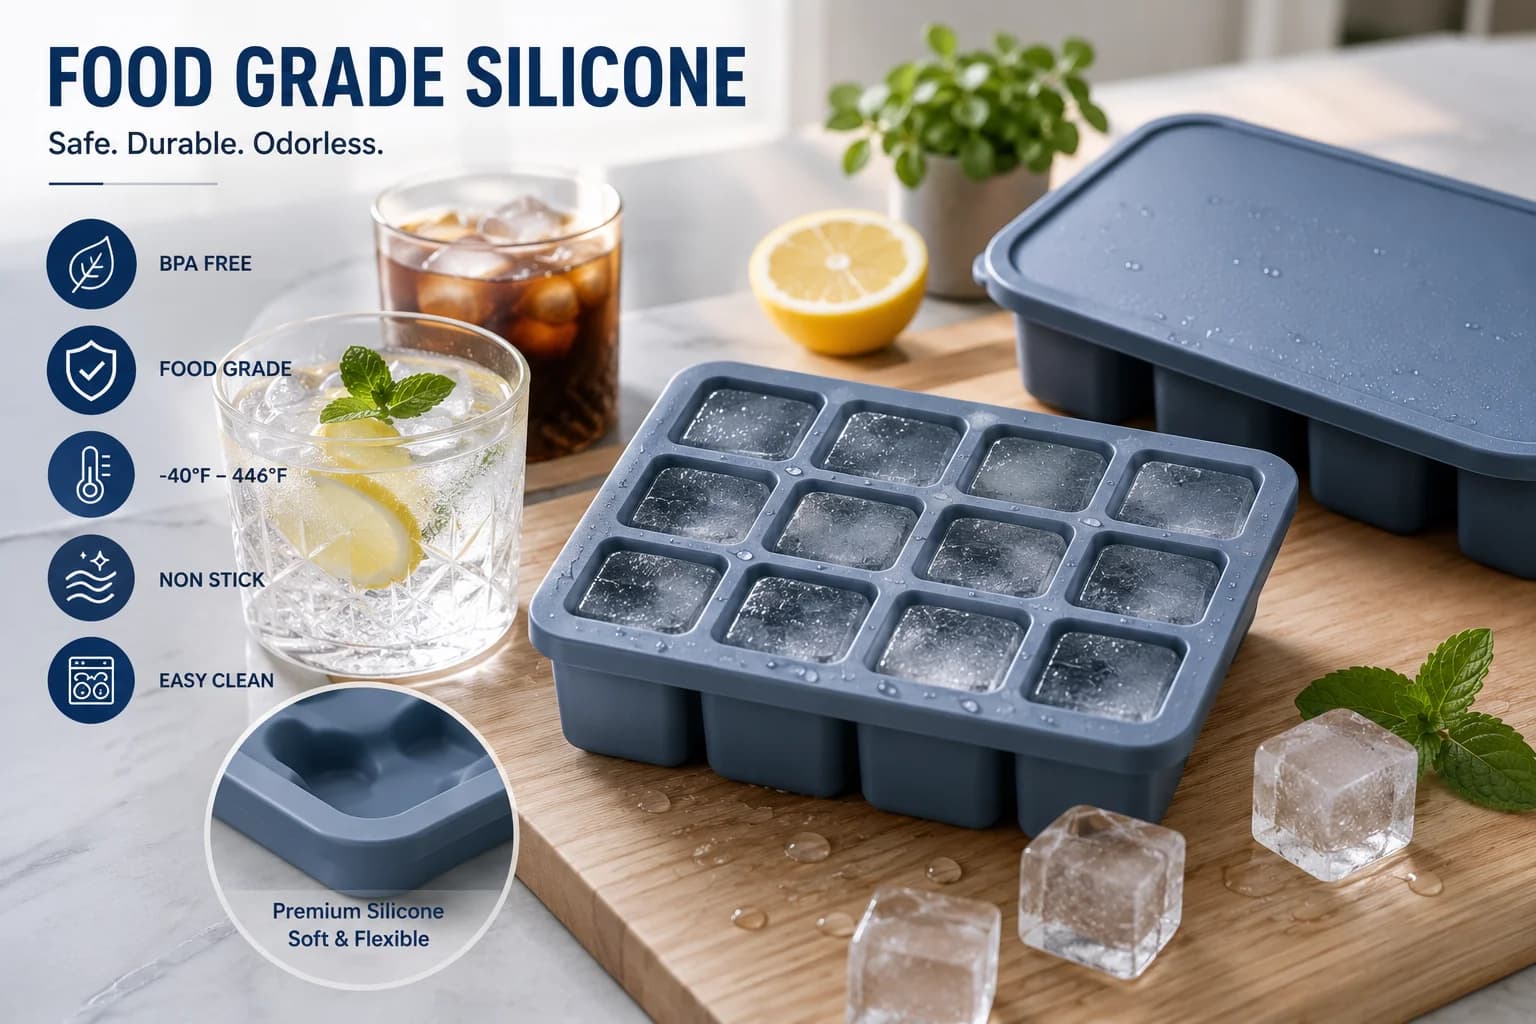
Custom silicone ice molds are a defined product category with a standard set of customization dimensions: cavity design, product shape, size, color, logo, and packaging (K1). Treated separately, each lever changes cost, timeline, or both.
Cavity design. This is the shape of the void that becomes the ice. It can be a logo silhouette, a geometric form, a number, a letter, a symbol, or a sculpted object. Cavity design drives tooling complexity and should be reviewed against the intended ice size and clarity target.
Overall product shape and size. The tray itself — square, rectangular, stackable, single-cavity, multi-cavity, lidded — determines freezer fit, stacking behavior, and how the tray is handled at the bar. Buyers should confirm external dimensions against the venue's actual equipment.
Color. Silicone color is a branding decision and a practical one. A dark tray can hide water spots; a light tray can make clear ice easier to inspect. Color should be specified against a reference sample rather than a screen color.
Logo and artwork placement. Branding can sit on the tray body, on the base of each cavity (producing an embossed mark on the ice), or on packaging. Placing a logo on the cavity base is the most direct way to brand the ice itself, but it requires the mark to survive freezing and demolding at a readable scale.
Packaging. Retail boxes, sleeves, hangtags, and inserts are frequently the most cost-effective place to carry full brand identity, especially for gift and promotional programs.
A structured specification, agreed in writing before tooling, is what separates a smooth project from a rework cycle. For buyers who want a broader view of how custom silicone development is organized across product categories, Renjia's custom silicone product development framework covers shape, size, color, logo, artwork, and packaging as a single coordinated brief (K2).
4. From Design File to Production: The Working Process
Core conclusion: Custom silicone mold projects follow a predictable sequence — design review, sampling, tooling, production, inspection, and documentation planning — and each stage has a buyer-side deliverable that prevents delays (K3).
The process is not mysterious, but it is sequential, and skipping a stage is expensive.
Stage 1 — Design review and design-file preparation. The buyer supplies artwork, dimensions, intended use, and target market. The manufacturer reviews the file for moldability: minimum feature size, corner radii, wall thickness, and draft. Vague art with gradients and fine type will usually be simplified at this stage.
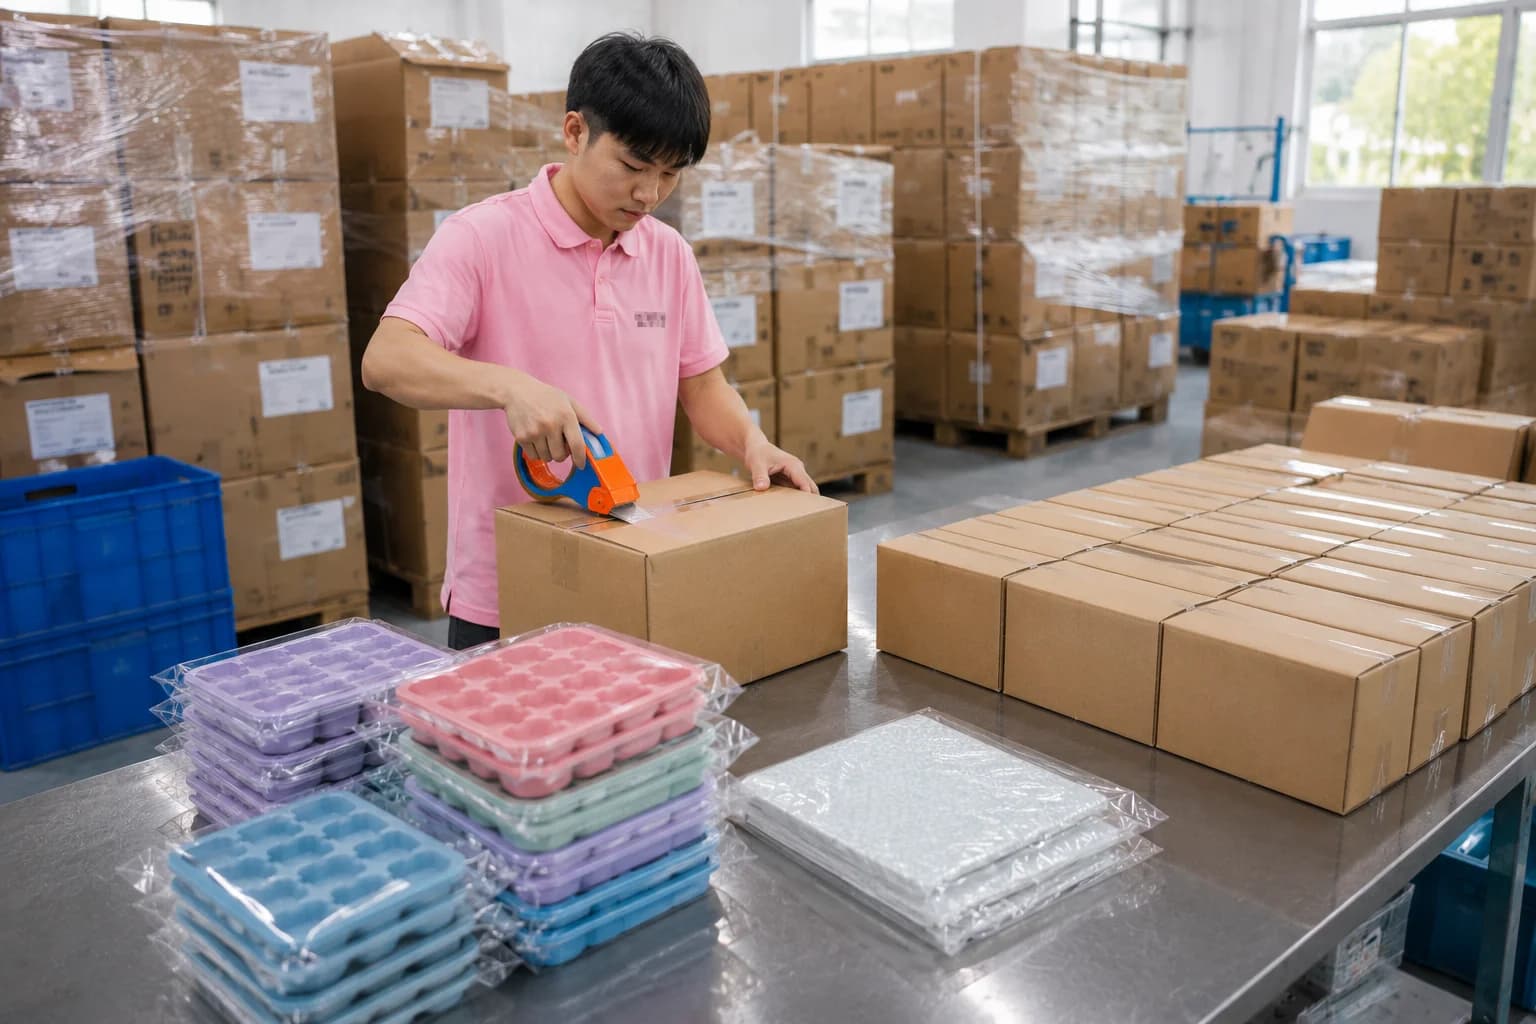
Stage 2 — Sampling. A physical sample is produced so the buyer can evaluate shape, feel, and finish. This is the correct moment to test the tray in a freezer, fill it, and demold ice. Sampling approval should be documented, not verbal.
Stage 3 — Tooling. Once the sample is approved, tooling is committed. Changes after this point affect cost and schedule, so the specification sheet should be signed off before tooling begins.
Stage 4 — Production. Production runs against the approved sample and specification.
Stage 5 — Inspection and pre-shipment checks. Buyers should apply a written checklist covering dimensions, cavity consistency, color match, logo position, surface defects, and packaging correctness. A sample-approval checklist and a pre-shipment inspection list are standard, low-effort risk controls (K3).
Stage 6 — Market-specific documentation planning. Compliance requirements vary by market and by product. Documentation should be planned early and stated accurately; buyers should avoid assuming that any certification claim is automatically available or applicable, and should verify product-specific requirements with the manufacturer rather than relying on generic marketing language (K3).
MOQ, tooling cost, and lead time are all downstream of these choices, which is why they should be discussed at the design-review stage rather than after the sample is approved (K3).
5. Key Comparison: Choosing the Right Personalization Approach
The table below summarizes the four common approaches buyers actually choose between. It is intended as a decision aid, not a price list — tooling and unit costs depend on cavity count, size, color, and packaging.
| Approach | What the guest sees | Best for | Main trade-off |
|---|---|---|---|
| Logo-shaped cavity (ice mirrors the logo) | A brand-shaped ice piece | Bars, launches, signature serves | Requires simplified, legible geometry; cavity tooling is the main cost driver |
| Embossed logo on cavity base | A small mark inside a standard ice form | High-volume venues, subtle branding | Mark must be readable at small scale after freezing |
| Standard cavity, custom tray color and logo | Branded tray, unbranded ice | Retail, promo, gift-with-purchase | No branding in the glass |
| Standard mold, fully custom packaging | Branded box, sleeve, or tag | Gifting, events, sampler kits | Branding ends when the packaging is discarded |
Practical guidance on choosing:
- If the goal is a photographable in-glass moment, choose logo-shaped or embossed cavities and budget for sampling.
- If the goal is volume at a controlled cost, choose a standard cavity with branded tray and packaging (K1).
- If the goal is a gift or promotional item, packaging usually carries more brand weight per dollar than cavity complexity.
- If the goal is a retail SKU, confirm packaging format, labeling requirements, and market documentation early in the project (K3).
Silicone is the common substrate across all four options because it demolds flexibly and tolerates freezer-to-service handling. Buyers evaluating the same manufacturer for other branded silicone goods can review custom silicone manufacturing support for how tooling, sampling, and inspection are coordinated across product lines (K2).
6. Buyer Checklist Before You Approve a Sample
A sample approval is the highest-leverage decision in the project. Approving a sample that has not been tested in real conditions is the most common source of late-stage disappointment.
- Size test: Fill the tray, freeze it, and confirm the ice fits the glassware actually used at the venue.
- Legibility test: View the branded ice from a normal drinking distance and in a photograph.
- Demolding test: Release several cubes and assess effort, breakage, and residue.
- Fit test: Confirm external tray dimensions against freezer shelves and storage racks.
- Color test: Compare the physical tray against the approved color reference, not a screen.
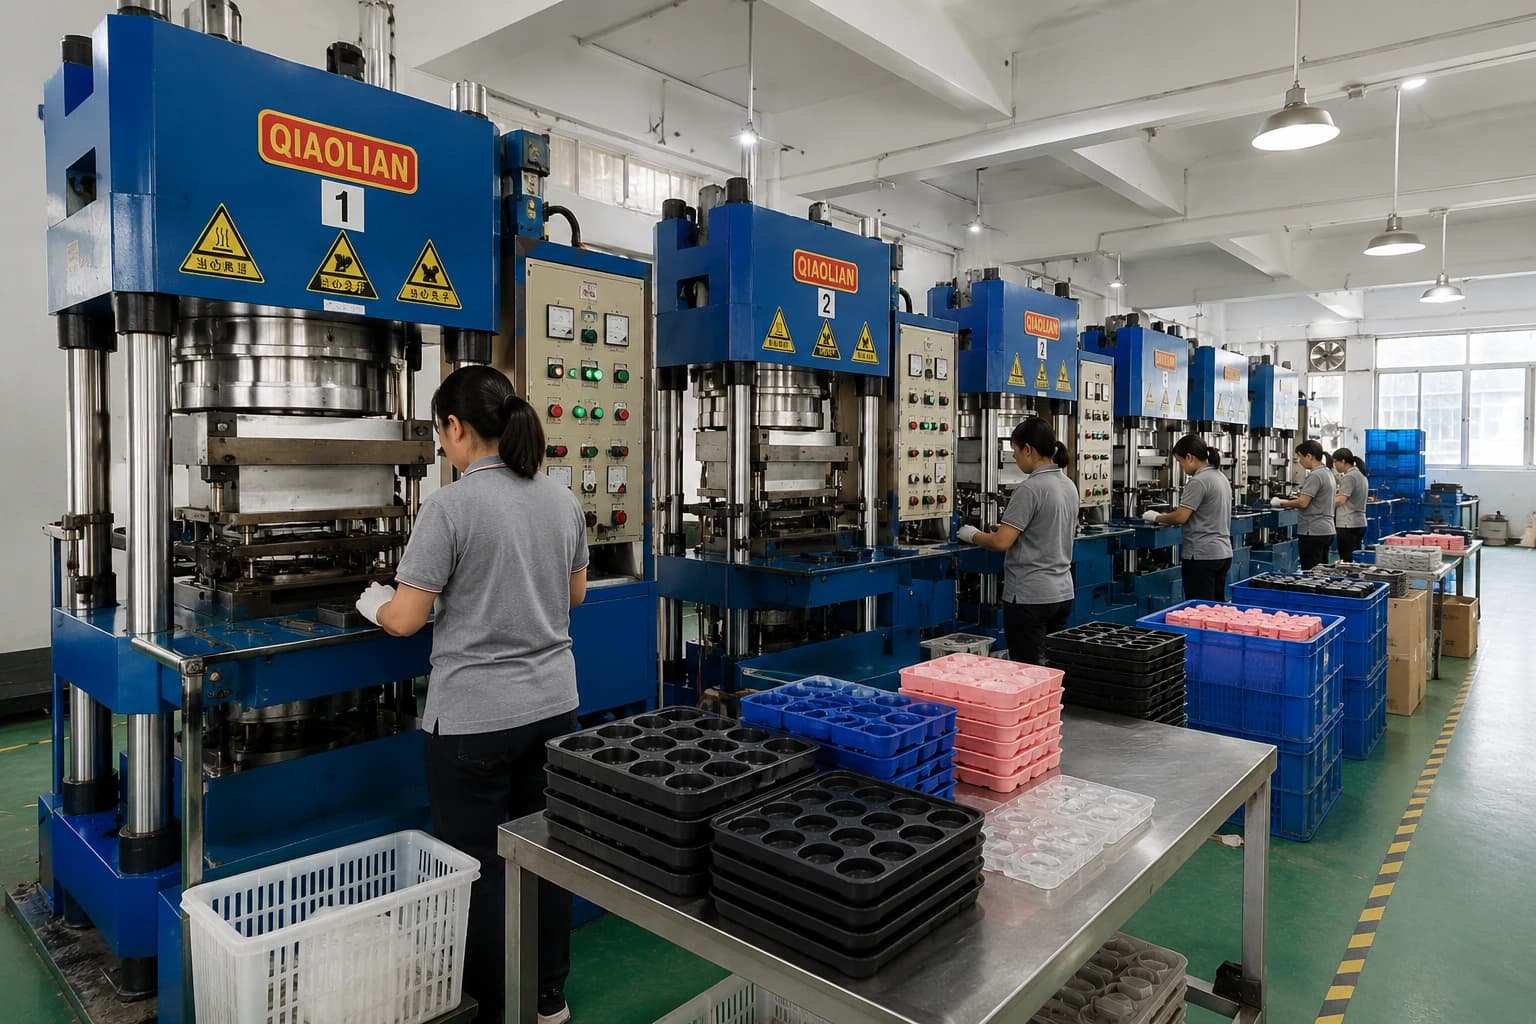
- Packaging proof: Review a printed or physical packaging proof, including logo position and any required label text.
- Documentation review: Confirm which documents the manufacturer will actually provide for your market, and record them in writing (K3).
For buyers also sourcing adjacent branded silicone items — such as reusable silicone drawing mats with custom artwork, size, shape, color, branding, and packaging (K5) — the same checklist discipline applies, with one caution: do not assume marker compatibility unless a specific product has verified compatibility data (K5).
7. FAQ
Q1. Can a custom silicone ice tray produce ice in any shape, including a detailed logo?
Most shapes are possible within moldability limits, but detail must be simplified to remain legible in ice. Thin strokes, sharp interior corners, and very fine text tend to disappear when frozen. The practical approach is to submit artwork for design review, then evaluate a physical sample rather than a render. Cavity design is a standard customization lever, so the conversation should start with the drawing, not with a finished-product photo (K1).
Q2. What information should I prepare before requesting a quote?
Prepare artwork files, intended ice size, tray dimensions and cavity count, target color with a reference, logo placement preference, packaging format, estimated order quantity, destination market, and required delivery window. These map directly to the customization dimensions of cavity design, product shape, size, color, logo, and packaging (K1), and they allow MOQ, tooling, sampling, and lead-time planning to be discussed accurately from the first exchange (K3).
Q3. How long does a custom ice mold project take?
There is no universal timeline, because schedule depends on design complexity, sample revision rounds, tooling, order quantity, and packaging. What can be stated reliably is the sequence: design review, sampling and approval, tooling, production, inspection, and documentation. Buyers who need a fixed date should ask for a stage-by-stage schedule in writing and treat sample approval as the milestone that starts the clock (K3).
Q4. Can personalization include the tray color and the retail box?
Yes. Color, logo, and packaging are all standard customization areas for custom silicone ice molds (K1). For gift and promotional programs, branded packaging often delivers more visible brand presence per unit than additional cavity complexity, and it lets a standard cavity design carry full brand identity.
8. Conclusion
Personalized ice trays are a credible branding tool precisely because they are modest: a silicone mold is inexpensive to produce at volume, durable in service, and visible at the exact moment a guest notices the drink. But the branding value depends entirely on decisions made before tooling — cavity legibility, tray fit, color accuracy, logo placement, and packaging.
The judgment for buyers is straightforward. If the goal is an in-glass brand moment, invest in cavity design and insist on a physical sample tested in a real glass. If the goal is volume or gifting, put the budget into tray color and packaging and keep the cavity simple. In both cases, specify all five customization levers in writing, approve the sample formally, and plan market documentation early rather than assuming it (K1, K2, K3).
The next step is a design review: send artwork, dimensions, quantity, and destination market to a silicone OEM/ODM partner and ask for a moldability assessment plus a sampling plan. Renjia, operating as Shenzhen Renjia Technology Co., Ltd. since 2013 with 15 years of accumulated silicone-industry experience, positions itself as a source manufacturer and OEM/ODM solution provider for custom silicone products and can be reached at renjia@51renjia.com or +86 181 2992 2830 to begin that review (K4).