Key Takeaways
- Cloudy ice comes from dissolved air and minerals trapped as water freezes quickly from all sides. Clear ice is mostly an engineering problem, not a water-brand problem.
- Directional freezing — slowing the freeze so it moves in one direction (usually top-down) — is the most reliable home method for how to get crystal clear ice cubes.
- Water preparation (boiling, filtering, distilling) helps at the margins. It rarely fixes cloudy ice on its own if the freezing direction is wrong.
- Mold choice matters for shape, release, and repeatability. Custom silicone ice molds are a practical option for bars, brands, and gifting programs, with food-grade, odorless material and a -40°C to 240°C (-40°F to 464°F) working range [K5].
- If you are sourcing molds at scale, plan for cavity design, tooling, sampling, MOQ, and lead time before committing to a design [K1][K2].
1. Introduction
A large, glassy cube that shows off the amber color of a whiskey or slowly dilutes a cocktail looks like a small luxury. In practice, it is the result of a few controllable variables: dissolved gases, freezing speed, freezing direction, and the container you freeze in.
Most home ice fails for the same reason. A standard tray sits in a freezer at roughly -18°C, and cold air hits all six sides at once. The water freezes from the outside in, the advancing ice fronts push dissolved air and minerals toward the center, and the last pocket of water traps those impurities as a white, brittle core. The cube cracks when it hits a warm drink because internal stress lines release all at once.
This article covers what actually drives clarity, the three home methods worth using, where silicone molds fit into the process, and the practical limits of each approach — including when a custom mold project makes sense for a bar or a product line. The goal is not a laboratory-grade result. It is a repeatable process you can run in a normal home or small bar freezer.
2. Why Homemade Ice Turns Cloudy
Core conclusion: Cloudiness is trapped gas and dissolved solids, not dirt. Fix the freezing direction and most of the problem disappears.
When water freezes, the ice crystal lattice rejects most dissolved substances. Oxygen and nitrogen that were dissolved in the water, plus calcium and magnesium from tap water, get concentrated in the liquid water that is still unfrozen. If freezing happens quickly and from all directions, those substances have nowhere to go — they end up as microscopic bubbles and mineral clusters frozen into the cube.
Three factors decide how bad this gets:
| Factor | What it does | Practical effect |
|---|---|---|
| Dissolved gas | Forms bubbles as it comes out of solution | Boiling or degassing reduces it |
| Dissolved minerals | Scatter light, create haze | Filtered or distilled water reduces it |
| Freezing direction | Determines where impurities collect | One-directional freezing pushes them to a discardable layer |
| Freezing speed | Slow freezing gives gas time to escape upward | Insulation and larger volumes help |
| Container material | Controls heat flow at each surface | Rigid, insulated containers beat thin flexible trays for clarity |
A useful mental model: you are not trying to make pure ice. You are trying to herd the impurities into one region, then cut that region off and throw it away. This is exactly what commercial ice producers do with large blocks and a band saw.
Scenario: If your cubes are cloudy in the center but clear at the edges, that is the classic signature of multi-directional freezing. It is a direction problem, not a water problem — and it is the easiest thing to fix.
For a related manufacturing reference, review custom ice molds for brands.
3. Method 1: Directional Freezing in a Small Cooler
Core conclusion: This is the most reliable home method. It requires a small insulated cooler, a freezer with space, and patience.
The principle is simple. A hard-sided cooler insulates its sides and bottom. If you fill it with water and leave the top exposed to freezer air, the freeze front moves downward from the surface. Gas and minerals get pushed ahead of the front, ending up in the bottom layer, which stays liquid longest.
Step-by-step:
- Choose a container. A small hard-sided cooler of roughly 5–10 liters works well. Too large and it may not freeze through in a home freezer; too small and you cannot cut useful cubes from the slab.
- Fill with water. Leave a few centimeters of headroom. Use filtered water if your tap water is hard.
- Optionally pre-boil and cool. Boiling drives off dissolved gas. Let it cool covered so it does not reabsorb air, then pour.
- Place in the freezer with the lid off. Position it so it sits level and nothing touches the top surface. Do not stack items on top.
- Wait. In most home freezers, expect roughly 18–24 hours for a clear slab with a cloudy, still-liquid or slushy bottom layer. Check at the 12-hour mark the first time and adjust for your freezer.
- Remove and temper. Take the cooler out and let it sit at room temperature for a few minutes, or until the block releases from the walls. Rushing this step cracks the block.
- Separate the clear section. You will typically see a transparent upper slab and a white lower section. Discard or repurpose the cloudy part.
- Cut and shape. Score with a serrated knife, then cut with a firm downward motion. Let the pieces temper slightly before serving so they do not shatter.
Practical notes:
- The cloudy layer at the bottom is expected. Its size tells you how well the direction control worked.
- A cooler with thicker walls gives better insulation and a cleaner separation.
- Working in batches is more efficient than one very large block if your freezer is small.
This method produces the clarity that cocktails and whiskey service actually call for, at the cost of freezer space and planning time.
4. Method 2: Water Preparation — What Helps, What Barely Matters
Core conclusion: Water treatment improves consistency but does not replace directional freezing. Treat it as a supporting step.
Common recommendations and their real value:
- Boiling once or twice. Boiling reduces dissolved oxygen and nitrogen, which reduces bubble formation. Boiling twice, cooling between boils, is a common technique. The gain is real but moderate — if you pour the cooled water back into a normal tray, you still get a cloudy core.
- Using distilled or filtered water. Removing minerals reduces haze. Distilled water tends to produce the clearest result in controlled tests, but it is not a substitute for direction control.
- Freezing warm water. The claim that hot water freezes faster (often called the Mpemba effect) is inconsistent and hard to reproduce. It is not a dependable home strategy.
- Using a covered container during cooling. Water left open reabsorbs gas from the air. Cover it while it cools.
- Adding salt or sugar. Do not. These add dissolved solids and work against clarity.
Recommendation: If you want one simple routine, use filtered water, boil it once, cool it covered, and then freeze it directionally. If you want the last few percent of clarity, switch to distilled water. Skip anything that sounds like a shortcut.
5. Method 3: Mold Choice, Shape, and Release
Core conclusion: The mold determines the shape and the release experience. For clarity, the mold has to allow the freeze to move in one direction — which means the design of the mold matters as much as the material.
For additional context on this decision, see silicone molds.
What to look for in a home mold
- An open or lidless option. A mold you can use with the top exposed supports directional freezing. Fully enclosed molds freeze from all sides and trap gas.
- Cavity size. Larger cubes — roughly 5 cm (2 in) and up — melt more slowly and dilute a drink more gradually than small cubes.
- Wall thickness. Thicker silicone walls slow heat transfer, which can support slower, clearer freezing, but they also lengthen freeze time.
- Release design. Flexible silicone allows you to push the cube out rather than pry it. Rigid trays with a lever or twist mechanism also work.
- Insulation under the mold. Placing the mold on a folded towel or foam sheet inside the freezer blocks the bottom surface and encourages top-down freezing.
Silicone molds and custom production
Silicone is a sensible material for ice molds because it is flexible, food-contact grade, odorless, and stable across a wide temperature range — from -40°C to 240°C (-40°F to 464°F) [K5]. That range covers freezer storage and normal washing without material concerns.
For bars, hospitality groups, spirit brands, and promotional programs, custom silicone ice molds are a common development path. Typical customization covers cavity design, product shape, size, color, logo, and packaging [K1]. Ice molds sit across household, kitchen, and promotional use cases, so a single mold design can serve more than one market context [K4].
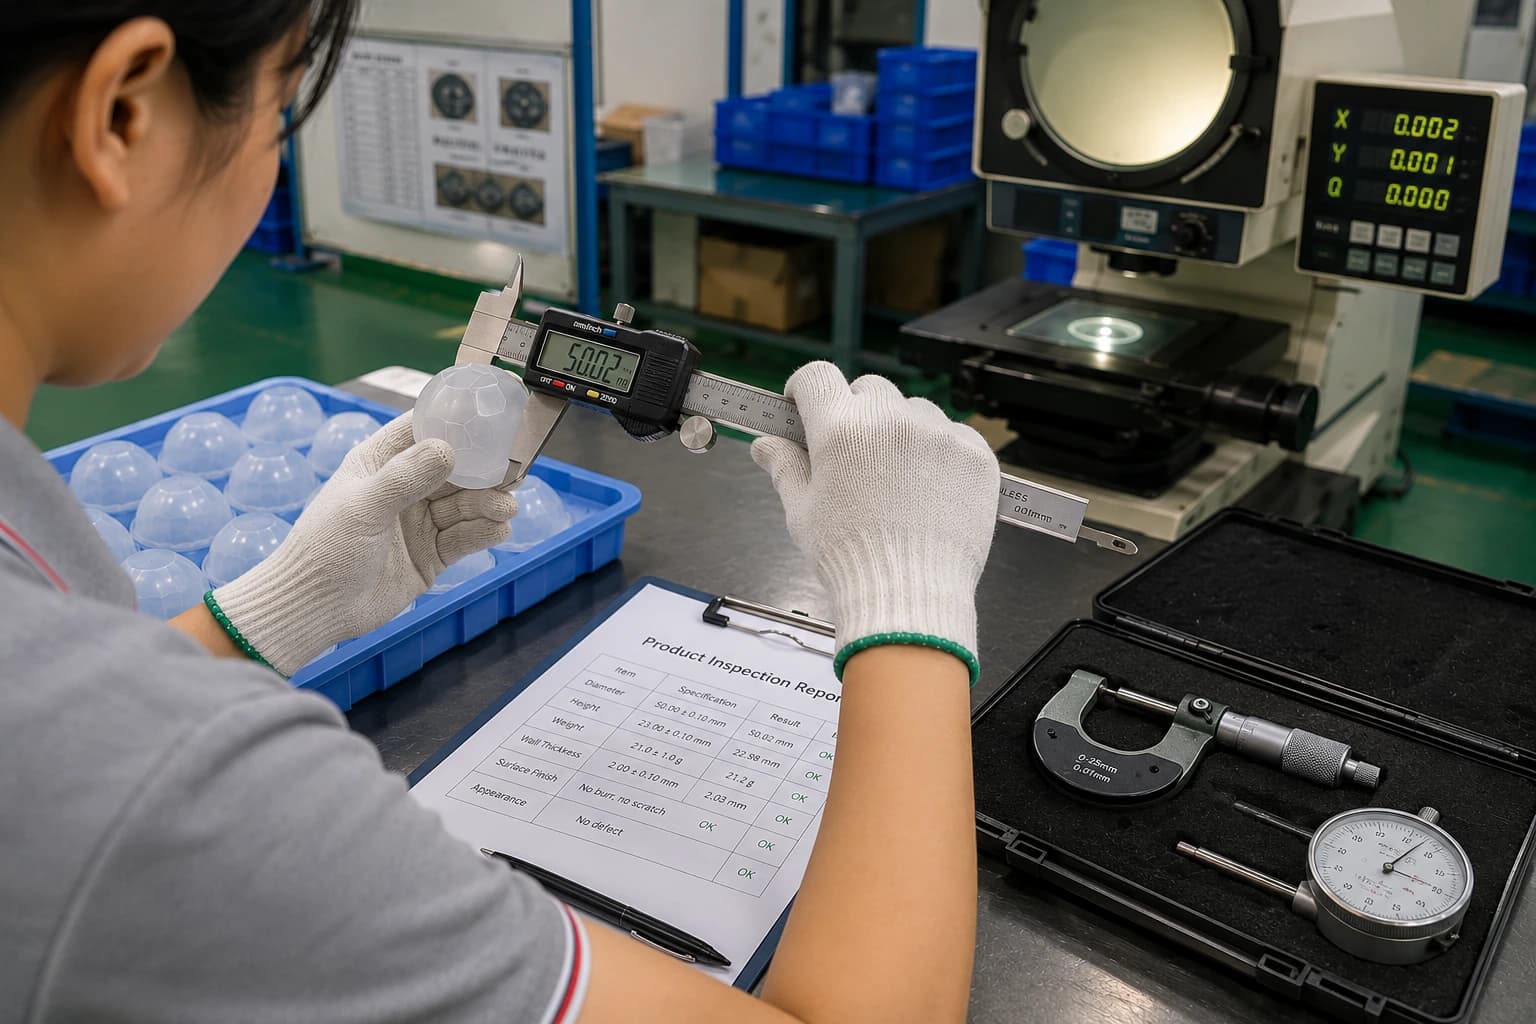
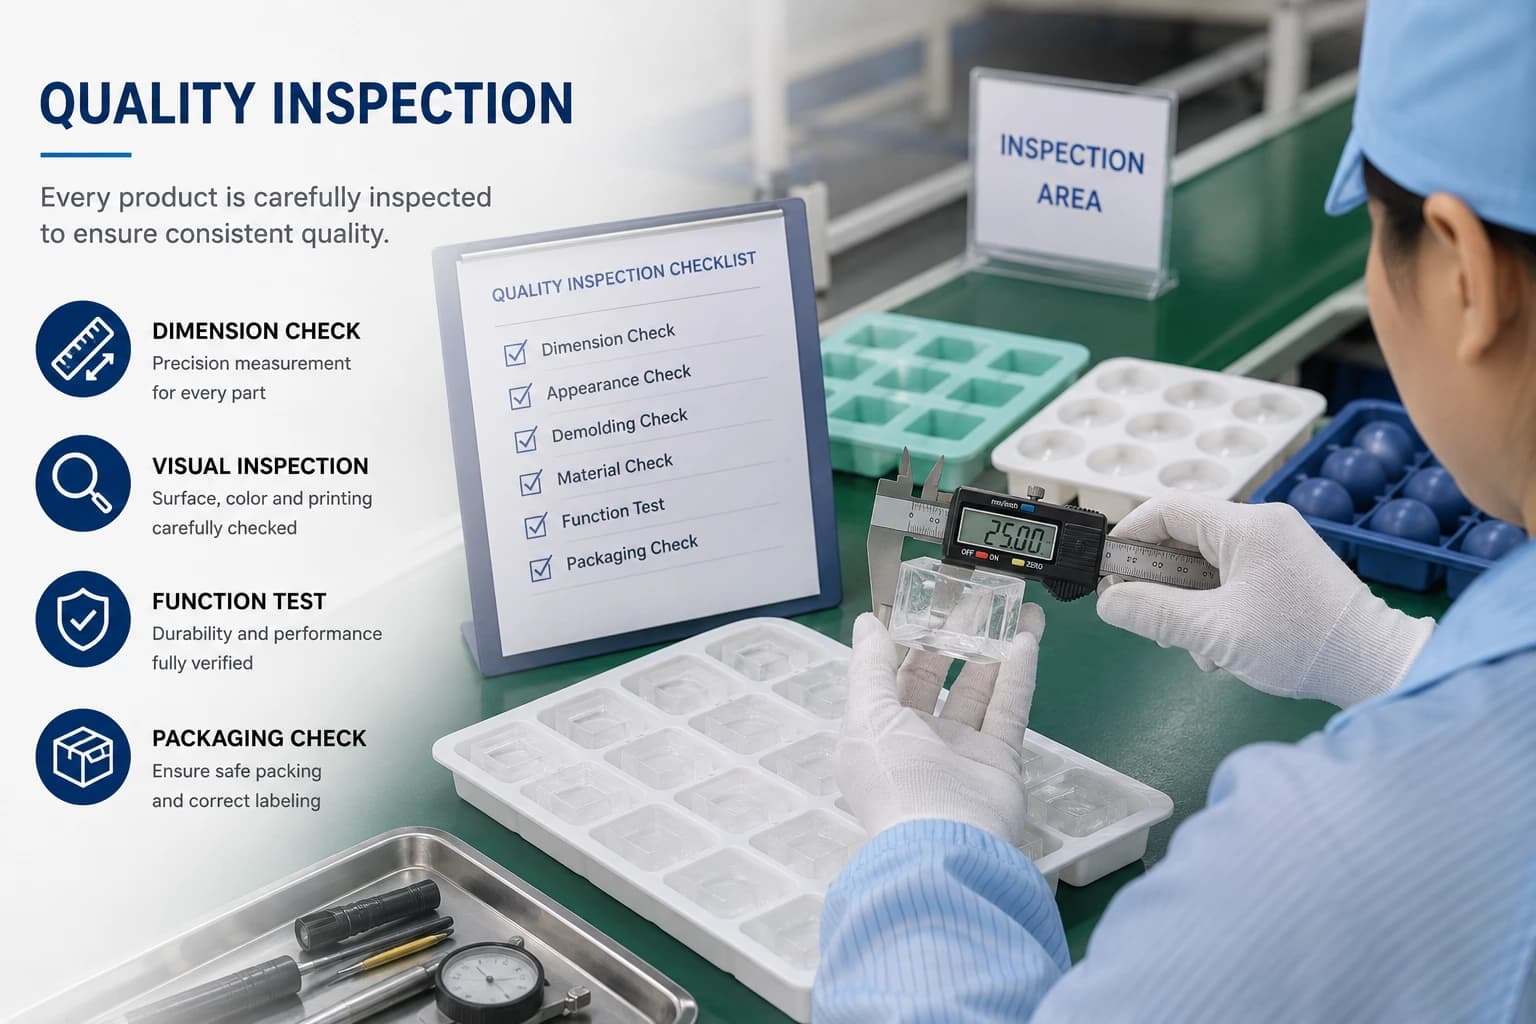
If you are moving from a home setup to a branded or commercial one, the project usually follows a predictable sequence: design review, design-file preparation, tooling, sampling, production, quality inspection, and packaging [K1][K2]. The decisions that most often delay a project are MOQ expectations, tooling lead time, and sample approval — so plan those early [K2].
One caution worth stating plainly: the existence of a product category does not guarantee availability, material composition, or market-specific compliance. Confirm current availability, material composition, dimensions, certifications, MOQ, and lead time before publishing a product page or issuing a quotation [K4]. Compliance planning should be market-specific and should not rely on certification claims that are not supported by current documentation [K2].
6. Key Comparison: Which Method Should You Use?
| Method | Equipment | Typical time | Clarity | Best for |
|---|---|---|---|---|
| Standard tray | Freezer tray | 3–6 hours | Low | Everyday chilling, blended drinks |
| Tray + insulation under mold | Tray, towel or foam | 8–14 hours | Moderate | Small batches with a modest upgrade |
| Directional freezing in a cooler | Small hard-sided cooler | 18–24 hours | High | Whiskey service, stirred cocktails, home bars |
| Directional freezing + custom silicone mold | Cooler or insulated base + mold | 12–24 hours | High, with repeatable shape | Bars, brands, gifting, promotional programs |
| Commercial clear ice | Block maker, band saw | N/A | Highest, most consistent | High-volume bar programs where cost is justified |
Storage and serving considerations
- Store clear ice in a sealed bag or container. Clear ice has a large surface area and picks up freezer odors quickly.
- Keep it cold but stable. Repeated temperature swings cause surface cracking.
- Temper before serving. Cold straight from the freezer can shatter in a warm glass.
- Use tongs, not fingers. Oils and salt from skin dull the surface.
- Expect slow melting. Larger, denser cubes dilute a drink more gradually, which is the point.
Common pitfalls
- Freezing in a thin plastic tray and expecting clarity from water treatment alone.
- Stacking items on top of the cooler, which creates a second cold surface and reintroduces multi-directional freezing.
- Cutting the block too soon after removal, before it has tempered.
- Assuming a mold with a very complex cavity will release cleanly in a domestic freezer.
7. FAQ
Q1. Can I get crystal clear ice cubes using a normal silicone tray?
Not usually, if the tray sits exposed on all sides. Silicone trays freeze from every direction, which traps dissolved gas in the center. You can improve results by setting the tray on an insulating layer of towel or foam so the bottom freezes last, using boiled-and-cooled water, and reducing freezer airflow across the surface. For consistently clear results, the cooler method described in Section 3 is more dependable. A silicone mold is best used for the shape and release stage, ideally combined with directional freezing.
Before finalizing the specification, use Large Ice Cube Trays for Whiskey: A Buyer’s Guide to Size and Shape as an additional planning reference.
Q2. Does boiling water twice actually make ice clear?
It helps, but it is not a complete solution. Boiling drives off dissolved oxygen and nitrogen, which reduces the number of bubbles that form as ice crystallizes. Boiling twice, cooling covered in between, is a reasonable technique. However, if you then pour the water into a tray that freezes from all sides, you will still get a cloudy core. Water preparation and freezing direction need to work together.
Q3. How long does clear ice keep in the freezer?
Clear ice stored in a sealed bag or airtight container generally holds up for several weeks without noticeable quality loss, though it will slowly sublimate and develop a frosty surface. The bigger risk is odor transfer — clear ice absorbs freezer smells more readily than you might expect. Portion it into sealed bags, keep it away from strongly scented food, and avoid repeated thaw-and-refreeze cycles.
Q4. When does a custom silicone ice mold make sense for a bar or brand?
It makes sense when shape, branding, or repeatability is part of the experience — for example, a logo cube, a specific sphere size, or a program where every serve should look identical. Custom silicone ice molds can be developed around cavity design, shape, size, color, logo, and packaging [K1]. The typical development path runs from design review through tooling, sampling, and production, with MOQ, tooling, and lead time as the main planning variables [K2]. Ice molds also fit household, kitchen, and promotional use cases, so the same development work can serve multiple channels [K4]. Before publishing or quoting, verify current availability, material composition, dimensions, certifications, MOQ, and lead time [K4].
8. Conclusion
The short answer to how to get crystal clear ice cubes at home is directional freezing. Slow the freeze, control which surface is exposed to freezer air, and let the impurities collect in a layer you can cut away. Water treatment — boiling, filtering, or distilling — supports that process, but it does not replace it.
For most readers, the practical upgrade path looks like this:
- Start with a small hard-sided cooler and filtered water. Accept that you will lose the cloudy bottom third.
- Add insulation under your existing trays if you want a smaller, faster improvement.
- Move to a mold — silicone or otherwise — once you know the cube size and shape you actually want to serve.
- Consider custom development if you are producing at bar scale or building a branded program, and confirm the specifications and documentation before you commit to production [K2][K4].
Clear ice is one of the few drink upgrades that costs almost nothing but planning time. The freezer does the rest.