Key Takeaways
- Wall thickness is one of the first engineering decisions in a custom silicone ice tray project because it directly affects ice release, durability, and unit cost.
- Thinner walls improve flexibility and make ice easier to pop out, but they can reduce shape stability and tear resistance. Thicker walls add stability and longevity but consume more silicone material and can slow curing.
- There is no universal "best" thickness. It depends on cavity size, shape complexity, silicone hardness, and how the end user will handle the tray.
- A reliable silicone OEM/ODM partner will evaluate your design files before quoting mold fees, sample lead times, and production costs [K4].
- The custom-sample stage is your best chance to validate wall thickness in real conditions. Custom samples typically take 7–10 working days after design confirmation [K4].
1. Introduction
Buying a custom silicone ice tray looks simple from the outside: choose a shape, pick a color, add a logo. But behind that simple process sits a set of engineering decisions that determine whether the final product feels great or frustrating to use. One of the most overlooked is wall thickness.
Wall thickness quietly controls three things every buyer cares about: flexibility (how easily the tray twists to release ice), stability (how well the tray holds its shape when filled with water), and cost (how much silicone material and production time each unit consumes).
Buyers often ask whether the wall should be thin for easy release or thick for durability. The answer is not either/or. It is a balance, and the right balance changes with every design. This article explains the tradeoffs in practical terms and gives you a decision framework to discuss wall thickness with manufacturers — from design review and 3D confirmation through tooling, sampling, and mass production [K2][K4].
2. Why Wall Thickness Matters in a Custom Silicone Ice Tray
Core conclusion: Wall thickness controls the three factors buyers care about most, and it interacts with cavity design, silicone hardness, and the intended use case.
Flexibility
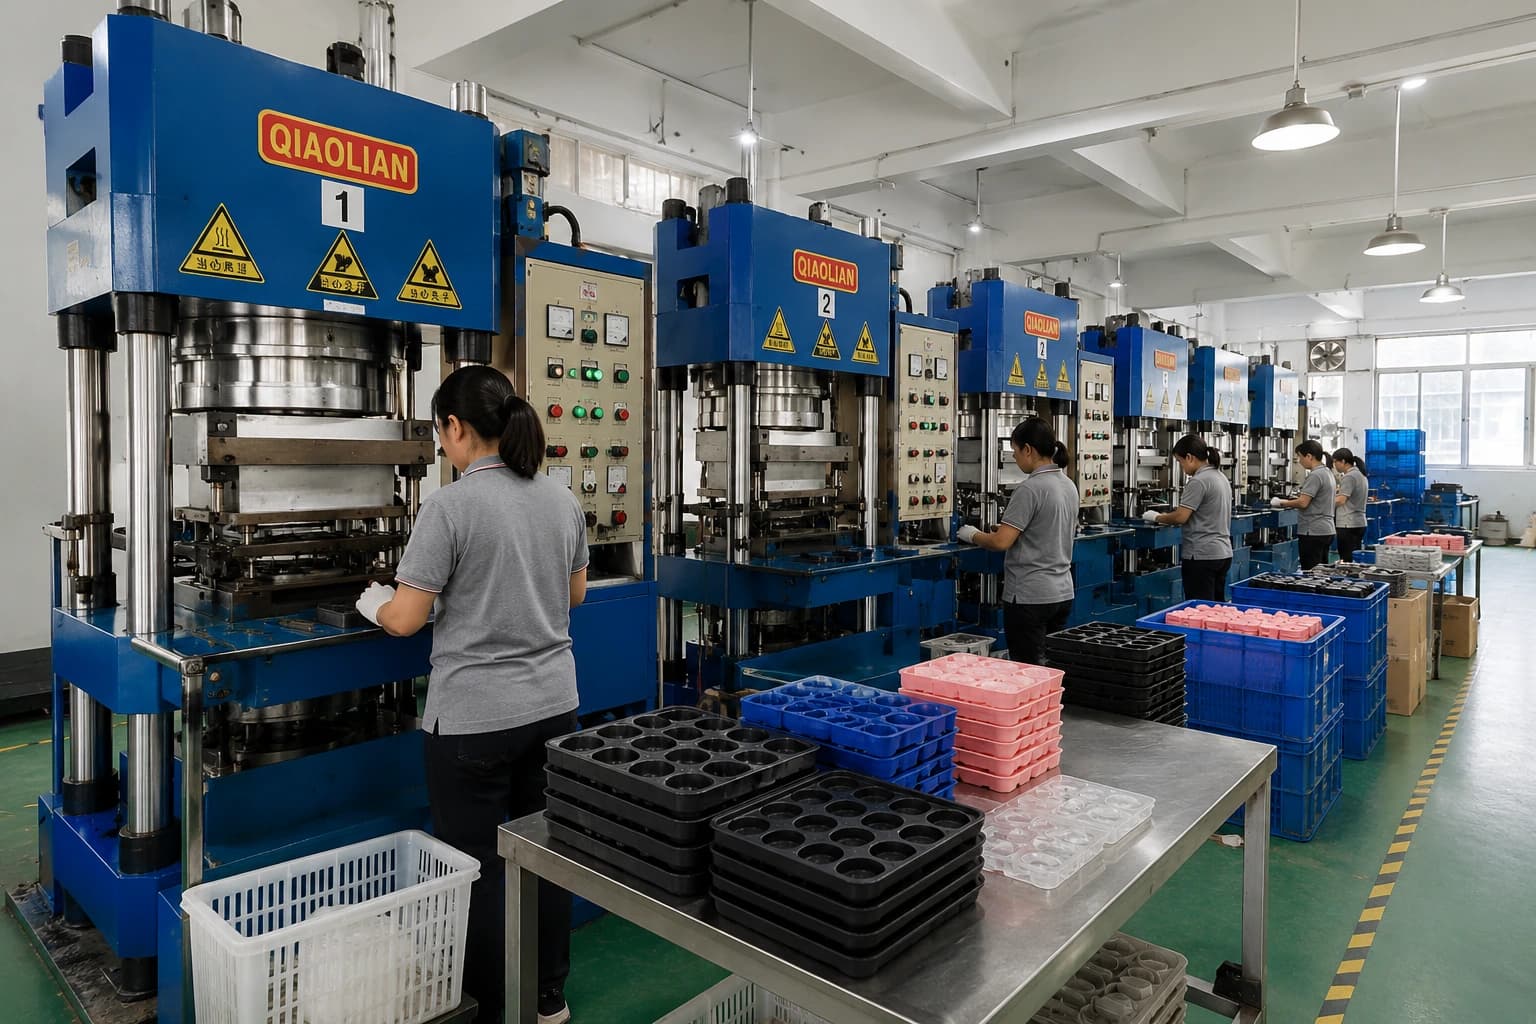
Thinner walls flex more, which makes it easier to twist or push the tray to release ice cubes. This matters most for large, detailed, or branded ice shapes where ice tends to stick to the cavity walls. A more flexible tray also feels more comfortable in the hand during twisting.
However, "thinner" is not automatically better. If the wall is too thin, the tray can feel flimsy, and stress points around cavity edges may tear after repeated freeze-thaw cycles.
Stability
Thicker walls hold the tray's shape when filled with water. A very flexible tray may bulge or distort under the weight of liquid, which leads to uneven ice sizes and makes stacking or storage in a freezer more difficult. Thicker walls also improve durability. A tray that is twisted dozens of times over months of use needs enough material to resist fatigue and tearing.
For a related manufacturing reference, review custom silicone ice mold manufacturing.
Cost
Material is a measurable part of production cost. Thicker walls mean more silicone per unit, which raises material consumption and per-unit price. They can also slightly extend curing time during production, which affects scheduling for large orders. These are real cost levers. But they should be weighed against fewer returns, less breakage, and a better user experience — a tray that fails after a month is more expensive than one that costs a few cents more to produce.
Practical advice: Define the user scenario before you set the thickness. A promotional giveaway tray used occasionally can tolerate a lighter wall. A daily-use kitchen product, or a tray carrying large novelty shapes, needs a more robust wall.
3. How Wall Thickness Interacts with Design and Material
Core conclusion: Wall thickness is not an isolated specification. It works together with cavity depth, shape complexity, silicone hardness, and the food-contact grade of the material.
- Cavity depth and draft angle: Deep cavities with narrow openings trap ice more easily. A thinner wall around the cavity improves flex-release, but if it is too thin, the cavity itself may distort during demolding or filling.
- Silicone hardness: Softer silicone compounds flex more at the same wall thickness. A manufacturer may adjust hardness rather than thickness to achieve the desired feel. This conversation is worth having before tooling starts.
- Temperature range: Food-grade silicone for ice molds typically resists from -40°C to 240°C (-40°F to 464°F) [K3]. Low-temperature performance is rarely the limiting factor. The bigger concern is repeated flexing at low temperature, which favors walls thick enough to resist tearing.
- Customization scope: Cavity design, product shape, size, color, logo, and packaging can all be customized [K1]. Wall thickness should be reviewed as part of the whole design package, not as a single number on a drawing.
Practical advice: Ask your manufacturer to review the wall thickness in relation to the 3D design. This typically happens at the design-review stage, before mold making begins [K2]. A good OEM/ODM partner will flag potential release, demolding, or durability issues before you commit to tooling.
4. Cost, Sampling, and Production Planning
Core conclusion: Wall thickness affects the project timeline and budget, but the impact is manageable if you plan through the standard sampling and tooling milestones.
For additional context on this decision, see Silicone Hardness for Ice Molds: How Shore A Affects Release and Durability.
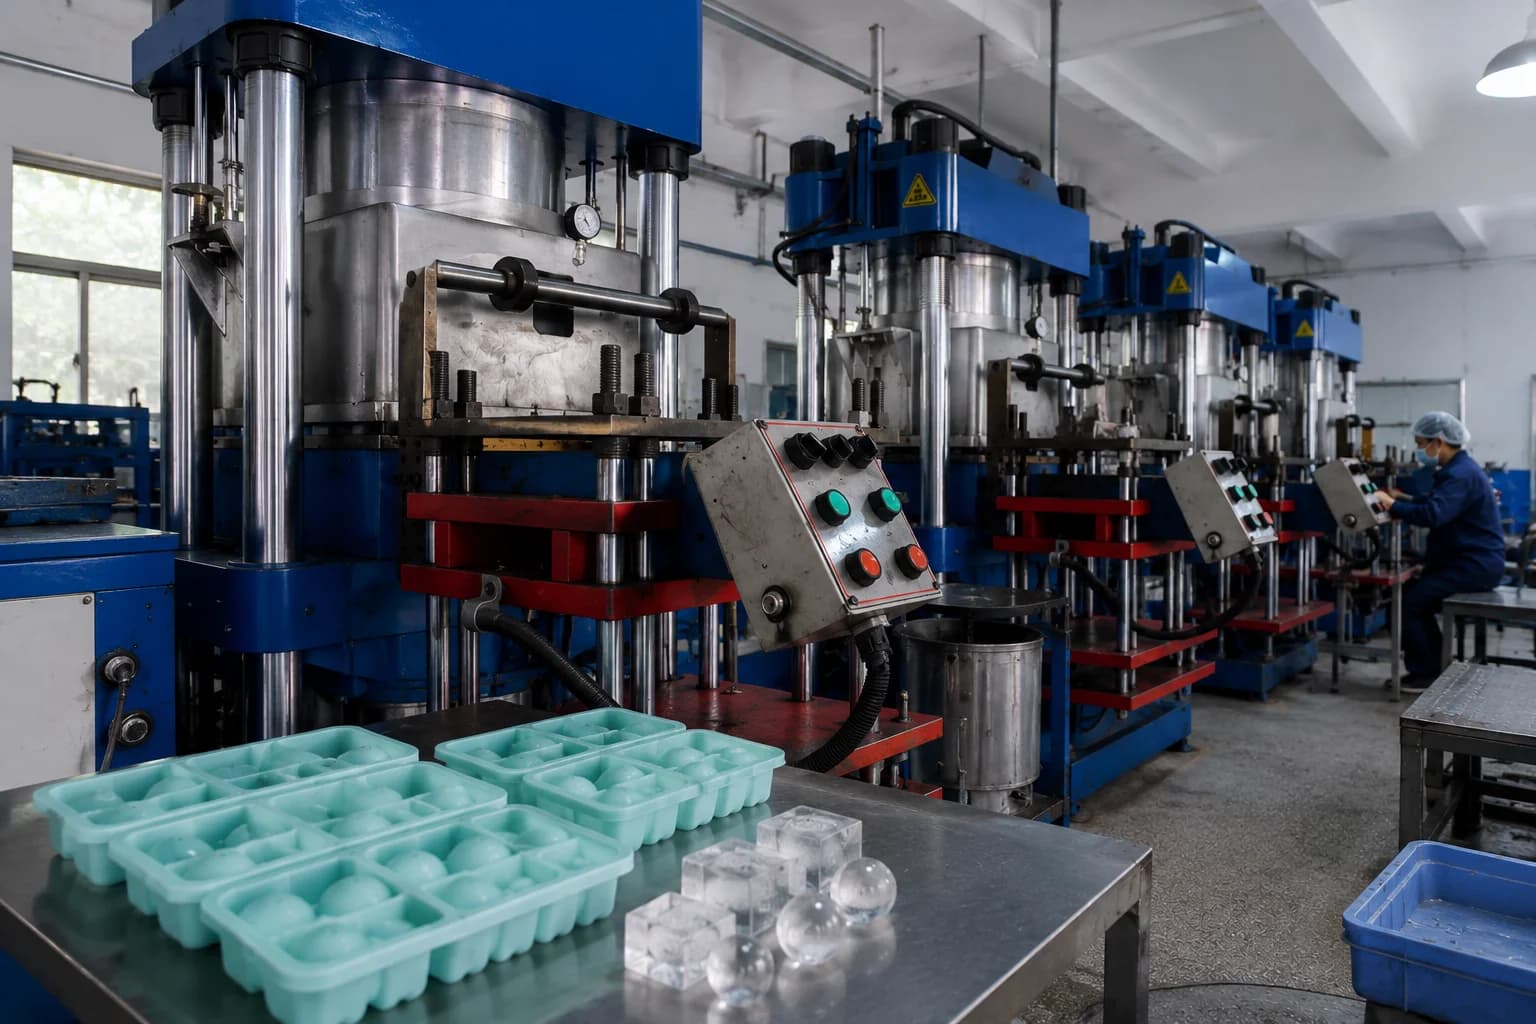
The following milestones come from verified commercial terms for custom silicone projects [K4]:
Where wall thickness shows up in cost
- Tooling: Complex cavity shapes combined with very thin or very thick walls can require more careful mold design. Share your target wall thickness early because the mold fee is quoted after design-file review [K4].
- Material consumption: Thicker walls increase silicone weight per unit, which raises per-unit material cost.
- Cycle time: Thicker sections can take longer to cure. For large production runs, this affects scheduling and delivery planning.
Where wall thickness shows up in the timeline
- Design review: Catching a thickness problem at the 3D stage is far cheaper than catching it at sampling or production. The mold lead time is about 15 working days after 3D design confirmation, so changes made later reset that clock [K4].
- Sampling: Custom samples are the moment to test flexibility, stability, and release performance. Use the 7–10 day custom-sample window to validate the wall specification before mass production [K4].
Practical advice: Do not approve a sample based only on appearance. Fill it with water, freeze it, twist it, and observe how the ice releases. That is the fastest way to confirm the wall thickness is right for the real use case.
5. Key Comparison: Thin vs. Thick Walls in a Custom Silicone Ice Tray
The table below summarizes the directional tradeoffs. It is a decision aid, not a fixed specification.
| Factor | Thinner wall | Thicker wall |
|---|---|---|
| Flexibility and ice release | Easier to twist and flex; better for detailed shapes | Stiffer; may require more effort to release large or deep ice shapes |
| Shape stability | More prone to bulging when filled with water | Holds shape well; more uniform ice sizes |
| Durability | More prone to tearing at stress points over repeated use | Better resistance to repeated freeze-thaw cycles and twisting |
| Material cost | Lower silicone usage per unit | Higher silicone usage per unit |
| Production considerations | May be harder to demold from tooling in complex cavity designs | Longer curing time possible; more material per cavity |
| Best fit | Promotional items, simple shapes, cost-sensitive programs | Daily-use kitchen products, large or deep cavities, branded shapes |
The optimal thickness for your project should be confirmed through design review and custom sampling, not assumed from a generic standard [K2][K4].
Before finalizing the specification, use How Cavity Layout Affects Filling, Freezing, and Release in Silicone Ice Trays as an additional planning reference.
6. FAQ
Q1. What is the best wall thickness for a custom silicone ice tray?

There is no single universal thickness. The right value depends on cavity size, shape complexity, silicone hardness, and how the tray will be used. Instead of copying a number from another product, define your priorities — flexibility, stability, or cost — and review the wall specification with your manufacturer at the design stage, before tooling starts [K2][K4].
Q2. Will a thinner wall make ice cubes easier to remove?
Generally, yes. Thinner walls flex more, which helps release ice from detailed or deep cavities. But if the wall is too thin, the tray may feel flimsy, distort when filled with water, or tear after repeated use. The practical goal is the thinnest wall that still delivers stable shape and acceptable durability for the intended use.
Q3. How does wall thickness affect the price of a custom silicone ice tray?
Thicker walls use more silicone material, which raises per-unit material cost. They can also affect tooling complexity and production cycle time. Since mold fees are quoted after design-file review, share your target wall thickness early so the quote reflects the real design rather than an assumption [K4].
Q4. How can I test wall thickness before mass production?
Use the custom-sample stage. After design and specification confirmation, custom samples usually take 7–10 working days [K4]. Test the sample by freezing it with water, checking ice release, shape stability, and resistance to twisting. Confirm any changes to the wall specification in writing before mold making begins.
7. Conclusion
Wall thickness is the quiet engineering decision that determines whether a custom silicone ice tray feels right, lasts long, and fits the budget. Thin walls maximize flexibility and release; thick walls maximize stability and durability. The right balance depends on your design, material choice, and use case — not on a generic rule.
Practical next steps:
- Define your priorities — flexibility, stability, or cost — before approaching a manufacturer.
- Prepare your design files and note the target wall thickness on the drawing.
- Request a design review so the manufacturer can evaluate the wall spec before tooling is committed [K2].
- Use the custom-sample stage to test freeze, release, and durability in real conditions [K4].
- Confirm the final specification in writing before mass production starts.
A capable silicone OEM/ODM partner will guide you through design review, tooling, sampling, and production with practical project support [K5]. Choose one that treats wall thickness as a design decision to be tested and validated, not a default that ships without discussion.