Key Takeaways
- Personalization in whiskey ice usually comes down to two formats: a sphere mold for slow-melting, low-dilution service, and a monogram or logo tray for brand-visible ice.
- Customization is not limited to shape. Cavity design, size, color, logo, artwork, and packaging can all be specified in a single development brief [K1].
- A custom mold project follows a repeatable sequence — design review, tooling, sampling, sample approval, production, inspection, and packaging — rather than a straight quote-to-shipment path [K3].
- Tooling fees, MOQ, and lead times are confirmed per project after design evaluation. Any supplier that publishes unconditional numbers before reviewing your design should be treated carefully [K5].
- Buyers who prepare usable design files and a written sample-approval standard early tend to move through development with fewer revisions.
1. Introduction
Whiskey service has quietly become a branding channel. Bars use a single large piece of ice as part of the drink's visual identity. Distilleries and spirits brands use branded ice in tasting rooms, launch events, and gift sets. Promotional distributors look for a product that a client can hand to a customer and that survives long after the event. In each case, the same request shows up: custom ice molds for whiskey, most often as a personalized ice cube mold sphere or a monogram ice tray.
The difficulty is not finding a supplier. It is knowing what to specify, what a realistic development path looks like, and where the commercial boundaries sit. Buyers routinely arrive with three unresolved questions: which format actually fits my use case, how much can I customize beyond shape, and what happens between my idea and a shipped carton.
This article answers those three questions in order. It compares the main ice formats for whiskey, maps the customization dimensions available in a silicone OEM/ODM program, walks through the development process step by step, and closes with a buyer checklist and an FAQ. Where commercial terms are involved, the guidance follows a simple principle: confirm, in writing, after design review — not before.
2. Choosing the Format: Sphere, Cube, or Monogram Tray
Core conclusion: start with the drinking occasion and the brand touchpoint, then choose the mold. The shape decision follows from those two variables, not the other way around.
A sphere or large-cube mold serves the drink itself. A single large piece of ice has less surface area relative to its volume than several small cubes, so it typically melts more slowly and dilutes the whiskey more gradually. That is the practical reason a sphere mold appears in premium whiskey service rather than a tray of small cubes. The trade-off is handling: large-format ice needs to sit level in the glass, and molds that produce one large piece per cavity produce fewer units per cycle than a multi-cavity tray.
A monogram or logo tray serves the brand. The ice itself becomes the message — a letter, an emblem, or a word readable in the glass or on a serving tray. For spirits brands, hotels, and event marketers, this is often the entire point of the purchase. The design constraint is legibility: fine lines and thin strokes are harder to reproduce cleanly in a cavity than bold, simplified shapes.
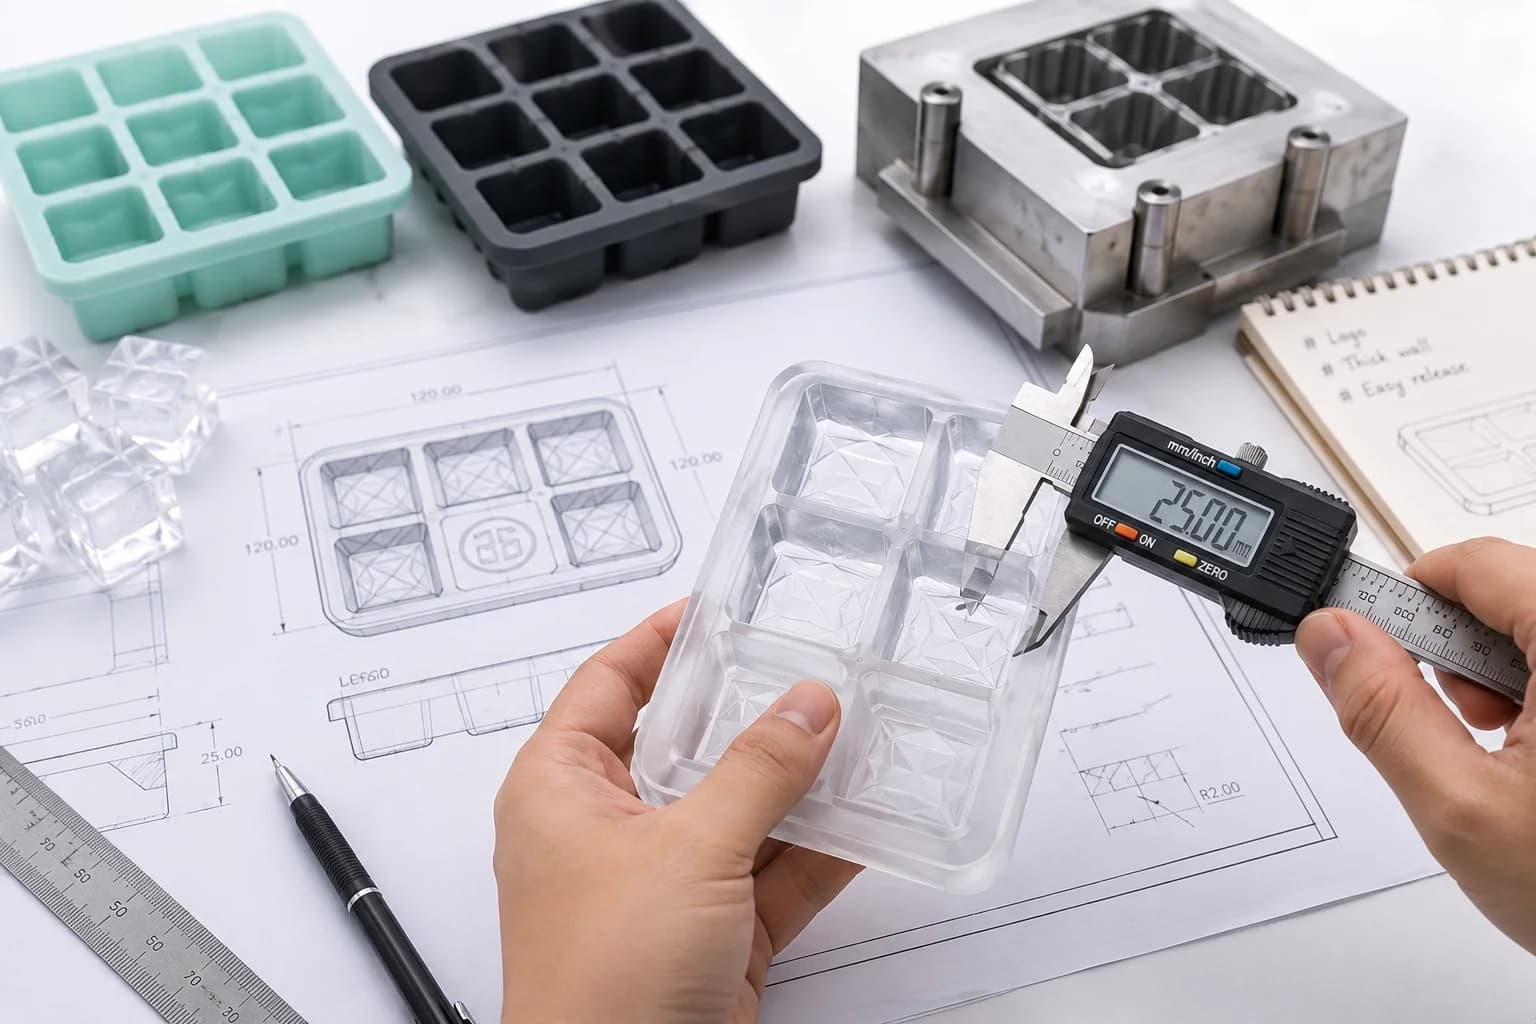
For promotional distributors, a multi-cavity cube tray often works best because it balances unit economics with brand visibility on the tray or packaging rather than in the ice. It is worth noting that ice molds sit inside a broader silicone portfolio that includes ice block molds, ice ball trays, and popsicle molds, so a buyer planning a gift set may be able to consolidate several components into one development program [K2]. Product availability should always be verified against current production before it is committed to a catalog or quotation.
Practical advice: write a one-paragraph use-case brief before contacting suppliers. State where the ice is used (back bar, tasting room, retail gift box), how many pieces per serve, and whether the brand mark must appear in the ice or on the packaging. That brief drives every downstream specification.
3. What You Can Actually Customize
Core conclusion: in a silicone OEM/ODM program, customization is a defined set of variables, not an open-ended creative request. Knowing the list up front shortens the design conversation.
The typical customization scope covers cavity design, product shape, size, color, logo, and packaging [K1]. Each variable carries its own cost and risk profile, and they interact.
| Customization variable | What it controls | Buyer consideration |
|---|---|---|
| Cavity design | Ice shape: sphere, cube, block, letter, emblem | Bold, simple geometry reproduces more reliably than fine detail |
| Product shape | Mold body format: single-cavity, multi-cavity, lidded | More cavities per mold affects cycle time and unit economics |
| Size | Ice diameter or cube dimensions | Must fit the glassware actually used at the venue |
| Color | Mold body color | Affects brand matching and, in some cases, minimum run planning |
| Logo | Debossed or printed branding on the mold | Distinguish mold branding from ice branding — they are different specifications |
| Packaging | Retail box, sleeve, insert, gift set | Often the main driver of perceived value in gifting channels |
Two points are frequently misunderstood. First, branding the mold and branding the ice are separate design decisions. A logo on the mold body is a packaging-level feature; a monogram cavity is a product-level feature. Second, silicone is a flexible material, so cavity geometry has to account for demolding. Deep undercuts and near-vertical walls can make release difficult, which is a design-review issue rather than a production surprise.
Practical advice: prepare artwork as clean vector files, and confirm the target market's expectations for food-contact silicone before sampling rather than after. When compliance documentation is required, it should be planned per market and per product, without assuming that one document set applies everywhere [K3].
For buyers who want to see how a full design brief translates into a manufacturable mold, a structured custom silicone ice mold development process is the right starting point — it forces the shape, size, and branding decisions to be made together instead of sequentially.
4. From Design Review to Production: How the Project Actually Runs
Core conclusion: custom ice mold projects are staged, and each stage produces a decision. Treating the sequence as a checklist is the single most reliable way to avoid late surprises.
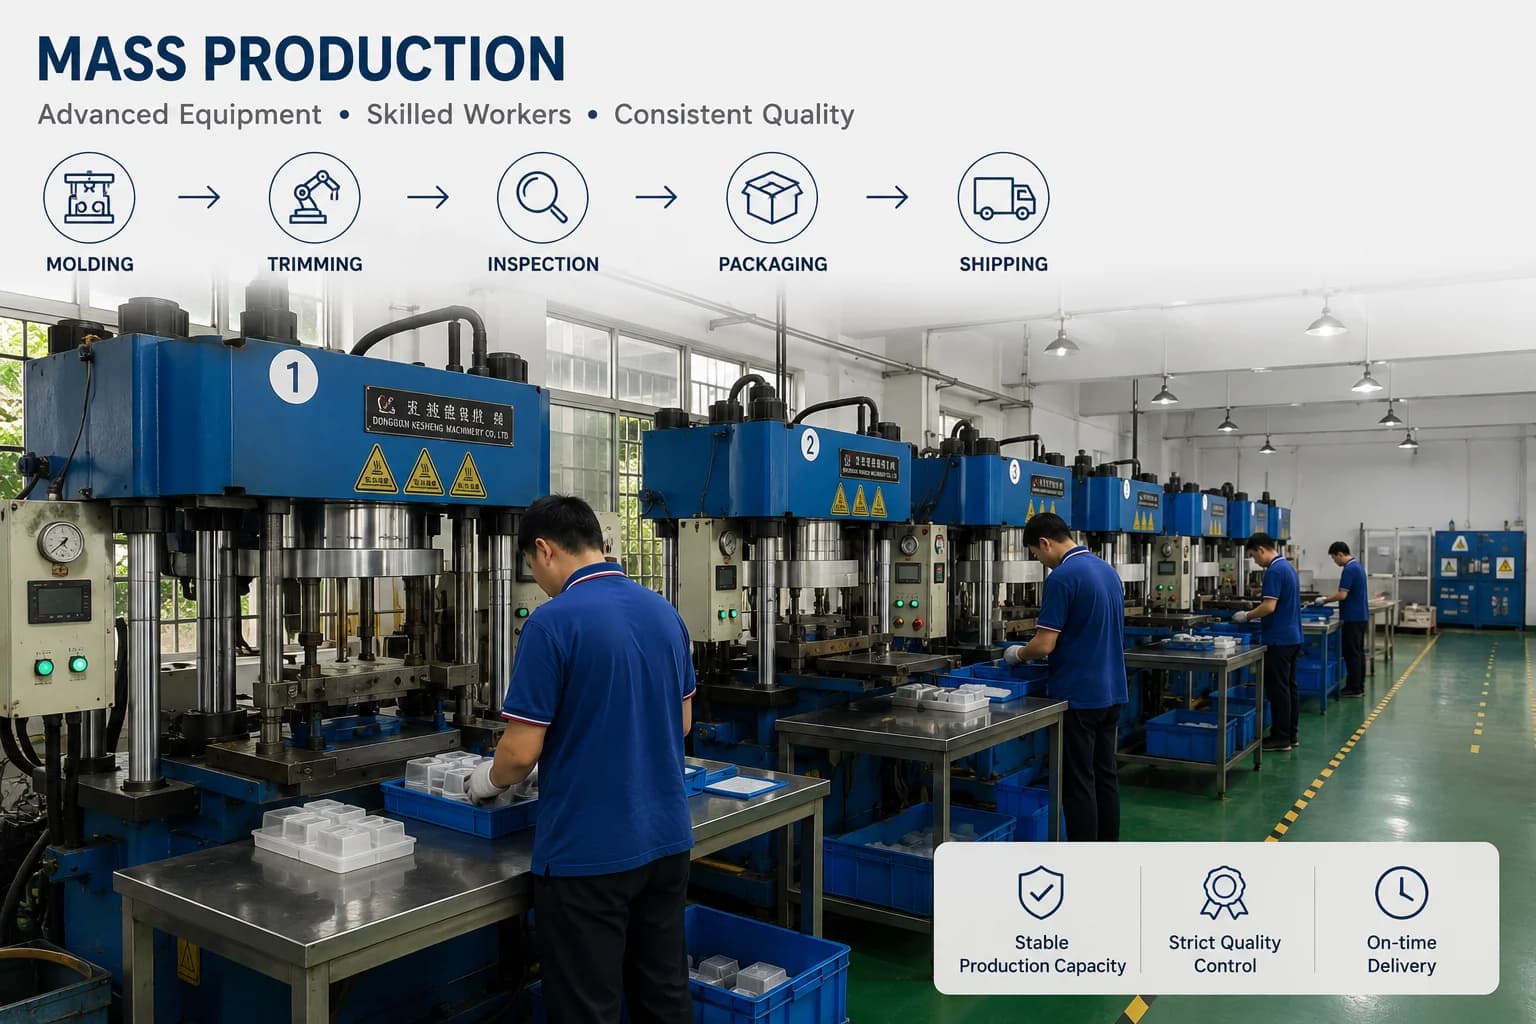
The typical path looks like this:
- Design review. The supplier evaluates the concept for moldability, cavity layout, and material suitability, then confirms the specification.
- Tooling. Once the design is settled, tooling is planned and quoted. Tooling scope depends on the geometry — which is why a fixed mold fee cannot be published before evaluation [K5].
- Sampling. A sample is produced from the tooling so the buyer can physically evaluate shape, finish, branding, and function.
- Sample approval. The buyer approves against a written standard — dimensions, appearance, branding placement — so the production run has a reference point.
- Production. The approved configuration moves to volume manufacturing.
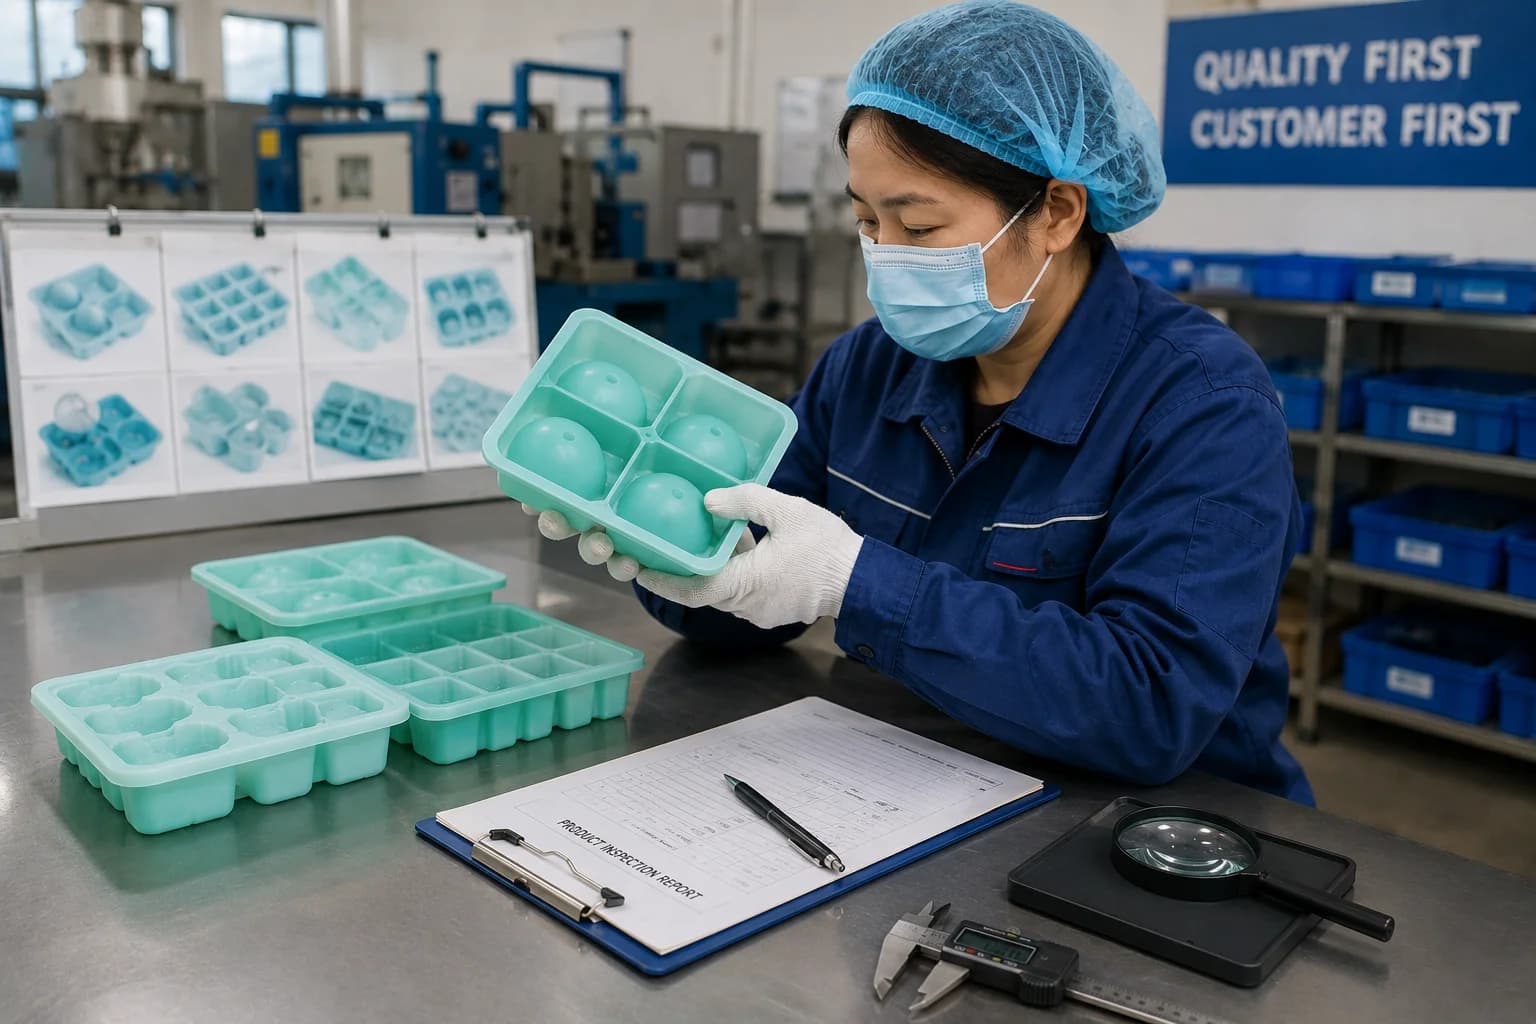
- Inspection. Pre-shipment inspection verifies the goods against the approved sample and the agreed inspection criteria.
- Packaging and shipment. Retail packaging, inserts, and cartons are finalized, then the shipment is prepared.
Two commercial boundaries matter here. First, sampling, tooling, and production dates should be confirmed in writing after project review rather than assumed at inquiry stage [K5]. Second, MOQ depends on the specific project — cavity configuration, color, and packaging all influence the run size, so a single number cannot be applied to every custom request [K5].
Practical advice: agree the sample-approval criteria before the sample is made. If you approve a sample on appearance alone, you have no basis for rejecting a production run that meets the same appearance but misses a dimension. Buyers who want a fuller picture of how projects move from design review into production can review the silicone OEM/ODM project workflow before the first technical call.
5. Sourcing Checklist: Questions to Ask Before You Approve
Core conclusion: the questions you ask at the sampling stage determine how much risk you carry at the shipment stage.
Use this checklist in the first technical conversation:
- Design files: What format do you need, and what level of detail is required for cavity artwork?
- Tooling: What is included in tooling scope for this specific geometry?
- Sampling: What is the sample lead time, and what does the sample represent — a tooling trial or a production-equivalent part?
- MOQ: How does MOQ change with cavity count, color, or packaging?
- Inspection: What are the pre-shipment inspection criteria, and who defines the acceptance standard?
- Compliance: What market-specific documentation can be prepared for the destination country, and what must be verified per product? [K3]
- Packaging: Can the mold be supplied in retail-ready packaging, or is that a separate development line?
- Ownership: Who holds the tooling, and under what conditions?
A supplier operating with an evidence-aware approach should be able to answer these without over-promising. The buyer-facing standard worth looking for is a combination of custom development capability, responsive project guidance, and compliance planning that stays within what can actually be documented [K4].
6. Key Comparison: Matching Format to Use Case
| Format | Best-fit use case | Branding mechanism | Development notes |
|---|---|---|---|
| Sphere mold | Premium whiskey service, single-serve presentation | Optional mold branding | Larger cavity, slower cycle per piece; glassware fit must be confirmed |
| Large cube / block mold | Whiskey bars, tasting rooms | Optional mold branding | Strong slow-melt profile; stacking and storage matter at the venue |
| Monogram / logo tray | Spirits brands, hotels, events, corporate gifting | Brand mark appears in the ice | Legibility depends on bold, simplified geometry; artwork should be simplified early |
| Multi-cavity cube tray | Promotional distribution, volume gifting | Branding typically on tray or packaging | Best unit economics; less differentiation in the glass |
7. FAQ
Q1. What is the difference between a sphere mold and a monogram ice tray?
A sphere mold produces a single large, round piece of ice, which is used mainly to slow dilution in a served whiskey. A monogram ice tray produces ice shaped with a letter, logo, or emblem, so the brand mark is visible in the drink or on a serving tray. The first is a service-format decision; the second is a branding decision. Some projects combine both by developing a sphere cavity and a separate branded cavity within the same program.
Q2. Can I put my logo on the ice rather than on the mold?
Yes — that is what a monogram or logo cavity does. Two practical cautions apply. Fine strokes are harder to reproduce reliably than bold shapes, so artwork should be simplified for cavity geometry. And it helps to decide early whether you also want the logo debossed on the mold body or printed on the retail packaging, because those are separate specifications with separate cost implications [K1].
Q3. What MOQ and tooling cost should I expect?
There is no single answer that applies to every custom project. MOQ depends on the specific cavity configuration, color, and packaging, and a mold fee cannot be fixed before the design has been evaluated [K5]. The workable approach is to submit the design brief, receive a project-specific quotation after review, and confirm the numbers in writing before tooling begins.
Q4. How long does a project take from design to shipment?
The sequence is design review, tooling, sampling, sample approval, production, inspection, and packaging. Duration depends on design complexity, revision cycles, and packaging requirements. Because these variables differ per project, sampling, tooling, and production dates should be confirmed in writing after review rather than assumed at inquiry stage [K5].
8. Conclusion
Custom ice molds for whiskey are a small product category with an unusually wide range of uses — bar service, brand marketing, retail gifting, and promotional distribution all pull the specification in different directions. The practical way to navigate that is to decide the format from the use case first: a sphere or block mold when dilution control is the priority, a monogram or logo tray when the brand mark is the priority, and a multi-cavity tray when volume and cost per unit dominate.
From there, the process is predictable. Define the customization variables — cavity design, shape, size, color, logo, and packaging — as one brief. Move through design review, tooling, sampling, and sample approval with a written acceptance standard. And keep commercial expectations in the right order: project review first, confirmed MOQ, tooling, and dates second. That sequence protects both the buyer's budget and the supplier's ability to deliver something the buyer will actually approve.
If you are ready to move forward, the most useful next step is a design brief and a set of vector artwork files. That is enough for a supplier to evaluate moldability, propose a cavity layout, and give you a project-specific quotation you can compare against alternatives.