Key Takeaways
- A logo that looks sharp in a design file can turn out faint, blurry, or incomplete inside a frozen ice cube. Ice is translucent, so print-design rules do not apply.
- The three variables that decide logo readability in a custom ice mold are line width, cavity depth, and placement. Simpler, bolder artwork reproduces far more reliably.
- Custom silicone ice molds are produced as negative cavities; every logo detail you see on the mold appears as a raised or recessed form in the ice. [K1]
- A custom sample is the only dependable way to verify logo readability before mass production. Custom samples typically take 7–10 working days after design confirmation. [K4]
- Buyers should use a silicone OEM/ODM manufacturer's design review and sampling process rather than trying to solve logo problems only in the artwork file. [K1][K2]
1. Introduction
Custom ice molds have become a practical branding tool. Bars, restaurants, whisky brands, wedding planners, and corporate gift buyers use a custom logo ice cube mold to put a name, monogram, or symbol directly into a drink. The effect is visible, photogenic, and memorable — when the logo is actually readable.
The most common frustration is this: the logo looks crisp in the artwork file, but after freezing, the symbol is soft, broken, or nearly invisible. In some cases, the logo is clearly visible in the silicone mold but disappears in the ice. This is rarely a factory defect. It is a design problem.
Here is why. Every custom silicone ice mold starts as a cavity inside food-grade silicone, and the frozen ice cube is a copy of that cavity. [K1] What you see when you look at a business card, a website, or a product label is flat, opaque, and printed in high resolution. What you get in ice is a three-dimensional, translucent, light-scattering object. These are completely different reproduction conditions.
This article explains the factors that determine logo detail in custom ice molds — specifically line width, depth, and readability — and how these factors affect design review, sampling, lead times, and sourcing decisions. It is written for brand managers, procurement teams, and buyers who are working with a silicone OEM/ODM manufacturer and need a logo that survives the transition from vector file to frozen product.
2. Why Logo Detail Is Different in Ice
Core conclusion: logo readability must be evaluated inside the ice, not on the mold surface.
When you look at a silicone ice cube tray, you are seeing a negative version of the final product. The logo is recessed into the silicone, and the frozen water takes the shape of that recessed space. [K1] Three physical realities change the outcome:
- Light refraction. Ice is not an opaque surface. It scatters and bends light, which means fine details and narrow strokes lose contrast quickly.
- Water and trapped air. Very small grooves can trap air during filling, and incomplete water flow can create bubbles inside the logo area.
- Demolding stress. Thin or overly deep logo details can stick, stretch, or tear when the ice cube is released from the mold.
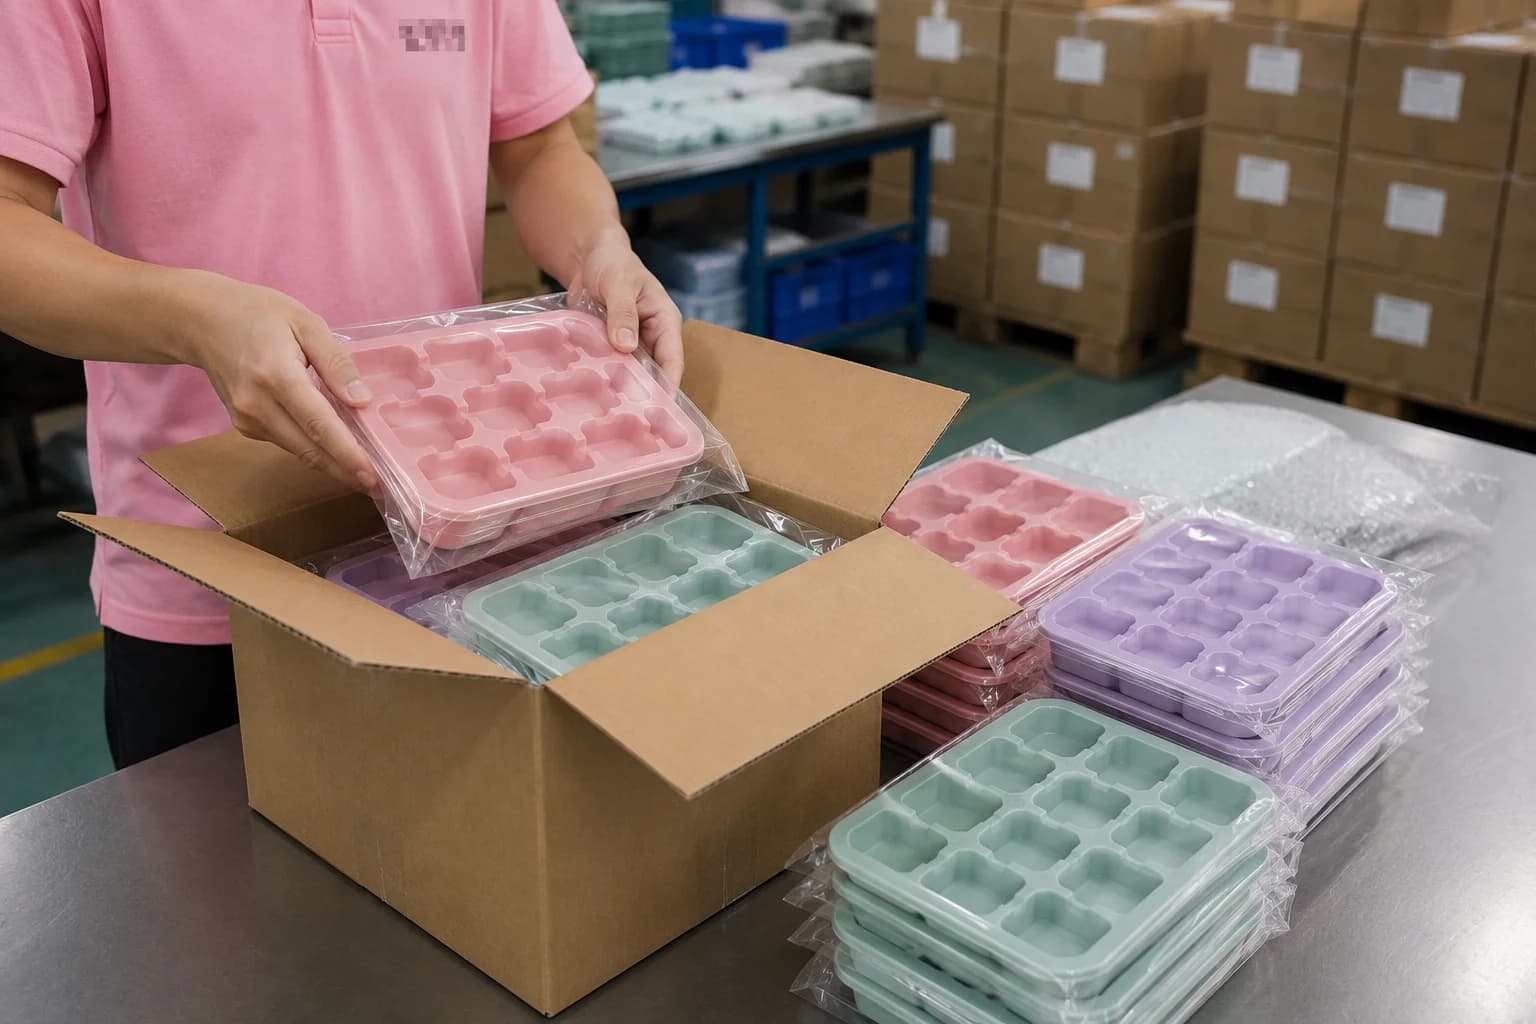
This is why the most reliable logo designs for ice are bold, simple, and high-contrast. Details that work on a business card — thin serifs, tiny gaps, subtle gradients — are usually the first details to fail in ice. The design goal is not maximum detail per square millimeter; it is maximum readability at the size the customer actually sees.
For a related manufacturing reference, review custom silicone ice mold manufacturing.
Practical advice: take your logo, scale it down to the size of your ice cube face (for example, 25 mm or 40 mm), and look at it from arm's length. If you cannot read it easily, it will be harder to read after freezing directly from the mold.
3. Line Width: The First Readability Threshold
Core conclusion: line width is the main variable that determines whether a logo survives both the mold-making process and the freezing process.
In custom silicone ice molds, every logo element is reproduced through a sequence: the customer's design file is reviewed, a 3D design is confirmed, metal tooling is made, and the tooling creates the silicone cavity. [K1][K4] Narrow lines create narrow cavities, and narrow cavities create fragile details with weak contrast in the final ice cube.
Keep these principles in mind:
- Bold lines reproduce more reliably. A wider stroke gives water a larger channel to fill completely and gives the finished ice cube a clearer raised edge.
- Thin, dense details are risky. Hairline strokes, tiny letter spacing, and intricate patterns may appear partially frozen, or may damage during demolding.
- Rounded, sans-serif forms are safer than sharp serifs. Sharp corners in a cavity create stress points and can cause ice to stick unevenly.
- The usable minimum line width has no universal number. The same logo behaves differently in a 20 mm cube and a 50 mm cube. That is why experienced silicone OEM/ODM manufacturers quote a mold fee only after reviewing the customer's design files and project requirements. [K4]
There is no honest "one size fits all" minimum line width for every silicone ice mold. The usable minimum depends on the silicone material, the logo depth, the cube dimensions, and the production method. What can actually be verified is the sample result.
Practical advice: simplify the logo before sending files to the manufacturer. Remove ultra-thin strokes, small enclosed shapes, and text smaller than you would print on a business card. If possible, prepare a version of the logo built specifically for the mold rather than sending the original marketing logo.
4. Depth and Contrast: How Deep Should the Logo Sit?
Core conclusion: deeper logo cavities produce stronger contrast in the ice, but depth has practical limits set by the cube size, the mold material, and demolding behavior.
Depth determines how much the logo rises (or sinks) relative to the ice surface. A deeper cavity in the silicone creates a more prominent relief in the ice cube, which means clearer definition when light passes through. Shallow engraving can work for decorative patterns, but a brand logo usually needs enough relief to create a visible edge. The food-grade silicone used for these molds is odorless and withstands temperatures from -40°C to 240°C (-40°F to 464°F), so the material itself performs reliably through repeated freezing cycles. [K3]
For additional context on this decision, see Embossed vs. Debossed Logo Ice Molds: Which Produces Clearer Branded Ice?.
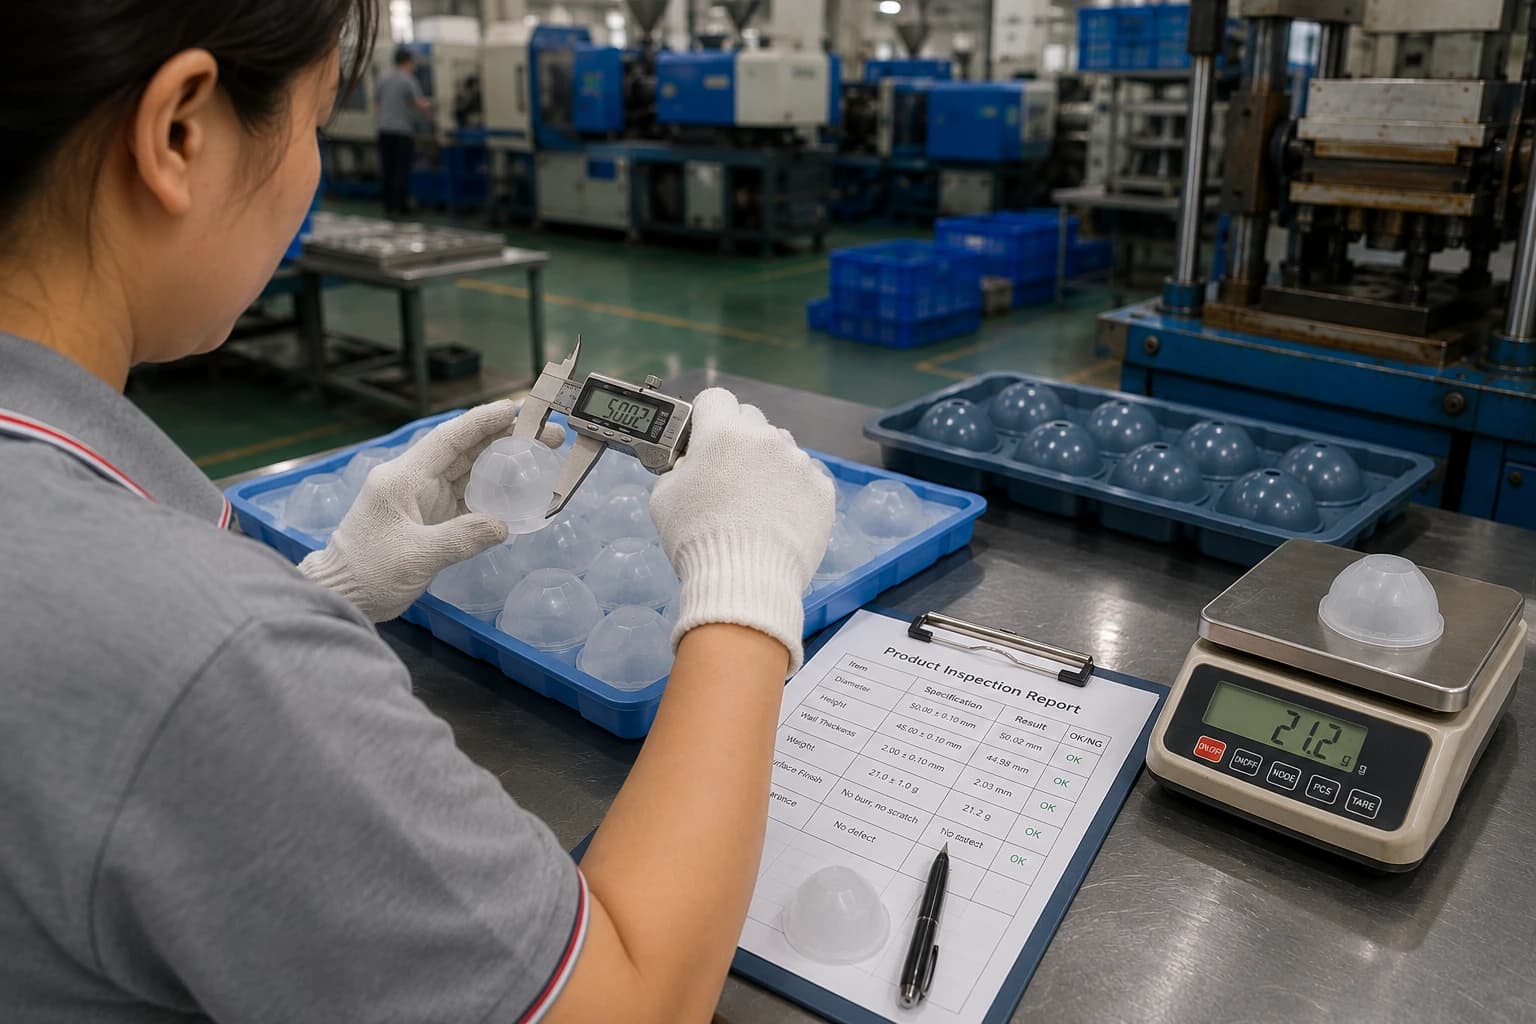
Important factors to weigh:
- Cube size is the limit. A logo cavity that is very deep relative to the cube wall can weaken the ice structure. Very deep cavities also make demolding harder and increase the chance of damage.
- Ice clarity changes the result. Slow-frozen, filtered, or boiled water produces clearer ice; fast-freezing tap water creates cloudy ice that hides fine relief. The mold design and the user's water both affect the final readability.
- The right depth is the readable minimum, not the maximum. A logo that is too deep may create ice that sticks, requires excessive force to release, or distorts during demolding.
Depth is a trade-off. A standard ice cube tray, an ice ball tray, and a popsicle mold all serve different uses, so the logo depth should be matched to the specific product and brand context. [K1][K5]
Practical advice: ask the manufacturer what depth they recommend for your cube size, and verify it in a custom sample. Test the sample under realistic conditions: use the same water type and freezing temperature your end customer would use.
5. Working with an OEM/ODM Manufacturer: From Design to Sample
Core conclusion: a reliable logo outcome depends on using the manufacturer's design review and sampling process, not on trying to solve every problem at the artwork stage.
Sourcing a custom logo ice cube mold typically follows a standard project path at a silicone OEM/ODM manufacturer: [K2]
- Send design files, logo artwork, and product requirements.
- Receive a mold fee quotation. The mold fee is quoted after the manufacturer reviews the customer's design files and project requirements. [K4]
- Confirm the 3D design. The mold lead time is usually about 15 working days after the 3D design is confirmed. [K4]
- Request a custom sample. Custom samples typically take 7–10 working days after design and specification confirmation. [K4]
- Approve the sample, then move to mass production. Mass production generally takes 15–20 working days after order and production details are confirmed. [K4]
Two commercial terms matter for planning:
- MOQ: typically 500 pieces, though the final MOQ may vary depending on design, tooling, packaging, and production scheduling. [K4]
- Samples: free samples may be available for existing stock products, but custom-sample charges, freight, taxes, and eligibility are confirmed case by case. [K4]
Use the sample stage as a readability check, not just a color check. Review the sample against the approved 3D design, and ask targeted questions: Is the logo depth consistent across the entire cavity? Does the ice release cleanly without sticking? Are the edges of the logo sharp? Checking these points before mass production is the buyer's responsibility, and a pre-shipment inspection checklist helps confirm the logo, dimensions, color, and packaging against the approved sample before the goods leave the factory. [K2]
Before finalizing the specification, use How to Customize a Logo Ice Mold: From Artwork to Production as an additional planning reference.
6. Key Comparison: Logo Readability Factors
| Factor | Preferred choice | Why it matters | Verification method |
|---|---|---|---|
| Line width | Bold, simplified strokes | Narrow lines fill poorly and freeze with low contrast | Custom sample + frozen test |
| Depth | Readable minimum, matched to cube size | Deeper = more contrast, but harder demolding and weaker ice | Manufacturer review + sample |
| Detail density | Low to moderate | Fine details tear during demolding and disappear in ice | Artwork simplification |
| Placement | Flat face of the cube, away from edges | Center placement avoids stress and distortion | 3D design review |
| Ice clarity | User-controlled | Cloudy ice hides fine relief regardless of mold quality | Test with the user's water |
7. FAQ
Q1. What is the minimum line width for a logo in a custom logo ice cube mold?
There is no universal minimum. The usable line width depends on the ice cube size, logo depth, silicone material, and mold design. A logo that is readable in a large ice ball may fail in a small cube. The practical approach is to simplify the artwork, ask the manufacturer to review the file, and verify the result with a custom sample. Custom samples usually take 7–10 working days after specification confirmation. [K4]
Q2. How long does it take to make a custom logo ice cube mold?
After the 3D design is confirmed, mold production usually takes about 15 working days. If you also request a custom sample, expect roughly 7–10 working days after design confirmation. Mass production typically runs 15–20 working days after order and production details are confirmed. [K4]
Q3. Is there a minimum order quantity for custom logo ice cube molds?
Typically, the MOQ is around 500 pieces, but the final MOQ may change based on design complexity, tooling, packaging, and production scheduling. [K4]
Q4. Why does my logo disappear when the ice freezes?
The most common causes are thin line width, insufficient depth, cloudy ice, or viewing the logo at an angle. Ice is translucent, so fine details lose contrast. Food-grade silicone performs reliably across the full freezing temperature range, so the limiting factor is usually the design and the water, not the material. [K3] A bolder logo and a slightly deeper cavity improve readability, but ice clarity — which depends on freezing speed, water quality, and temperature — also plays a major role.
8. Conclusion
A custom logo ice cube mold is a branding product, and the logo is the product. Line width, depth, and readability must be treated as engineering decisions, not artwork preferences. Bold, simplified logos; a readable minimum depth matched to the cube size; and a manufacturing partner that reviews the 3D design before tooling — these are what produce a mold that actually communicates the brand.
The practical next step is clear: prepare