Key Takeaways
- Cloudy ice is caused by three controllable factors: dissolved gases, suspended impurities, and the direction and speed of freezing. Fix the freezing direction and you solve most of the problem.
- Directional freezing — freezing water slowly from the top down so gases and minerals are pushed into a sacrificial bottom layer — is the most reliable home method and requires no special equipment beyond an insulated cooler.
- Switching to distilled or boiled water alone rarely produces fully clear cubes; water quality helps, but it is a supporting factor rather than the main solution.
- Most countertop and refrigerator ice makers produce cloudy or hollow cubes because they freeze quickly from all sides. Clear-ice machines exist but work on a different principle.
- For brands and buyers sourcing custom silicone ice molds, clarity depends on both the mold design and how the user freezes with it — cavity design, wall thickness, insulation, and packaging all matter, and specifications should be confirmed per project [K1][K4].
1. Introduction
If you have ever pulled a tray out of the freezer expecting glass-like cubes and found a row of frosty white blocks instead, you are not doing anything wrong — you are just fighting physics. The same dissolved air and minerals that make water taste slightly different also scatter light inside ice, and the way a home freezer removes heat tends to trap those impurities exactly where you can see them.
This matters more than it sounds. Clear ice is not just a cosmetic upgrade for cocktails, whisky, and cold-brew service. Because a clear cube has fewer internal air pockets and a denser structure, it typically melts more slowly and dilutes a drink less than a cloudy one. For bars, restaurants, and promotional product brands, that difference is part of the customer experience.
This article answers the core question — how do I make clear ice cubes at home — with three things: a plain explanation of why ice turns cloudy, a step-by-step directional freezing method that works with ordinary trays and coolers, and a practical comparison of the methods so you can pick one that fits your freezer space and patience. It closes with a short buyer checklist for anyone sourcing or customizing ice molds at commercial scale.
2. Why Ice Turns Cloudy: Three Causes You Can Actually Control
Core conclusion: Cloudiness is almost never a "bad water" problem alone. It is a freezing-dynamics problem, and it has three levers you can adjust.
Ice becomes opaque when light hits tiny pockets of air, mineral residue, or irregular crystal boundaries inside the block. Three mechanisms create those pockets:
- Dissolved gases. Cold water holds dissolved oxygen, nitrogen, and carbon dioxide. As freezing begins, the growing ice crystal lattice rejects these gases, pushing them ahead of the freezing front. If the front advances from all directions at once, the gases have nowhere to escape and get trapped as bubbles in the center.
- Suspended and dissolved impurities. Minerals, fine particles, and organic matter in tap water are also rejected by the ice lattice. They concentrate in the last water to freeze — which, in a standard tray, is the middle of the cube.
- Freezing direction and speed. A home freezer at roughly −18 °C pulls heat from every surface of a tray simultaneously. The cube freezes inward from all six sides, so the impurities and gases have no escape route and end up sealed in the core. Fast freezing also produces smaller, more chaotic crystals, which scatter more light.
Practical scenario: Two people use identical trays and identical tap water. One leaves the tray on a shelf; the other floats the tray in a small insulated cooler with the lid open so only the top surface is exposed to freezer air. The second person gets dramatically clearer cubes — not because their water is better, but because the freezing front moves in one direction and sweeps impurities downward.
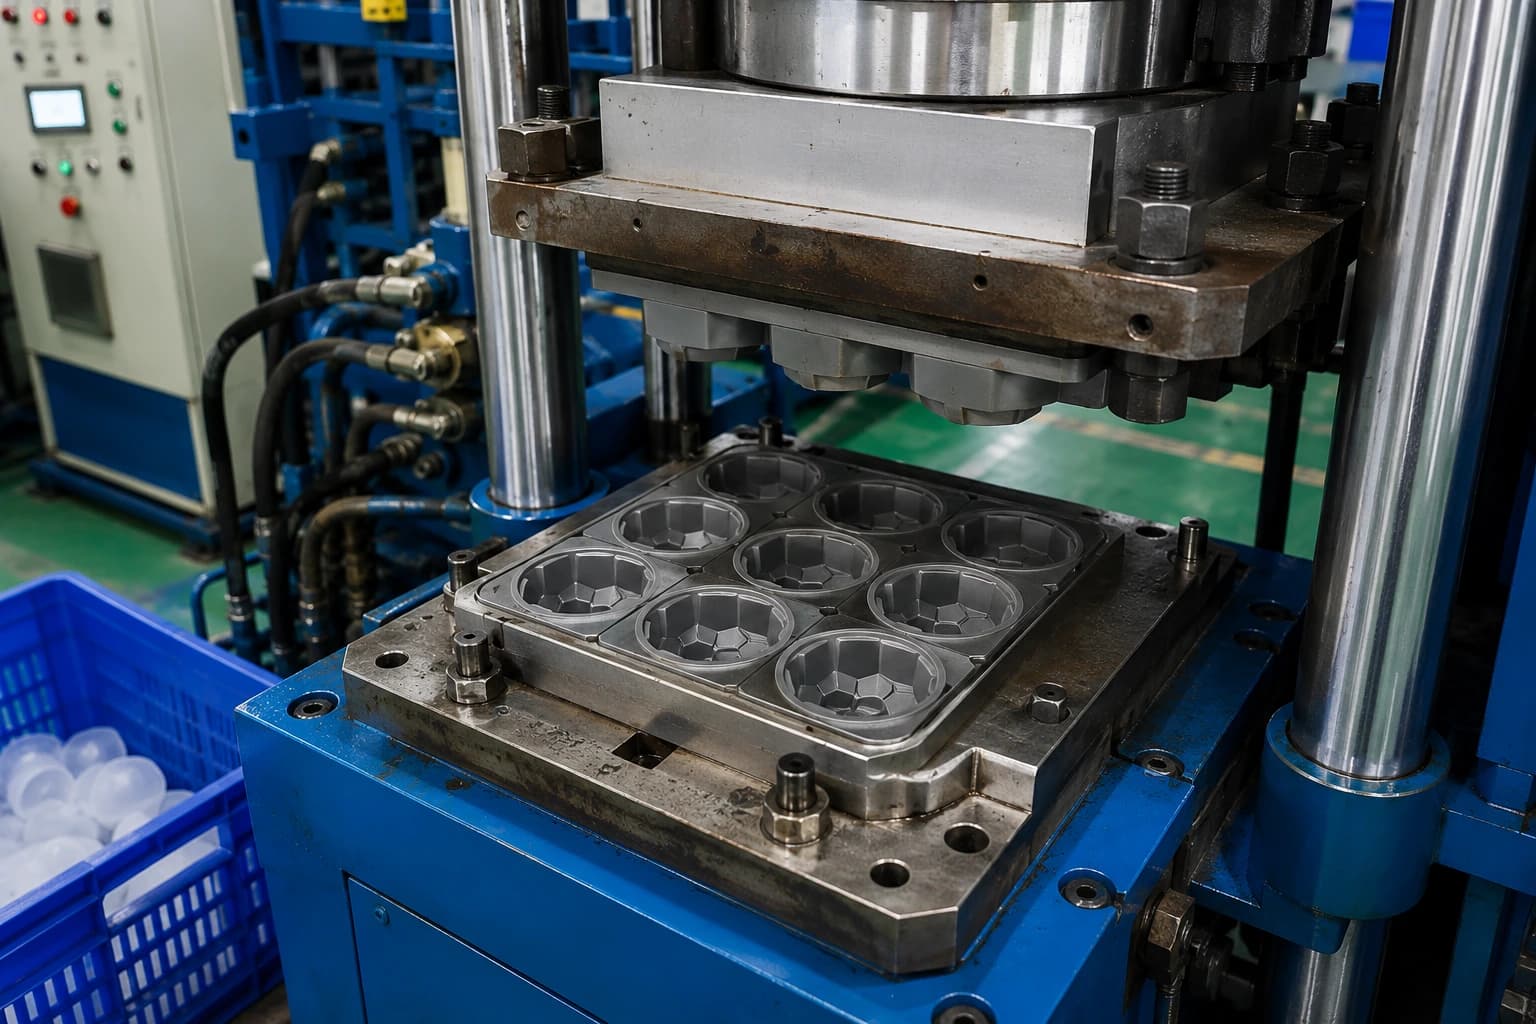
For a related manufacturing reference, review custom ice mold manufacturing.
Recommendation: Before buying anything new, test whether direction, not water, is your bottleneck. If your cubes are cloudy in the center but clearer at the edges, you have a directional freezing problem. If they are uniformly milky, water quality is likely contributing as well.
| Cause | What you see | Practical fix |
|---|---|---|
| Dissolved gases | Bubbles clustered in the cube's core | Slow, directional freezing; use boiled-and-cooled water |
| Minerals / particles | Haze spread through the cube, white residue | Filtered, distilled, or low-mineral water |
| Fast, multi-directional freezing | Uniform cloudiness, small cracks | Insulated mold or cooler method; lower freezer gradient |
3. The Directional Freezing Method: The Most Reliable Home Technique
Core conclusion: If you want consistently clear cubes at home without buying a dedicated clear-ice appliance, freeze in one direction using an insulated container. This is the highest-yield method for the effort involved.
The idea is simple: allow heat to escape from only one surface, so the ice grows as a single upward-moving block and pushes gases and minerals into the water at the bottom.
A widely used home version:
- Choose a small cooler with walls at least 2–3 cm thick — a 5–10 liter cooler works well for a batch of large cubes.
- Place your ice tray or mold inside the cooler, or fill the cooler itself if you plan to cut the block into cubes later.
- Fill with water to within about 2–3 cm of the rim, leaving room for expansion.
- Leave the lid open (or remove it). The open top becomes the only cold surface, so freezing proceeds downward.
- Freeze for roughly 18–24 hours for cubes around 5 cm across. Actual timing depends on your freezer temperature, cooler wall thickness, and water volume — check at 16 hours and adjust for your setup.
- Remove the block and let it temper for 2–5 minutes at room temperature, then separate cubes or trim the cloudy bottom section with an ice pick or knife.
Boundary conditions to expect:
- The bottom 10–25% of the block is usually cloudy — that is where the impurities ended up. This is a feature, not a failure. Cut it off and discard it, or keep it for blended drinks.
- Self-defrosting freezers cycle temperature and create more internal stress cracks than manual-defrost units. Clear ice is still achievable, but cracks are more likely.
- Warmer freezers (around −10 °C) freeze more slowly and often produce clearer ice than very cold ones near −20 °C, at the cost of longer wait times.
- Clear ice stored in a freezer will slowly frost over on the surface. Bag it or keep it in a sealed container, and expect surface frost to return within a few days.
Recommendation: Start with a single small cooler and one batch. Confirm your freezer's behavior before scaling up to multiple molds, because freezer temperature gradients vary significantly between units and shelf positions.
4. Water Quality, Freezer Temperature, and Tray Design
Core conclusion: Water and equipment choices amplify results, but they rarely replace directional freezing. Treat them as tuning, not as the primary fix.
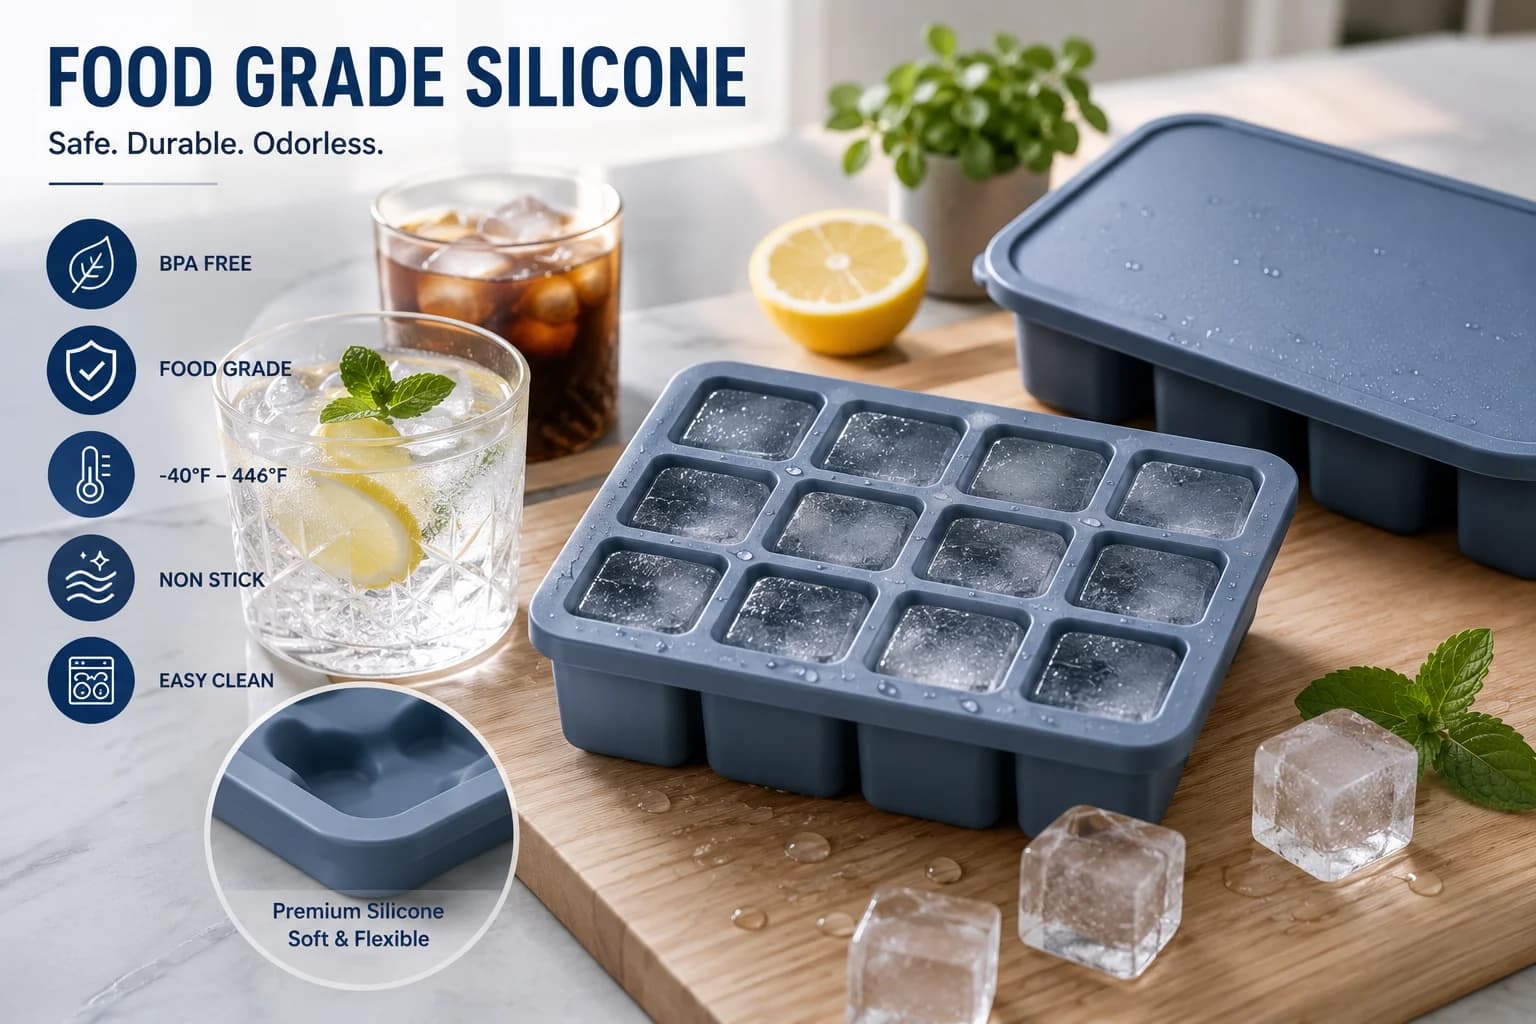
Water. Distilled water removes dissolved minerals but still contains dissolved gases, so distilled water alone often produces only moderately clearer ice. Boiling water drives off dissolved gases, but the water re-absorbs gases as it cools and sits in open air — so boil, cool covered, and use promptly. Many home experimenters report that double-boiled, cooled water combined with directional freezing gives the clearest results. There is no single water treatment that guarantees perfect clarity on its own.
For additional context on this decision, see how do I make clear ice cubes at home.
Freezer temperature. Slower freezing generally means larger crystals and fewer trapped bubbles. If your freezer has adjustable zones, use the warmest setting that still keeps food safe — typically around −12 to −16 °C for ice-making shelves — and place molds on a shelf rather than against a wall or near the evaporator.
Tray and mold design. This is where material choice matters more than most people expect:
- Rigid trays (polycarbonate, rigid plastic, metal) conduct heat relatively quickly and hold their shape, which makes them easier to use with insulated shells.
- Flexible silicone trays are easier to release but silicone is a thermal insulator, so it slows heat transfer. That slower freezing can help clarity, but the flexibility makes it harder to maintain a flat, single-direction freezing surface unless the tray is supported inside a rigid insulated box.
- Lids and covered trays reduce surface frost but also reduce the open-top airflow that the directional method depends on. Use them for storage, not for the freezing stage.
Ice makers. Most countertop bullet-ice and crescent-ice machines, as well as refrigerator built-in makers, freeze quickly from multiple directions and produce cloudy or hollow ice by design — hollow cubes freeze faster and release more easily. Some machines offer a clear-ice or "gourmet" mode that uses a slower, directional cycle; if clarity is a priority, that mode is the feature to look for rather than overall ice output speed.
5. Method Comparison: Which Approach Fits Your Situation
| Method | Clarity potential | Time to first batch | Equipment needed | Best for |
|---|---|---|---|---|
| Insulated cooler, open top | High | 18–24 hours | Small cooler | Whisky and cocktail service at home |
| Silicone tray inside insulated shell | Medium–high | 20–28 hours | Silicone mold + rigid box | Easy release with decent clarity |
| Standard tray, boiled cooled water | Low–medium | 8–12 hours | Tray, kettle | Quick improvement with minimal effort |
| Standard tray, tap water, as-is | Low | 6–10 hours | Tray | Everyday chilling, not presentation |
| Countertop ice maker | Low (unless clear-ice mode) | Minutes | Appliance | Volume, convenience, speed |
| Dedicated clear-ice machine | High | 12–24 hours | Appliance | Bars and high-volume programs |
How to choose: If you serve spirits neat or on the rocks, invest the 20 hours in the cooler method. If you need volume for a party, accept slightly cloudy ice from a machine and save clear cubes for the drinks that showcase them. If you are evaluating equipment for a commercial program, weigh clarity against throughput — clear ice is a slower process by definition.
Before finalizing the specification, use Best Silicone Ice Ball Maker for Perfect Sphere Ice Balls at Home as an additional planning reference.
6. Buying or Customizing Ice Molds: A Short Buyer Checklist
For brands, promotional suppliers, and retailers, the mold is the product and the user's freezing method is the variable they control. That split makes specification details unusually important.
Custom silicone ice molds are typically customized across cavity design, product shape, size, color, logo, and packaging [K1]. Ice molds commonly sit across household, kitchen, and promotional product use cases — for example, ice block molds on the household side, and ice cube trays, ice ball trays, and popsicle molds on the promotional side — and a single mold design can legitimately serve more than one category [K3][K4].
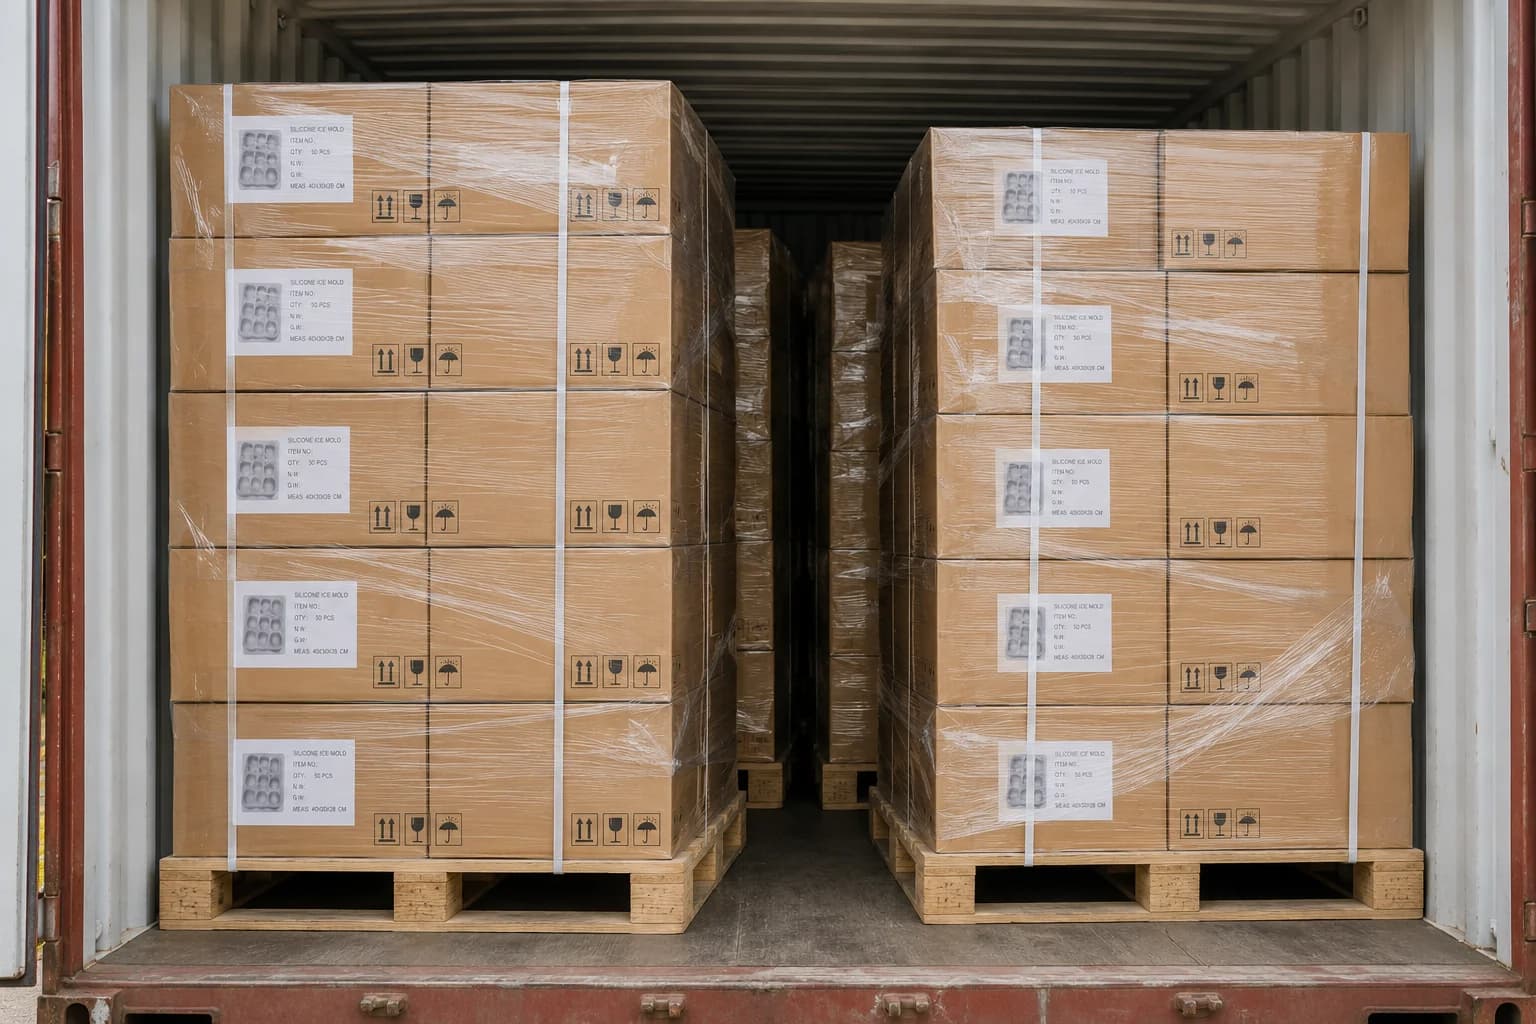
A typical custom development path runs from design review through sampling and tooling to production, with MOQ, tooling cost, sampling rounds, and lead time planned before the project starts [K2]. Before approving a sample, it is worth confirming:
- Cavity geometry and wall thickness, because they affect both release and freezing speed.
- Material composition and durometer, since flexibility changes how the mold behaves during directional freezing.
- Available colors, logo methods, and packaging formats if the product is a branded or gift item [K1].
- Compliance requirements for the target market, planned without leaning on certification claims that the manufacturer cannot document [K2].
- Current availability, dimensions, MOQ, and lead time for the specific SKU — a product appearing in a portfolio does not by itself prove it is stocked for every market [K4].
A practical caution: custom silicone projects are usually not a one-week turnaround. Budget time for at least one sampling round before tooling, and treat the sample as the real specification document rather than the artwork file.
7. FAQ
Q1. How long does it take to make clear ice cubes at home?
Using the insulated cooler method, plan on roughly 18–24 hours for cubes about 5 cm across. Standard trays freeze in 6–12 hours but will not be clear without directional freezing. Larger blocks and thicker cooler walls extend the time.
Q2. Does boiling water make clear ice?
Boiling drives dissolved gases out of the water, which helps — but the water re-absorbs gases as it cools and sits in open air. Boiled, cooled, covered water combined with directional freezing gives noticeably better results than boiling alone. Boiling by itself in an ordinary tray is not a reliable solution.
Q3. Can a countertop ice maker produce clear ice?
Most countertop and refrigerator ice makers freeze quickly from multiple directions, which traps gases and produces cloudy or hollow cubes. Some units include a clear-ice or slow-cycle mode that freezes directionally; that mode, not the machine's speed rating, is what determines clarity.
Q4. Can clear ice be made in silicone trays?
Yes, with caveats. Silicone is a thermal insulator, so it freezes more slowly, which can support clarity — but flexible walls make it hard to keep a flat, single-direction freezing surface. Supporting the silicone mold inside a rigid insulated box, and leaving the top open to freezer air, gives the best results.
8. Conclusion
Getting crystal clear ice at home is less about buying better water and more about controlling one variable: the direction the ice grows. Freeze slowly from the top down in an insulated container, accept that a cloudy bottom layer is the price of clarity, and trim it away. Water treatment and mold material are useful tuning steps, but they will not compensate for a tray that freezes from all six sides at once.
For home users, the practical next step is a single small cooler, one tray, and a 24-hour test batch. If the result is clear at the top and cloudy at the bottom, your method is working — you can then scale to larger molds and refine water treatment.
For buyers and brands, the next step is different: define the clarity experience you intend to deliver, then confirm the mold geometry, material, packaging, MOQ, and lead time for the specific project rather than assuming a catalog item fits every market [K1][K2][K4]. Clear ice is a process, and the mold is only one part of it.