Key Takeaways
- Clear ice is primarily a freezing-process problem, not only a water-purity problem. The goal is to control how and where water freezes.
- Directional freezing—freezing water slowly from one direction while letting dissolved gases escape—pushes cloudiness into a sacrificial section that can be removed.
- The most reliable home method is an insulated cooler with an open top, combined with filtered or boiled water, larger molds, and patient freezing.
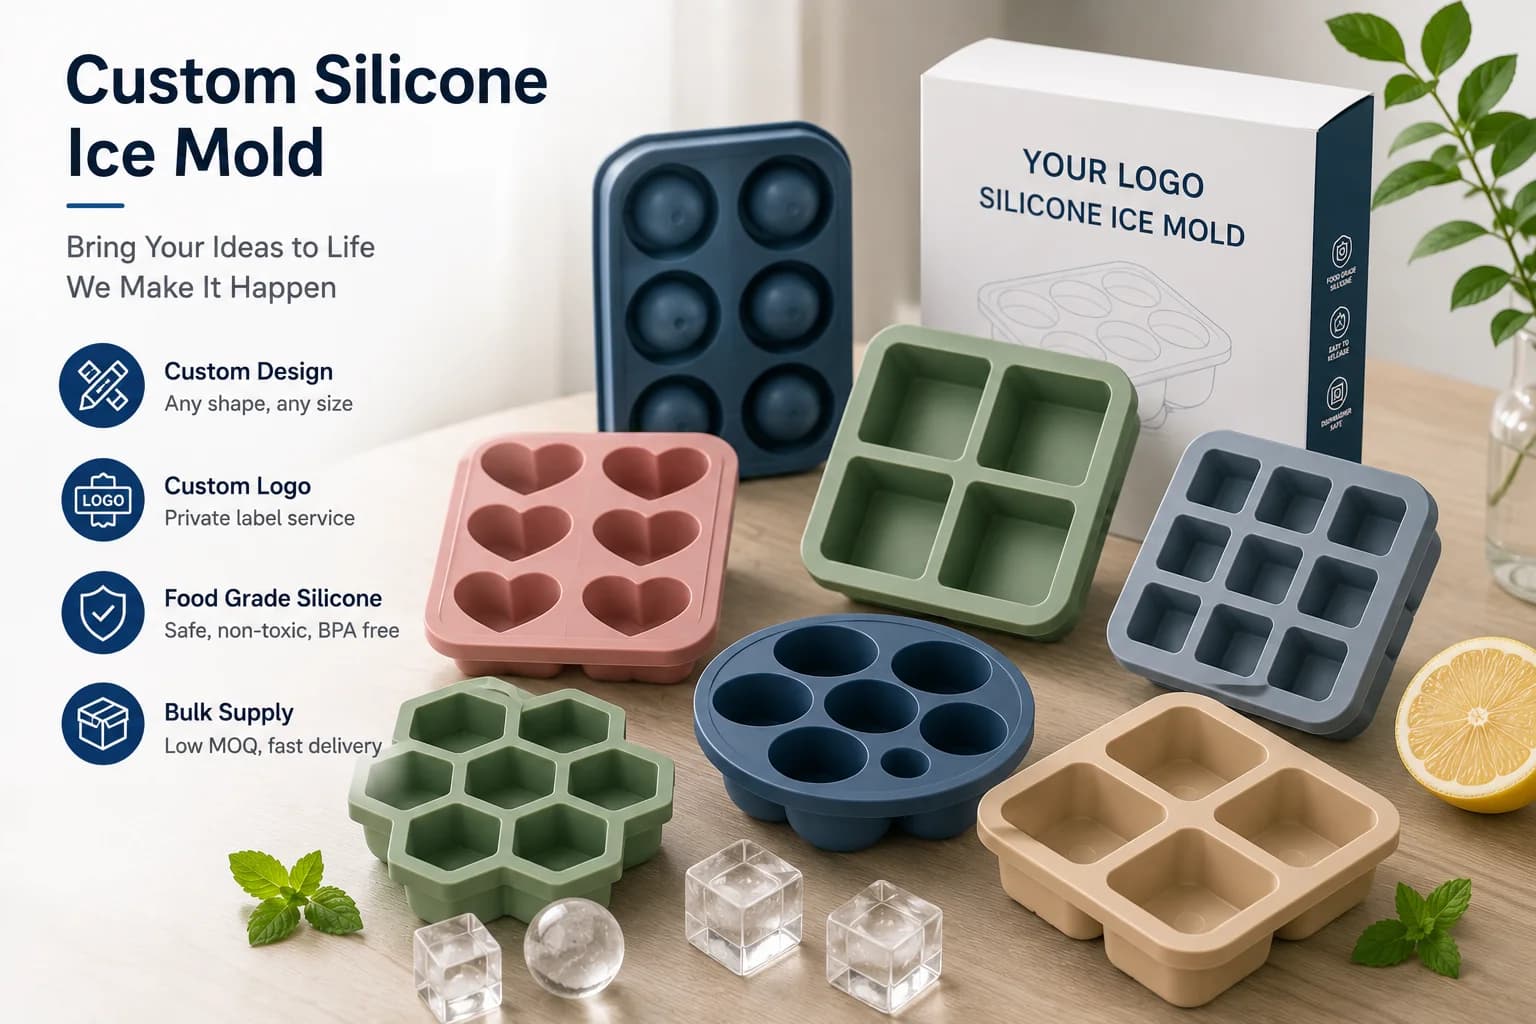
- For brands, custom silicone ice molds can be specified with cavity design, shape, size, color, logo, and packaging. [K2]
- Verified silicone specifications include food-contact grade material, odorless properties, temperature resistance from -40°C to 240°C (-40°F to 464°F), and options for custom sizes, colors, shapes, and packaging. [K4]
1. Introduction
Clear ice is one of those small details that changes the feel of a drink, a product photo, or a hospitality experience. A cloudy cube looks rushed. A clear cube looks intentional. That is why searches for how to clear ice usually mean something more specific: how to make clear ice cubes at home, in a bar, or in a production environment.
The frustration is familiar. You fill a standard tray with water, wait, and end up with cubes that are white in the center. The outside may look transparent, but the core is cloudy. Many people assume the answer is simply “use distilled water.” Water quality matters, but it is not the whole story. The bigger issue is freezing direction. When water freezes in a standard tray, it freezes from all sides at once. Dissolved air, gases, and minerals are pushed into the last area to freeze—usually the center—where they become trapped and visible.
This article explains the essential principles behind clear ice, compares practical methods, and outlines what to consider when choosing molds. It also covers how custom silicone ice molds fit into branded ice programs, product development, and sourcing decisions. The focus is not on hype. It is on repeatable process control: water preparation, freezing direction, mold design, material specifications, and sampling.
Whether you are a home bartender, a café owner, or a product developer sourcing custom ice molds, the same logic applies: clear ice is made by managing variables, not by relying on a single trick.
2. The Core Principle: Control Freezing Direction, Not Just Water Purity
The core conclusion is simple: cloudiness comes from trapped gases and impurities concentrated in the last part of the water to freeze. To make clear ice, you must give those gases a place to go. That means controlling freezing direction.
Water does not freeze all at once. It freezes from the outside inward. In a standard ice tray, the cold comes from every direction: the bottom, the sides, and the top. The freezing front moves inward from all sides, and the center freezes last. Dissolved air and minerals are pushed ahead of that freezing front and become trapped in the center. The result is a cloudy core.
Directional freezing changes the geometry. If you insulate the sides and bottom of a container and leave only one direction open—usually the top—the freezing front moves primarily from one direction. Gases and impurities are pushed toward the unfrozen water. In a cooler-based setup, the top layer often remains cloudy or slushy while the lower section freezes clear. You then remove the cloudy section and keep the clear block.
This principle explains why several common tips work—and why they sometimes fail:
- Distilled or filtered water reduces minerals, but it still contains dissolved gases. It can improve clarity, but it does not guarantee a clear cube without directional freezing.
- Boiled water can reduce dissolved gases, but if you pour it into a tray that freezes from all sides, some cloudiness can still form.
- Slow freezing generally helps because it gives gases more time to escape or move into the sacrificial section. Fast freezing traps them.
- Larger cubes freeze more slowly than small cubes, which can improve clarity, but only if the freezing direction is managed.
A practical scenario: a home bartender wants clear 2-inch cubes for whiskey. A standard silicone tray alone may still produce cloudy centers. If the same tray is placed inside an insulated cooler with water surrounding it, and the cooler is left open in the freezer, the top of the block becomes cloudy while the cubes below are clearer. The bartender removes the cloudy top, releases the cubes, and stores them in a sealed bag. That is directional freezing in practice.
For a related manufacturing reference, review how custom silicone ice mold.
The caution is that clear ice is not all-or-nothing. You can improve clarity significantly without achieving perfect transparency. Commercial clear ice machines use controlled directional freezing and circulation, but home and small-batch producers can get good results with simple insulation and patience.
3. Step-by-Step Home Method: Insulated Cooler Directional Freezing
The most reliable home method is the insulated cooler method. It does not require expensive equipment, and it applies the directional freezing principle directly.
Step 1: Prepare the water. Use filtered or distilled water. If you want to reduce dissolved gases further, boil the water, let it cool, then use it. Do not pour hot water into a freezer-safe container unless the container is rated for it.
Step 2: Set up the cooler. Use a small, clean cooler or an insulated box that fits in your freezer. Fill it with water. Place silicone trays, cups, or molds in the water so they are surrounded but still open to the air at the top. Alternatively, fill the cooler directly with water and plan to cut the ice block later.
Step 3: Freeze uncovered. Place the cooler in the freezer without a lid. The open top allows gases to escape and encourages freezing from the top down. Avoid placing it near the freezer fan or against a wall where cold air may create uneven freezing.
Step 4: Monitor the freeze. Freezing time depends on freezer temperature, cooler size, water volume, and container material. There is no universal number. The goal is to freeze until a clear block forms and a cloudy or slushy layer remains at the top or bottom. If the entire block freezes solid, the cloudy layer may be distributed throughout, but you can still often salvage clearer sections.
Step 5: Harvest and separate. Remove the cooler from the freezer. Let it temper briefly so the block releases. If you used molds inside the cooler, remove them and release the cubes. If you froze a solid block, use a serrated knife, ice pick, or clean chisel to cut along natural lines. Work on a clean, sanitized surface.
Step 6: Discard the cloudy section. Cut away the cloudy top or bottom. The remaining clear ice can be stored in a sealed container or freezer bag. For best results, store in a freezer that does not cycle frequently.
Step 7: Repeat and document. Keep notes on water type, freezer setting, cooler size, and freezing duration. Clear ice improves through iteration. A change in one variable—such as a fuller cooler or a colder freezer—can shift the outcome.
A practical caution: silicone molds are flexible and easy to demold, but they can also insulate the water inside them. If you place a silicone tray directly on a freezer shelf, the bottom may freeze first and push cloudiness upward. That can still work, but the cooler method gives more control because the surrounding water moderates the temperature and directs the freeze.
4. Mold and Material Choices for Consistent Clear Ice

The mold matters, but it is not magic. A mold cannot override a poor freezing process. However, the right mold can improve shape consistency, release, and production efficiency.
For home use, larger cavity molds and flexible silicone trays are popular because they release ice easily. For commercial and branded programs, custom silicone ice molds are developed around specific requirements. According to verified product knowledge, custom silicone ice molds can be customized by cavity design, product shape, size, color, logo, and packaging. [K2] This means a brand can create a cube, sphere, block, or novelty shape that matches a logo, a cocktail menu, or a retail theme.
For additional context on this decision, see custom silicone ice mold manufacturing.
Verified specifications for silicone ice molds include food-contact grade silicone, odorless material, temperature resistance from -40°C to 240°C (-40°F to 464°F), custom sizes, and customization options for colors, sizes, shapes, and packaging. [K4] These specifications matter because ice molds are used with water and beverages, and they may be exposed to freezer temperatures and occasional washing. A food-contact grade material and odorless property are practical baseline requirements, not marketing extras.
The extended product portfolio also includes ice block molds, ice cube trays, ice ball trays, and popsicle molds. [K3] This range shows that “ice mold” is not a single product. A brand selling clear ice trays may need a different cavity design than a bar sourcing large clear blocks for cocktails. A promotional product buyer may prioritize shape and logo area, while a kitchenware retailer may focus on stackability and packaging.
A disciplined innovation process is also relevant here. Innovation should be based on customer and market insights and continuous improvement, not on unsupported superlatives. [K5] In practice, that means testing a mold with the actual freezing method the end user will use. A silicone mold that produces excellent clear ice in a commercial blast freezer may behave differently in a home freezer. Sampling is essential.
For sourcing, the knowledge base identifies relevant topics such as how custom silicone mold projects move from design review to production, MOQ, tooling, sampling, lead-time planning, buyer checklists, and market-specific compliance planning without unsupported certification claims. [K1] Quality inspection and sourcing are also suitable topics for custom silicone ice mold projects. [K2]
Practical advice for brands:
- Define the ice format first: cube, sphere, block, or custom shape.
- Confirm the freezing method: home freezer, commercial freezer, or clear ice machine.
- Provide design files for logo, artwork, and packaging if needed.
- Request samples and test clarity with the intended water and freezing process.
- Verify material specifications, food-contact grade, odor, and temperature resistance. [K4]
- Plan for tooling, MOQ, sampling, lead time, and compliance review. [K1]
5. Key Comparison: Methods, Clarity Potential, and Best Use
| Method | How it works | Clarity potential | Effort | Best for |
|---|---|---|---|---|
| Standard ice tray | Freezes from all sides; gases trapped in center | Low to moderate | Very low | Everyday home use |
| Boiled or distilled water in tray | Reduces some gases and minerals but does not control direction | Moderate | Low | Simple improvement |
| Insulated cooler directional freeze | Slows freezing and pushes cloudiness to one section | High | Moderate | Home bars, small cafés |
| Commercial clear ice machine | Controlled freezing and circulation | High and consistent | High cost | Hospitality, high-volume bars |
| Custom silicone mold + directional freeze | Combines mold design with controlled freezing | Moderate to high | Moderate to high | Branded ice, custom shapes, retail |
The table shows a trade-off. The cooler method offers the best balance for most home users. Commercial machines offer consistency but require capital. Custom silicone molds offer shape and branding flexibility, but they still depend on the freezing process. A custom mold without directional freezing may produce attractive shapes with cloudy centers.
Before finalizing the specification, use silicone product quality control as an additional planning reference.
Additional considerations before specifying a custom ice mold:
- Cavity design: Larger cavities freeze more slowly and can improve clarity.
- Material: Food-contact grade silicone, odorless, and temperature resistant from -40°C to 240°C (-40°F to 464°F). [K4]
- Customization: Colors, sizes, shapes, logos, and packaging. [K2][K4]
- Sampling and tooling: Review samples before production. [K1]
- MOQ and lead time: Plan around production and shipping schedules. [K1]
- Compliance: Market-specific planning should avoid unsupported certification claims. [K1]
6. FAQ
Q1. Does boiling water make clear ice?
Boiling water can reduce dissolved gases, which may improve clarity. However, if you pour it into a standard tray that freezes from all sides, the center can still turn cloudy. Boiling is best used as one step in a larger process: boiled or filtered water, slower freezing, and directional freezing such as the insulated cooler method.
Q2. How long does it take to make clear ice?
There is no fixed time. It depends on freezer temperature, water volume, container size, insulation, and mold material. Clear ice generally requires slower freezing than standard trays. Instead of timing it precisely, monitor the block until the clear section forms and a cloudy or slushy layer remains. That layer is the signal to harvest and cut away the cloudy portion.
Q3. Can silicone molds make clear ice?
Silicone molds can be part of a clear ice process, especially when used with directional freezing. Silicone is flexible and easy to demold, and custom silicone ice molds can be designed with specific cavity shapes, sizes, colors, logos, and packaging. [K2] Verified specifications include food-contact grade silicone, odorless material, and temperature resistance from -40°C to 240°C. [K4] However, the mold alone does not guarantee clarity. The freezing method still matters most.
Q4. What should a brand ask a silicone OEM/ODM manufacturer for custom ice molds?
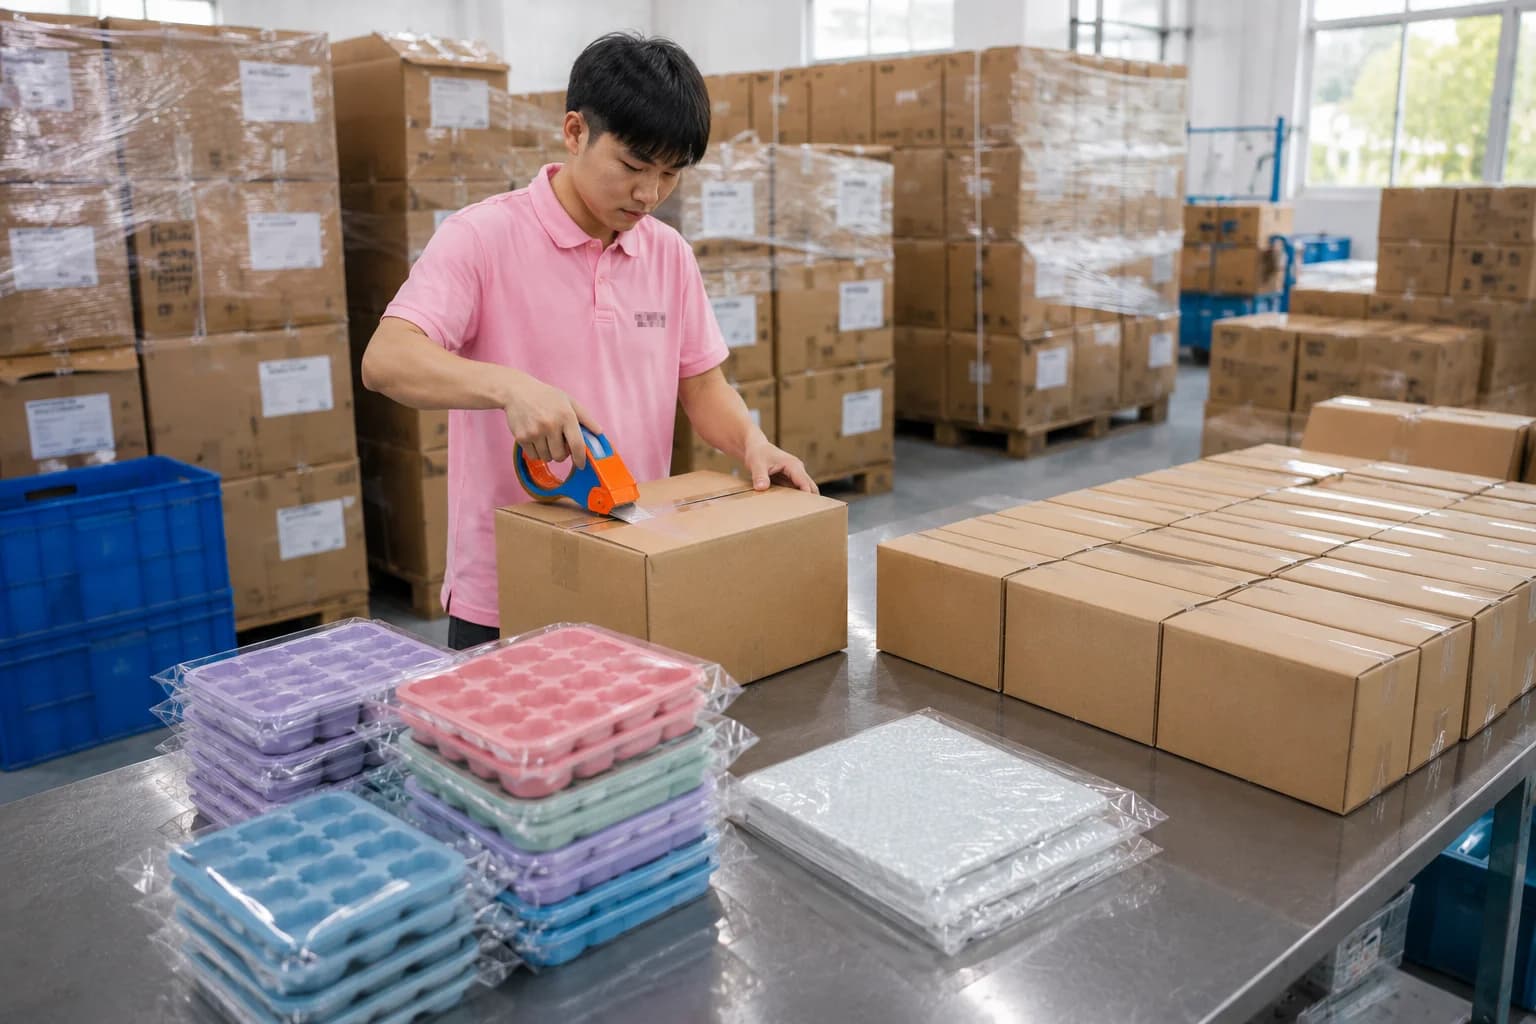
A brand should ask about design review, cavity design, sampling, tooling, MOQ, lead-time planning, packaging, quality inspection, and market-specific compliance planning without unsupported certification claims. [K1][K2] It should also confirm material specifications such as food-contact grade, odor, temperature resistance, and options for custom colors, sizes, shapes, and packaging. [K4] Testing a sample with the intended freezing process is the most practical way to verify whether the mold supports the desired clarity and shape.
7. Conclusion
Clear ice is not a single product you buy. It is an outcome you engineer. The essential principle is directional freezing: slow the freeze, allow gases to escape, and push cloudiness into a section you can remove. For home users, the insulated cooler method is the most reliable starting point. Use filtered or boiled water, avoid fast freezing, and accept that the first batch may need adjustment.
For brands, the opportunity is broader. Custom silicone ice molds allow specific cavity designs, shapes, sizes, colors, logos, and packaging. [K2] Verified specifications such as food-contact grade silicone, odorless material, and temperature resistance from -40°C to 240°C provide a practical foundation for product development. [K4] But the mold should be tested with the actual freezing method, and sourcing should include sampling, tooling, MOQ, lead time, quality inspection, and compliance planning. [K1][K2]
The next step is simple: test one method, document the variables, and improve from there. Whether the goal is a better drink at home or a branded ice program, clarity comes from process control—not from a single shortcut.