Key Takeaways
- Cloudy ice is mostly a freezing-direction problem, not just a water-quality problem. Dissolved gases and minerals get pushed into the center of a cube when ice freezes from all sides at once.
- Directional freezing — insulating a mold on every side except one and freezing slowly for 18–24 hours — is the most reliable low-cost route to bar-quality clear ice.
- A crystal clear ice ball maker is a category, not a single product. Countertop machines, insulated directional shells, and plain silicone ball molds behave very differently, and only the first two are designed around clarity.
- Boiling or filtering water helps at the margins. It does not replace directional freezing, and it does not guarantee a clear result on its own.
- For brands developing ice-related products, custom silicone ice mold projects typically cover cavity design, shape, size, color, logo, and packaging, with MOQ, tooling, sampling, and lead-time planning as early decisions [K1][K2].
1. Introduction
Clear ice has become a visible quality signal in home bars and cocktail programs. A dense, transparent cube or sphere looks deliberate, melts more slowly and evenly than porous cloudy ice, and keeps a drink from turning watery in the first few minutes. The problem is that most people buy a tray or a ball mold, fill it with water, and end up with an opaque white core — then assume they need better water or a more expensive gadget.
The real obstacle is physics. Standard ice trays freeze from six directions simultaneously, and the last water to freeze traps dissolved air and minerals in the middle as a white cloud. Understanding that single mechanism changes how you choose equipment, how you fill a mold, and how long you are willing to wait.
This guide explains why ice turns cloudy, walks through the directional freezing method step by step, clarifies what a crystal clear ice ball maker actually does, and covers how to evaluate silicone ice ball molds — including material specifications and customization options that matter to buyers sourcing ice products for private label. It also includes comparison and troubleshooting tables you can use directly.
2. Why Homemade Ice Turns Cloudy
Core conclusion: clarity is decided by how the ice freezes, not only by what is dissolved in the water.
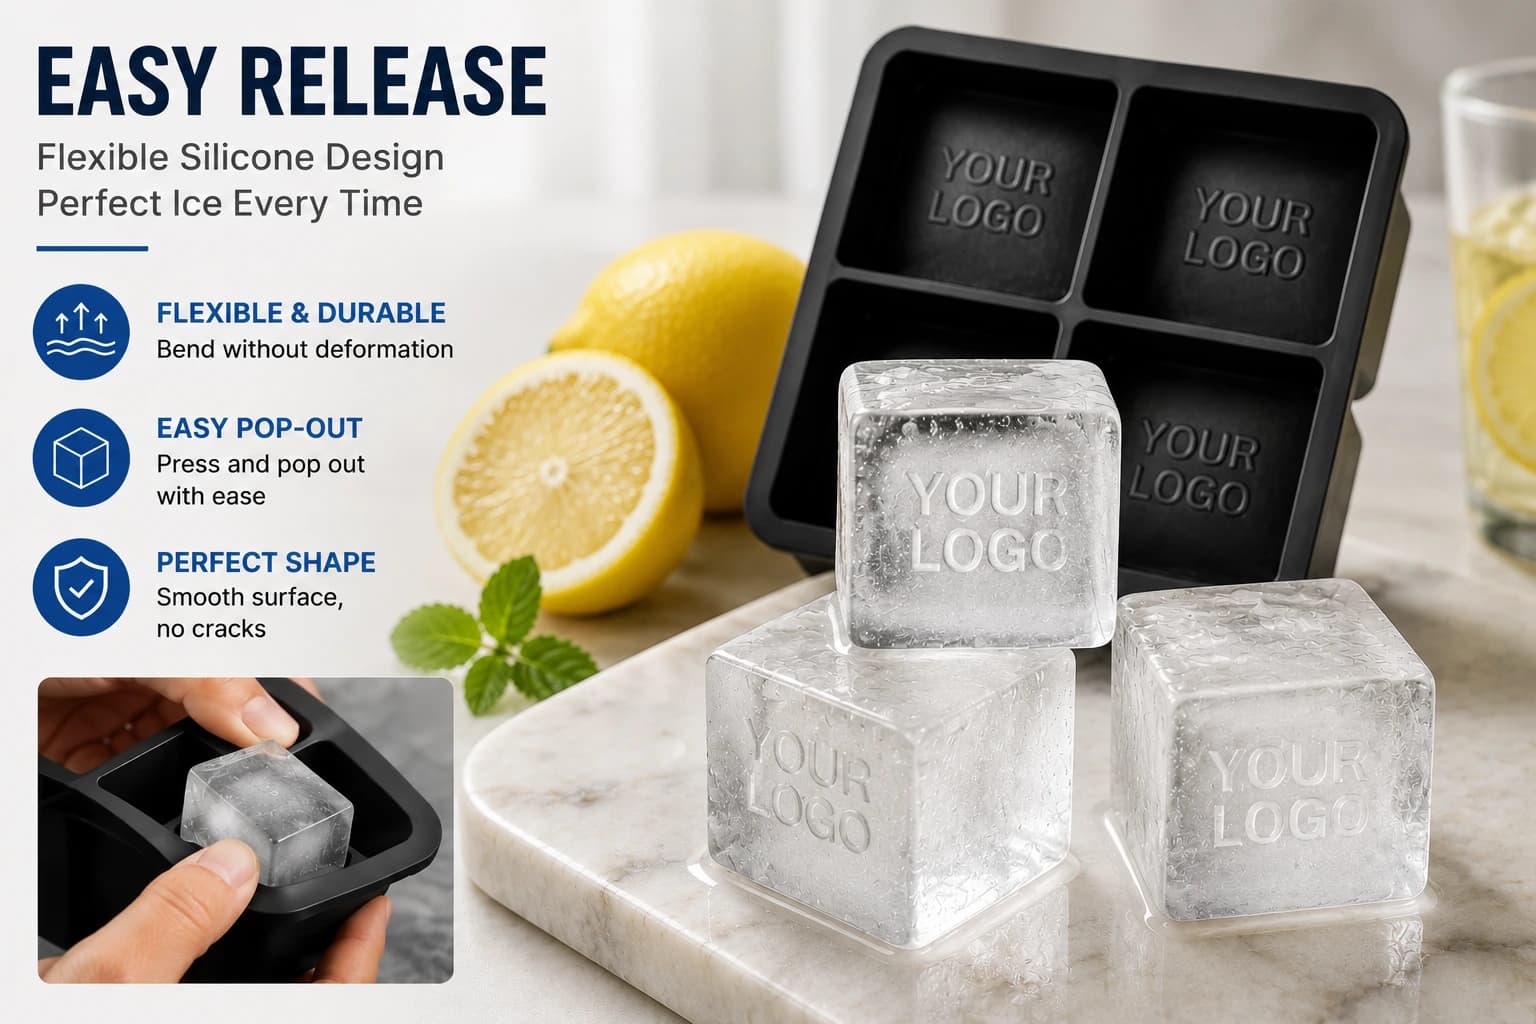
When water freezes, the advancing ice front rejects dissolved gases (oxygen, nitrogen, carbon dioxide) and dissolved minerals. In a standard tray, freezing starts on all six sides at once, so those rejected substances are concentrated into a shrinking pocket at the center of the cube. That pocket is the cloudy white core. Faster freezing traps more of it; slower freezing gives the gases more time to escape upward.
Water choice still matters, but as a secondary variable:
- Tap water carries minerals plus dissolved gas. The worst combination.
- Filtered water removes some minerals and improves taste, with a modest clarity gain.
- Boiled (and cooled) water drives off a portion of dissolved gas; many home bartenders report better results, though outcomes vary by freezer and container.
- Distilled water removes minerals but is not necessarily degassed, so it can still produce a cloudy core.
The practical implication: if you want a predictable result, change the direction of freezing and slow it down. Improving water quality is a supporting step, not the main fix.
Scenario: a 2-inch cube in an open tray at a typical freezer temperature (around −18 °C / 0 °F) may freeze solid in three to five hours, freezing from every side — a cloudy core is nearly guaranteed. The same cube placed in an insulated container with only the top exposed might take 18–24 hours and produce a large clear block with a cloudy lower third that you simply cut away.
3. The Directional Freezing Method, Step by Step
Core conclusion: a small insulated cooler, filtered or once-boiled water, and 18–24 hours of patience will outperform most inexpensive "clear ice" gadgets.
For a related manufacturing reference, review crystal clear ice ball maker.
- Choose a small insulated container. A mini cooler or an insulated box works best. Insulation on the sides and bottom forces the freeze front to move in one direction.
- Add a mold or liner if you want a specific shape. Small silicone trays or ball molds can sit inside the cooler; the cooler provides the direction, the mold provides the geometry.
- Fill with filtered or once-boiled, cooled water. Leave 1–2 cm of headspace. Overfilling removes the room the ice needs to expand and escape.
- Freeze uncovered, on a level shelf. Place it away from the coldest air vent. Keep the lid off — trapped air slows gas escape and can cause uneven freezing.
- Stop at roughly 70–80% frozen. This is the key step most people miss. If you freeze the whole block solid, the cloudy pocket ends up locked inside the usable section.
- Temper before demolding. Let the container sit at room temperature for 5–10 minutes so the block releases cleanly.
- Trim the cloudy section. Use a serrated knife or a small saw to cut off the bottom third where the impurities collected, then shape the clear portion into cubes or spheres.
- Store finished ice sealed. A zip bag or sealed container in the freezer prevents odor pickup and surface frost, and reduces cracking.
Cautions: do not pour boiling water directly into thin glass or low-quality containers; do not assume every freezer behaves the same way, since self-defrosting models cycle air and can disturb the freeze front; and do not store finished ice at a lower temperature than needed, because ice that is too cold cracks when it hits a warmer liquid.
4. Using a Crystal Clear Ice Ball Maker
Core conclusion: identify which type of clear ice ball maker you own or intend to buy, because they solve the clarity problem in different ways.
| Type | How it achieves clarity | Effort | Consistency |
|---|---|---|---|
| Countertop clear ice machine | Runs its own controlled freeze cycle and isolates the cloudy section | Low | High |
| Silicone ball mold + insulated directional shell | Shell forces one-direction freezing; mold sets the sphere shape | Medium | Medium–high |
| Plain silicone ball mold alone | Only shapes the water; freezing direction is uncontrolled | Low | Low–medium |
If your goal is a crystal clear ice ball maker result rather than just a round shape, look for the insulated shell or machine design. A bare silicone mold placed in an open freezer will produce a sphere, but the interior will usually still cloud in the center.
Practical usage notes:
- Fill to the marked line, not above it. An overfilled cavity has nowhere to put expanding ice and tends to deform.
- Give it time. Most directional ball setups need roughly 20–24 hours in a home freezer. Rushing produces a cloudy ball.
- Respect the orientation. Insulated shells are designed to be placed a specific way (open side up or finned side down, depending on the product). Flipping it defeats the design.
- Demold gently. A few seconds of warm water on the exterior is usually enough. Avoid aggressive twisting, which can tear thin silicone walls.
- Match the size to the glass. A sphere from roughly 50–65 mm (2.0–2.5 inches) fits most rocks glasses and standard double old-fashioned glassware.
5. Choosing Silicone Ice Ball Molds: Specs, Materials, and Custom Options
Core conclusion: food-grade silicone with a verified temperature range is the practical material for ice ball molds, but buyers should verify specifications directly rather than relying on generic marketing language.
For additional context on this decision, see custom silicone ice mold manufacturing.
Verified shared specifications for this product category include: material — silicone; food-contact grade — food-grade; odor — odorless; temperature resistance — −40 °C to 240 °C (−40 °F to 464 °F); core specification — custom sizes available; customization options — custom colors, custom sizes, custom shapes, and custom packaging [K4].
Why those numbers matter in practice: a mold that moves from a −18 °C freezer to a hot rinse without deforming keeps its cavity geometry stable, which is what keeps a sphere round across dozens of batches. An odorless, food-grade material also avoids the plastic aftertaste that low-quality molds can transfer to ice [K4].
For brands and private-label buyers, ice molds sit across more than one product line. The extended portfolio map places ice cube trays, ice ball trays, and popsicle molds in promotional products, while ice block molds appear in household products [K3]. Custom silicone ice mold development typically covers cavity design, product shape, size, color, logo, and packaging [K1], and supported content topics include how projects move from design review to production, MOQ and tooling planning, sampling, design-file preparation, sample approval, and pre-shipment inspection [K2].
A practical buyer checklist before committing to a custom mold:
| Item to confirm | Why it matters |
|---|---|
| Cavity diameter and wall thickness | Determines ball size and demolding ease |
| One-piece vs. two-piece construction | Affects fill accuracy and release |
| Lid or sealing design | Prevents water displacement during freezing |
| Temperature spec and material grade | Confirms freezer and hot-rinse tolerance [K4] |
| Color, logo, artwork, packaging options | Core private-label differentiation [K1][K4] |
| MOQ, tooling, sampling, lead time | Drives project budget and launch timeline [K2] |
Important boundary condition: silicone shapes the ice; it does not create clarity by itself. When sourcing, separate two questions — "does this mold produce a round ball?" and "does this design support one-direction freezing?" A supplier with custom development capability can address both, but they are different engineering conversations.
6. Comparison and Troubleshooting
| Symptom | Likely cause | Practical fix |
|---|---|---|
| Cloudy center in a cube or ball | Multi-direction freezing trapped dissolved gas | Use an insulated directional setup; freeze 18–24 hours |
| Cloudy bottom section | Normal — this is the last area to freeze | Cut it off and discard; keep the clear upper portion |
| Ice cracks in the freezer | Thermal shock or storage temperature too low | Temper 5–10 minutes, store sealed, avoid rapid swings |
| Ice cracks in the glass | Ice served too cold into a warm drink, or irregular shape | Let ice temper briefly; confirm sphere geometry |
| Ball will not release | Overfilled cavity, or demolded too early | Fill to the line; warm the mold exterior a few seconds |
| Hollow or deformed ball | Air pocket from incomplete filling | Fill fully and tap the mold to release bubbles |
Method comparison:
| Method | Clarity | Typical freeze time | Equipment cost | Skill level |
|---|---|---|---|---|
| Directional freezing in a cooler | High, after trimming | 18–24 h | Low | Medium |
| Countertop clear ice machine | High and consistent | Controlled cycle | High | Low |
| Boiled or filtered water in a tray | Low to medium | 3–5 h | Very low | Low |
| Ball mold + insulated directional shell | Medium to high | 20–24 h | Low–medium | Medium |
| Plain silicone ball mold | Low to medium | 4–6 h | Low | Low |
7. FAQ
Q1. Does boiling water twice actually make crystal clear ice?
It helps, but it is not a complete solution. Boiling drives off some dissolved gas, and using cooled boiled water is a reasonable supporting step. However, if the water still freezes from multiple directions in a standard tray, a cloudy core will still form. Pair boiled or filtered water with directional freezing rather than relying on water treatment alone.
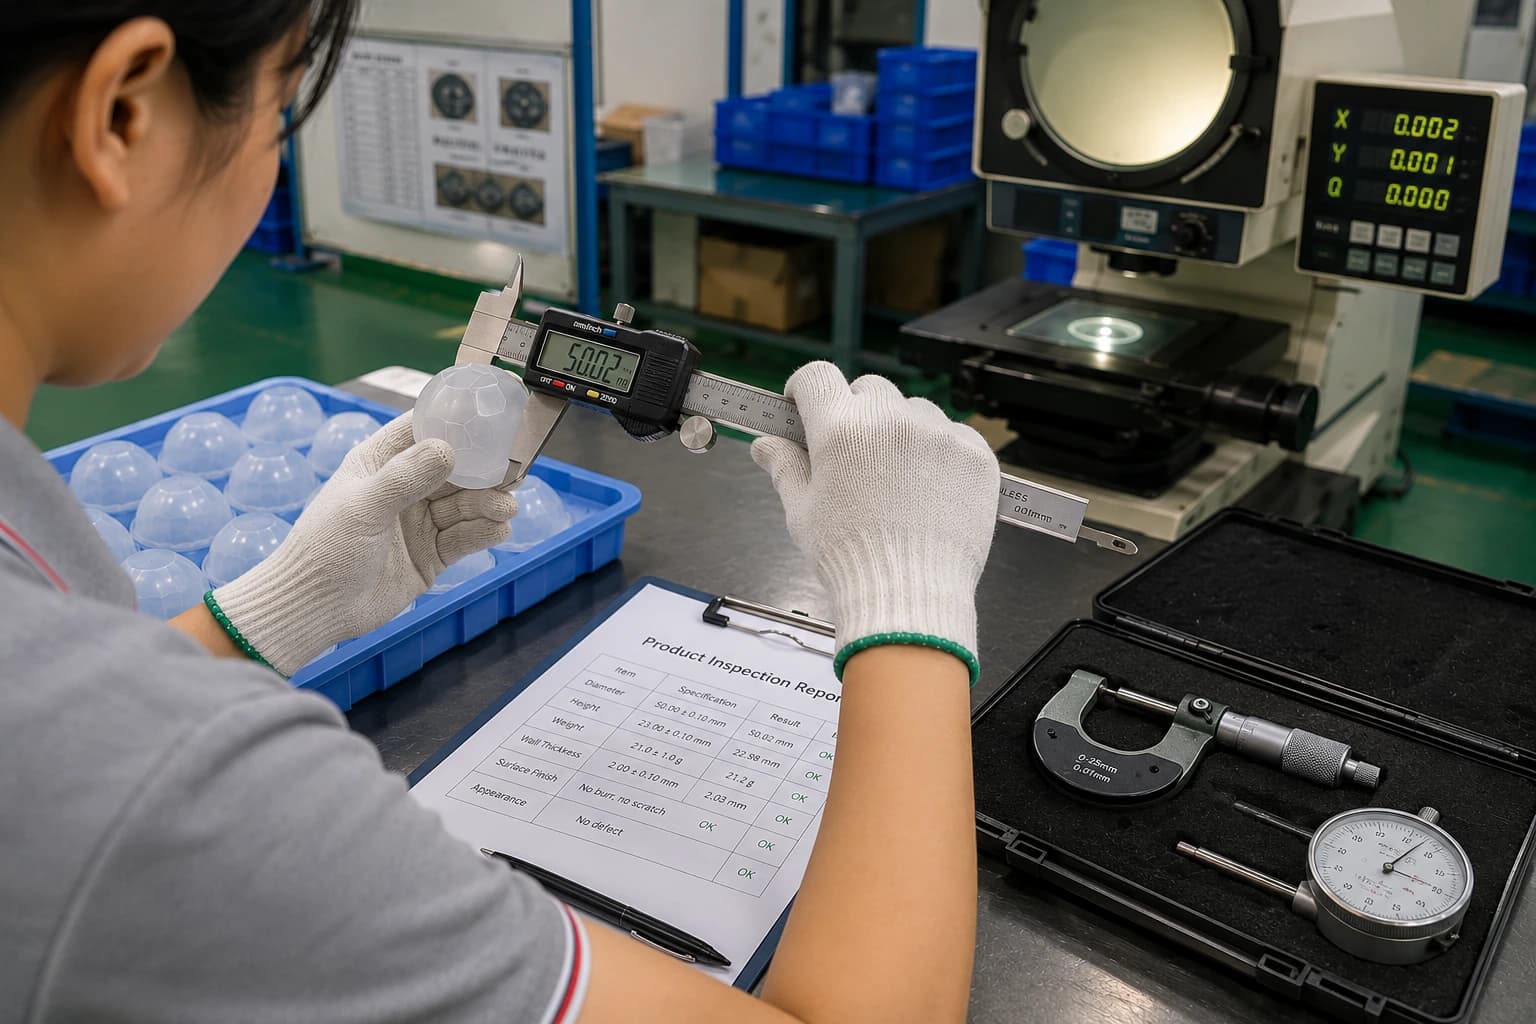
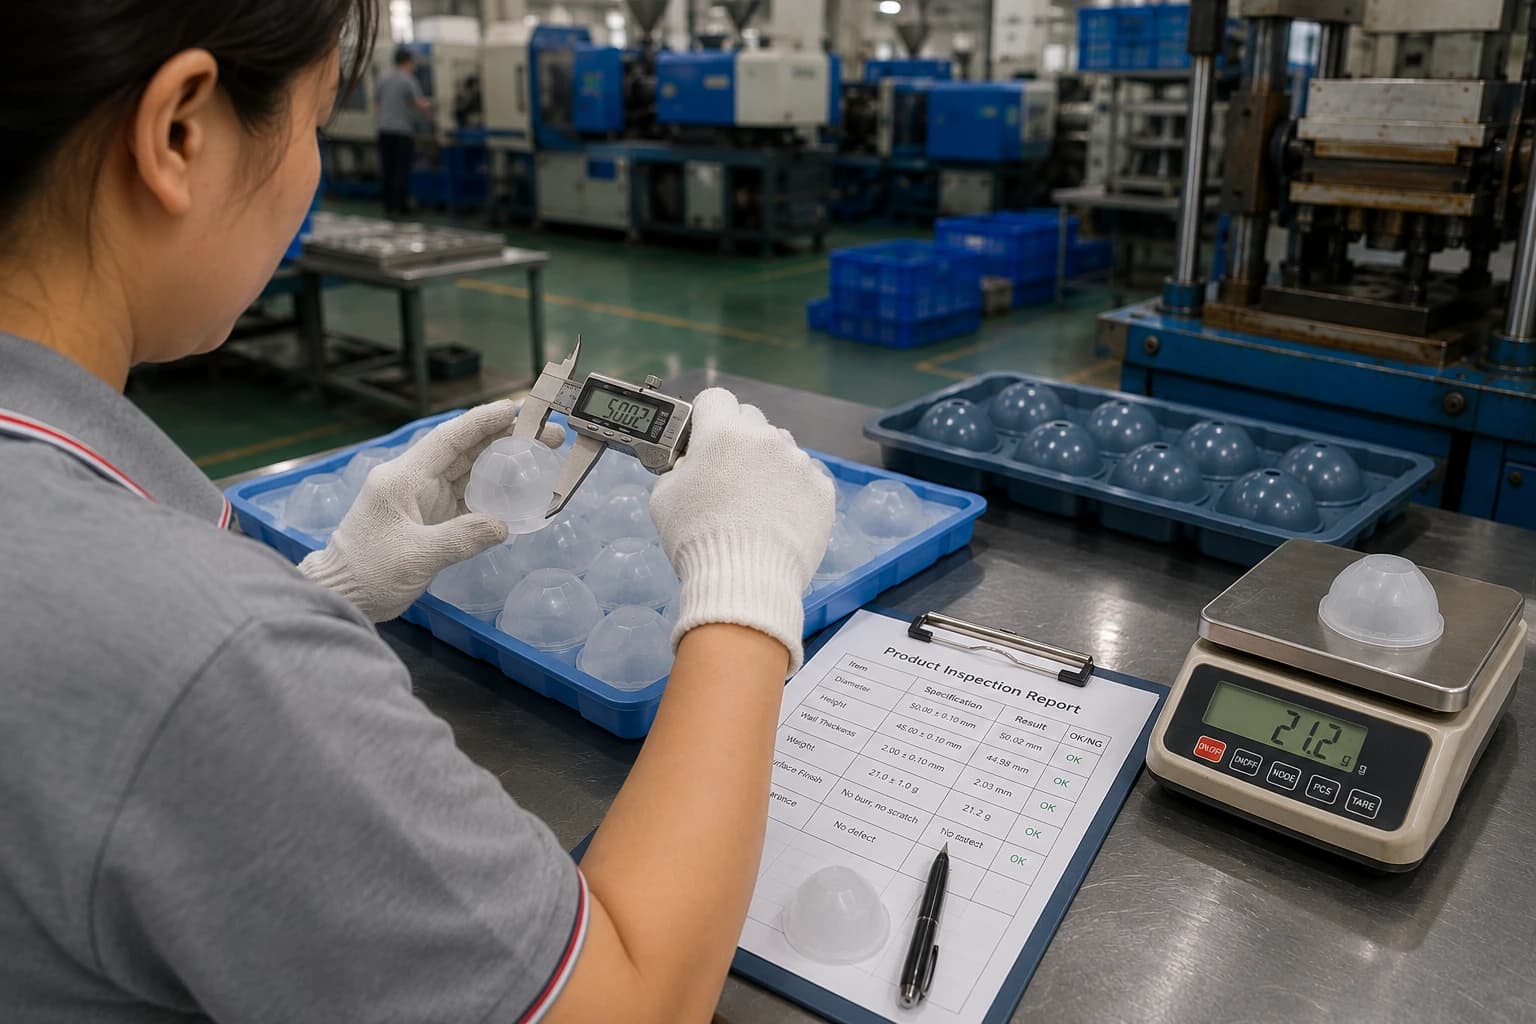
Before finalizing the specification, use silicone product quality control as an additional planning reference.
Q2. Can any crystal clear ice ball maker work in any freezer?
It depends on the type. Countertop machines run their own freeze cycle and are largely independent of freezer layout, so results are consistent. Passive silicone molds and insulated shells depend more on the freezer: a level shelf, a stable temperature, and limited direct airflow around the mold all improve results. Self-defrosting freezers with strong circulation can disturb the freeze front, so placement matters.
Q3. Does clear ice dilute a cocktail more slowly than cloudy ice?
In general, yes — clear ice has fewer internal air pockets and a more uniform structure, so it tends to melt more evenly and a bit more slowly than porous cloudy ice. It still dilutes the drink, and a larger sphere will last longer than a small cube. Temperature also matters: ice served straight from a very cold freezer may crack and melt faster than ice that has tempered briefly.
Q4. Are silicone ice molds safe to use for anything besides ice?
Food-grade, odorless silicone rated from −40 °C to 240 °C can handle freezer use and hot rinsing, and the same range generally covers oven use within those limits [K4]. If you use a mold for strongly flavored liquids or savory items, wash it thoroughly before returning it to ice duty, since silicone can retain odors over time. Always confirm the specific temperature range of the mold you own.
8. Conclusion
Clear ice is less about buying the right gadget and more about controlling one variable: the direction the ice freezes. A small insulated cooler, filtered or once-boiled water, 18–24 hours, and a sharp knife to trim the cloudy section will get most home bartenders to a genuinely transparent result. A countertop clear ice maker buys consistency at a higher price; a silicone ball mold paired with an insulated directional shell sits in the practical middle.
If clarity is the goal, treat the mold and the freezing method as two separate decisions. The mold determines shape, size, and release; the freezing design determines transparency. For brands sourcing ice products, that distinction matters commercially as well: custom silicone ice mold development covers cavity design, shape, size, color, logo, and packaging [K1], and the planning conversation should include MOQ, tooling, sampling, and lead time from the start [K2].
Next step: run one batch using the cooler method with your existing mold before buying anything new. If the clear portion after trimming meets your standard, you have your process. If you are developing ice products for retail or promotional use, define the cavity geometry, material grade, and packaging requirements first, then request samples so you can evaluate both shape and freeze behavior before committing to tooling.