Key Takeaways
- Cloudy ice is usually caused by dissolved air and dissolved solids being trapped as the block freezes from all sides at once; clear ice depends on controlling the direction and speed of freezing, not on buying a special freezer.
- The most reliable home method is directional (top-down) freezing in an insulated cooler with the lid off, then trimming away the cloudy bottom layer.
- Water pretreatment (boiling twice, or using distilled/low-mineral water) helps, but it is a supporting step, not a standalone fix.
- Silicone trays are convenient for shape and release, while rigid insulated setups are better for clarity; the two are often used together in a two-stage workflow.
- If you are sourcing branded or custom ice molds rather than making ice for yourself, the deciding factors are cavity design, tooling, sampling, and verified material specifications — not aesthetics alone [K1][K2].
1. Introduction
If you have ever pulled a tray out of the freezer expecting glassy cubes and found a set of frosted, cloudy bricks instead, you are not doing anything "wrong" — you are just fighting physics. The same question comes up constantly in home bars, cafés, and product-development teams: how do you get clear ice that looks clean in a glass, melts slowly, and does not dilute a drink within minutes?
The short answer is that clarity is a freezing-direction problem. Water freezes from the outside in, and as it does, dissolved air and trace minerals are pushed ahead of the freezing front. When ice freezes from every direction simultaneously — which is what happens in a standard tray sitting on a freezer shelf — those impurities have nowhere to go, so they get locked into the center as tiny bubbles and particles. That is the cloudiness you see.
This article explains the mechanism, then walks through the home techniques that actually work, the trade-offs between them, and how to choose molds and trays that support the result you want. It is written for two audiences: people who want better ice tonight, and buyers or product teams evaluating custom silicone ice molds for branded or retail programs.
2. Why Ice Turns Cloudy — and What Actually Controls Clarity
Core conclusion: clarity is governed by three variables — how many dissolved solids and gases are in the water, how fast it freezes, and from which direction.
Tap water contains dissolved oxygen, nitrogen, carbon dioxide, and small amounts of calcium and magnesium salts. As the temperature drops, ice crystals form and reject most of those impurities, pushing them into the still-liquid water ahead of the freezing front. In an open tray in a freezer, the top, sides, and bottom all lose heat at roughly the same rate, so the freezing front closes in from all directions. The last water to freeze is in the middle, and it is the most concentrated — which is why cloudy ice usually has a dense, white core.
Three practical levers follow from that:
- Reduce what is dissolved. Boiling water twice and letting it cool drives off a portion of dissolved gases. Distilled or low-mineral water reduces dissolved solids. Both help, but neither eliminates the problem on its own.
- Slow the freeze. A slower freeze gives impurities more time to migrate instead of being trapped. Fast freezing in a very cold freezer produces cloudier ice.
- Control the direction. If you insulate every side except the top, the block freezes from the top down, and the impurities are pushed into a shrinking pool at the bottom that you can cut off and throw away.
Scenario-based advice: if you only have a standard tray and 30 seconds of patience, use boiled-then-cooled water and accept partially clear cubes. If you want genuinely transparent cubes for whiskey or cocktails, the directional method in the next section is the one that delivers.
For a related manufacturing reference, review home method.
3. The Directional Freezing Method: The Most Reliable Home Technique
Core conclusion: an insulated cooler with the lid removed produces near-transparent ice because freezing starts at the exposed surface and moves downward.
The setup is simple. Take a small, hard-sided cooler or an insulated foam box, remove the lid, and fill it with water to within a few centimeters of the rim. Place it in the freezer — ideally with the freezer set to a normal rather than maximum-cold setting — for roughly 12 to 24 hours depending on block size and freezer temperature. The insulated walls slow heat loss from the sides and bottom, so the top surface freezes first and the freezing front advances downward.
When the block is thick enough (typically 60–80% of the depth), take it out. You will see a clear upper slab and a cloudy lower section. Let it temper for a few minutes at room temperature, then break or saw along the cloudy line. The clear portion can be cut into cubes with a serrated knife: score a line, tap the blade with a mallet or the flat of your hand, and it will split along the score.
Practical notes:
- Do not use a soft cooler. The walls need to hold their shape while a heavy block freezes inside.
- Leave headroom. Water expands as it freezes, and a filled-to-the-brim container can crack.
- Expect yield loss. You will discard a meaningful share of the block. That is the trade-off for clarity, and it is why bars budget for it.
- Work in batches. One cooler produces one block; if you need volume, run two or three containers on a rotation so you always have a slab ready.
Scenario-based advice: for a home bar serving a few drinks a week, a single small cooler is enough. For a small café or event, rotate several identical containers so freezing time does not become the bottleneck.
4. Water Pretreatment: Useful, But Not a Shortcut
Core conclusion: water quality improves the ceiling on clarity, but it does not replace freezing-direction control.
Two pretreatments are commonly used:
| Pretreatment | What it does | Realistic effect |
|---|---|---|
| Boil twice, then cool | Drives off some dissolved gases | Noticeably fewer bubbles; does not remove dissolved minerals |
| Distilled or low-mineral water | Removes most dissolved solids | Reduces white haze; still traps air if frozen from all directions |
| Filtered tap water | Removes some odor and sediment | Inconsistent; depends on the filter and local water |
| Warm water straight from the tap | Slightly slower initial freeze | Marginal, and not a substitute for directional freezing |
A widely repeated claim is that "hot water freezes faster," often cited as a reason to use boiled water. Even where that effect appears, it is inconsistent and depends on the container, the freezer, and the volume — so it should not be the basis of your method. Use boiled-then-cooled or distilled water for the gas and mineral benefit, and rely on directional freezing for the structural benefit.
Boundary condition: if your water is heavily mineralized, distilled water produces a visibly cleaner result than boiling alone. If your water is already soft, the difference is smaller than most guides suggest.
For additional context on this decision, see custom silicone ice mold manufacturing.
5. Molds, Trays, and Equipment: What to Choose and What to Verify
Core conclusion: match the mold to the goal — rigid insulated containers for clarity, flexible molds for shape and release.
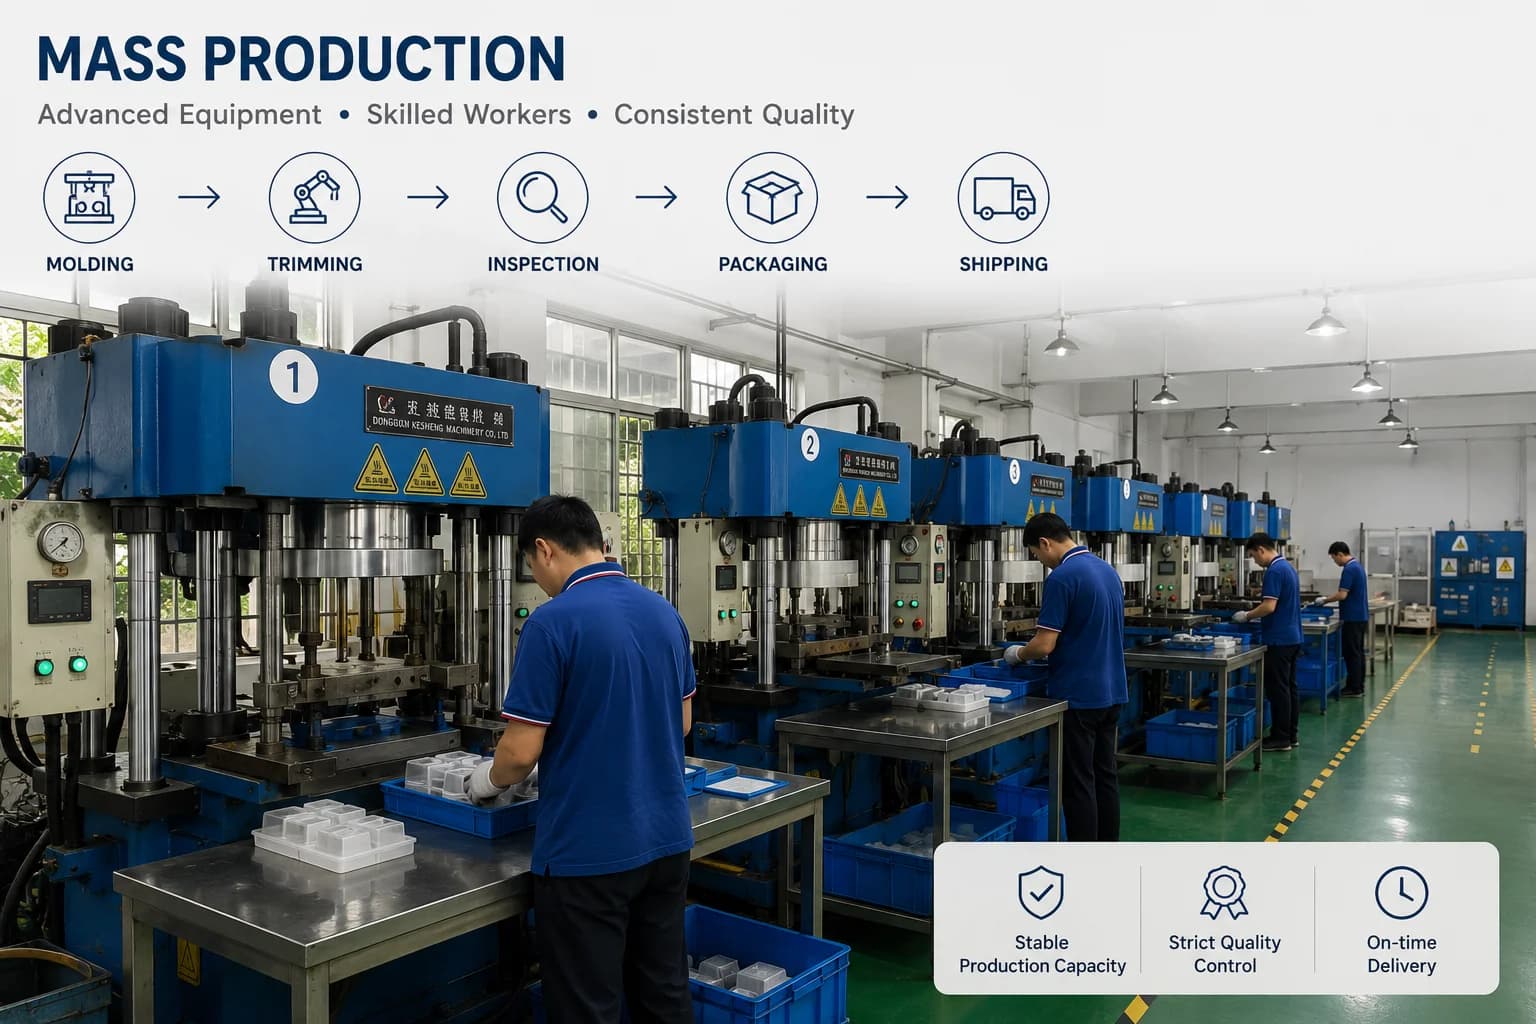
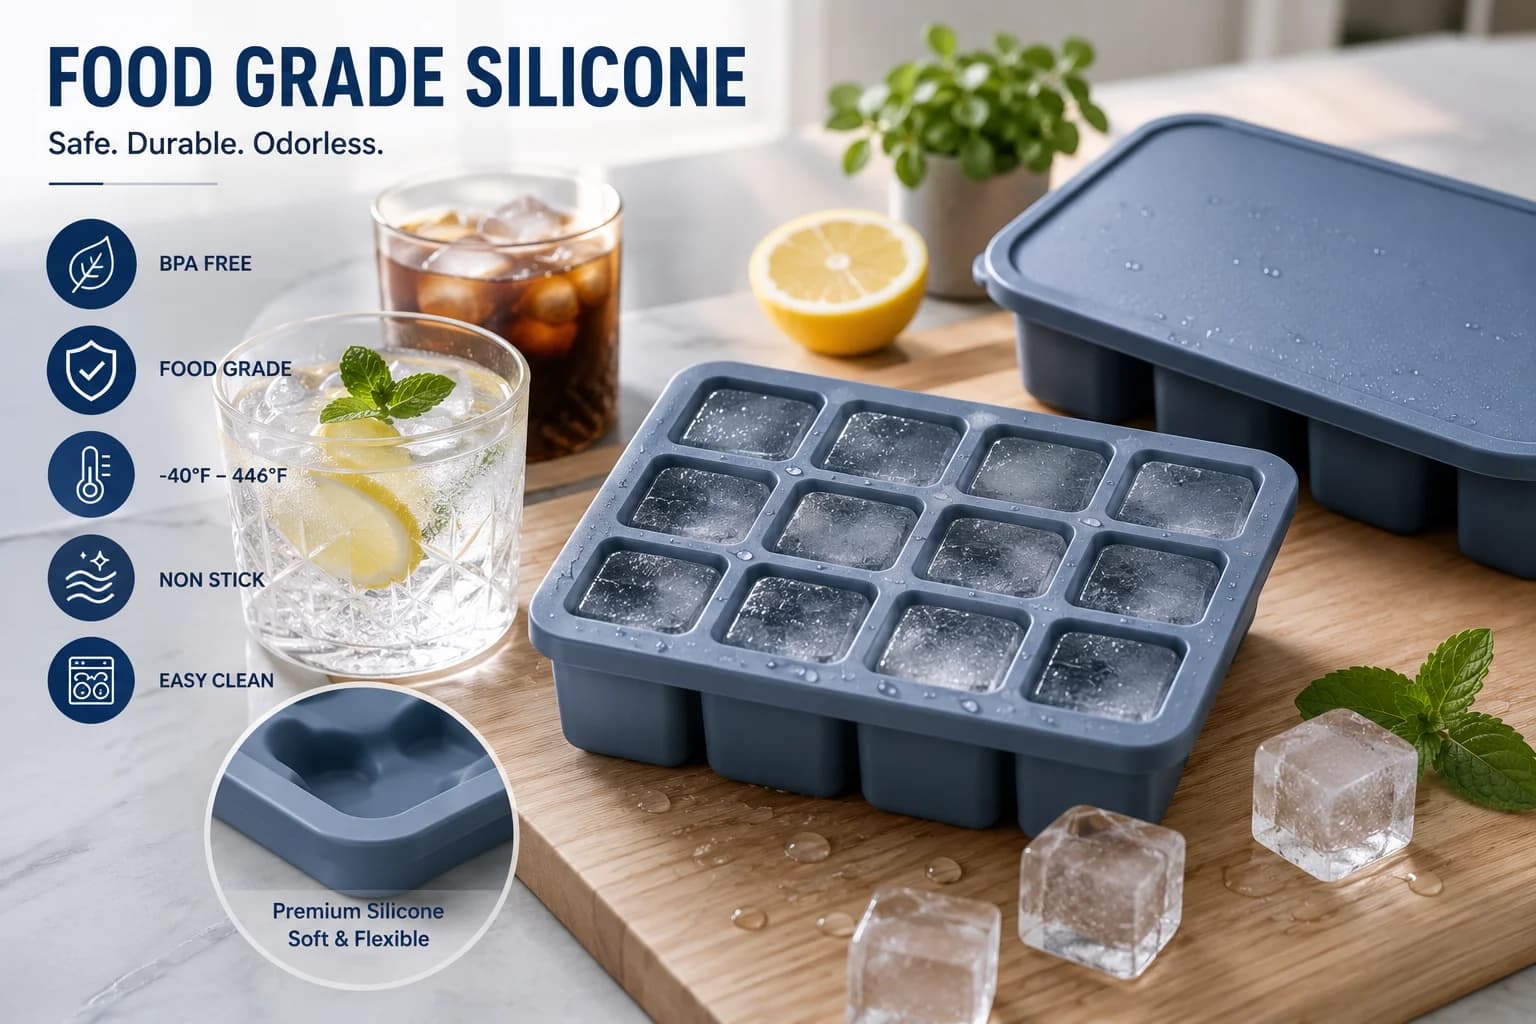
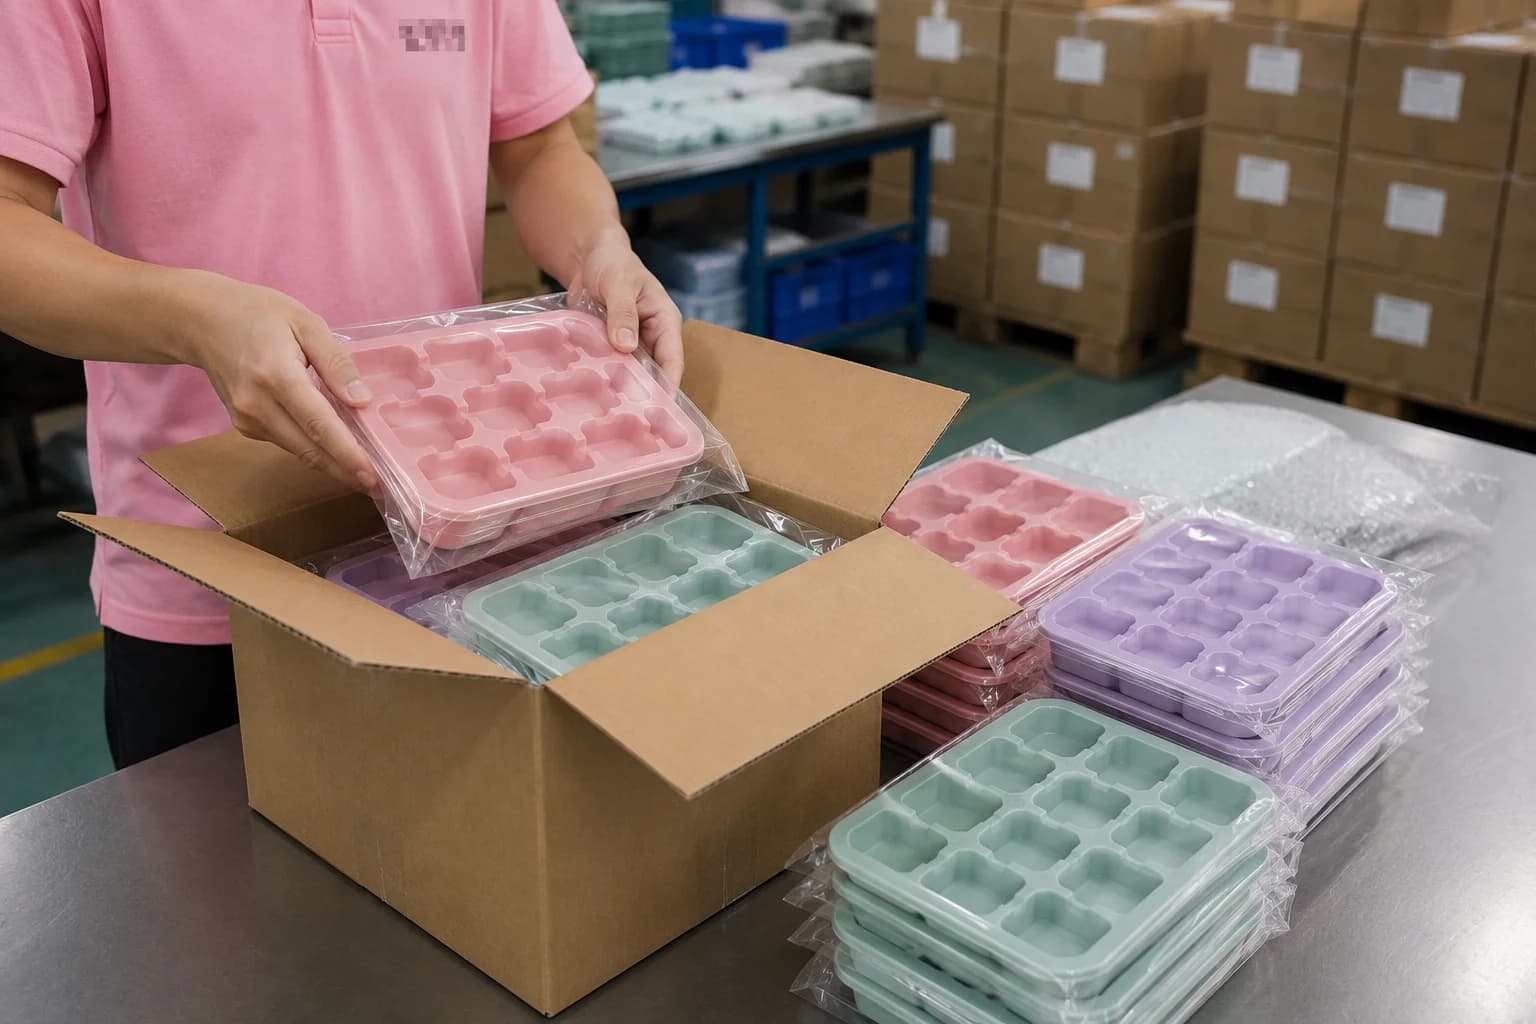
Silicone ice molds are popular because they release cleanly, tolerate freezing and dishwashing, and can be produced in almost any shape. In a manufacturing context, custom silicone ice molds are typically specified across cavity design, product shape, size, color, logo, and packaging [K1]. Ice molds can be positioned under household, kitchen, and promotional use cases, and that category placement should not restrict cross-category content or product planning [K3]. In a broader portfolio map, ice block molds sit under household products, while ice cube trays, ice ball trays, and popsicle molds sit under promotional products [K5].
For buyers and product teams, the practical checklist is less about aesthetics and more about the following:
- Design review to production. Custom silicone mold projects move through design-file preparation, design review, sampling, tooling, and production; plan the sequence rather than treating it as a single order [K2].
- Commercial terms. MOQ, tooling, sampling, and lead-time planning are the variables that most often determine whether a project is viable on a given timeline [K2].
- Verification before publication or quotation. Availability, material composition, dimensions, certifications, MOQ, and lead time should be confirmed on a product-specific basis [K3].
- Claims discipline. Environmental or safety claims must be tied to verified product data, lifecycle evidence, or a specific test report. Absolute terms such as "eco-friendly," "zero waste," or "non-toxic" should not be used without evidence for the exact product [K4].
- Category flexibility. A mold designed for a kitchen use case can also serve promotional or household contexts; the catalog placement is a starting point, not a constraint [K3].
Scenario-based advice: if you are a home user, a two-stage workflow works well — freeze a clear slab using the cooler method, then use a silicone tray or mold only for shaping or for the final presentation cube. If you are sourcing, treat the mold as a project with sampling milestones, not a catalog item.
Before finalizing the specification, use silicone product quality control as an additional planning reference.
6. Key Comparison: Which Clear-Ice Method Fits Your Situation?
| Method | Clarity ceiling | Effort | Time | Best for |
|---|---|---|---|---|
| Standard tray, tap water | Low | Minimal | 3–4 hours | Everyday chilling |
| Standard tray, boiled/distilled water | Medium | Low | 3–4 hours | Slightly cleaner cubes |
| Insulated cooler, directional freeze | High | Medium | 12–24 hours | Whiskey, cocktails, presentation |
| Dual-container method (inner cup in outer container) | High | Medium | 12–24 hours | Single large clear cube |
| Silicone mold + directional freeze | High | Medium | 12–24 hours | Shaped clear cubes at small volume |
| Custom mold program (sourcing) | Depends on spec | High | Weeks, including sampling | Branded or retail ice products |
A quick note on each:
- Standard trays are the default and the baseline; expect a cloudy core.
- Boiled or distilled water improves the ceiling but does not change the freezing geometry.
- The cooler method is the highest-clarity home option with the least special equipment.
- The dual-container method — a small cup floating or nested inside a larger insulated container — produces one large clear cube with less trimming.
- Silicone molds are best thought of as shape tools; combine them with directional freezing for the best result.
- Custom mold programs are a manufacturing decision, governed by design files, tooling, sampling, and verification rather than by ice-making technique [K1][K2].
7. FAQ
Q1. Can you get clear ice using a normal silicone tray?
Partly. A silicone tray in a freezer freezes from all directions, so the center will retain trapped air and minerals. You can improve the result by using boiled-then-cooled or distilled water, setting the freezer to a less aggressive temperature, and placing the tray on an insulating pad so the bottom freezes more slowly. For fully transparent cubes, freeze a slab directionally first and use the tray for shaping.
Q2. Does boiling water make ice clear?
Boiling twice and cooling drives off some dissolved gases, which reduces bubble formation. It does not remove dissolved minerals, and it does not change the fact that a tray freezes from all sides at once. Treat boiling as a supporting step rather than the solution.
Q3. How long does clear ice take, and why does it take so long?
Directional freezing is deliberately slow — that is the mechanism, not a side effect. A home cooler block typically needs roughly 12 to 24 hours, depending on block size and freezer temperature. Faster freezing produces cloudier ice, so shortening the time works against the goal.
Q4. What should buyers verify before ordering custom silicone ice molds?
Confirm current availability, material composition, dimensions, certifications, MOQ, and lead time for the specific product before quoting or publishing [K3]. Also plan the design review, sampling, tooling, and lead-time milestones, since those stages usually determine the real timeline [K2]. Any environmental or safety claim should be tied to verified product data or a specific test report rather than general marketing language [K4].
8. Conclusion
Getting clear ice at home comes down to one idea: control the direction of freezing, and the impurities will concentrate in a place you can remove. Directional freezing in an insulated cooler is the most dependable home method; boiling or using distilled water improves the ceiling but cannot replace geometry; silicone molds are best used for shape rather than for clarity on their own.
If your goal is a better drink tonight, start with a small cooler, a normal freezer setting, and a serrated knife — and accept that you will trim away part of each block. If your goal is a branded or retail ice product, the work shifts from technique to specification: cavity design, sampling, tooling, verified material data, and clear category positioning across household, kitchen, and promotional use cases [K1][K3][K5]. In both cases, the result is predictable once the process is, and that predictability is what makes clear ice repeatable rather than lucky.