Key Takeaways
- Custom ice mold projects are defined by cavity geometry, material grade, logo placement, and packaging — logo printing is only one variable in a much larger design decision.
- Publicly verified specifications for silicone ice molds typically include food-grade silicone, odorless material, temperature resistance from -40°C to 240°C (-40°F to 464°F), and customization across color, size, shape, and packaging [K5].
- A custom logo reads very differently on a flat tray cavity than on a curved ice ball, so logo legibility must be validated on a physical sample rather than on a 2D artwork file.
- Most buyers move through a predictable sequence: design-file review, sampling, tooling, production, inspection, and packaging [K1][K2]. Skipping or compressing the sample stage is where most costly rework begins.
- Compliance planning is market-specific. Buyers should ask what documentation a supplier can actually support for their destination market instead of assuming a generic certificate applies.
1. Introduction
Ice has quietly become a branding surface. Bars stamp logos into clear cubes, hotels use shaped ice as part of a welcome ritual, appliance and beverage brands ship custom trays as promotional gifts, and home-goods sellers use distinctive cavity shapes to differentiate a product that is otherwise almost identical across marketplaces. The result is a steady flow of inquiries that all sound similar at first: buyers want a custom ice mold, and they want to know whether their idea is practical, what it will cost to develop, and how long the path from sketch to shipment really is.
The difficulty is that "custom" means very different things depending on which product you are describing. A personalized ice tray — a flat silicone tray with a printed or embossed logo on the base or rim — is a comparatively forgiving product. A custom logo silicone ice ball mold is not: the cavity is spherical, the logo has to survive demolding, and the visual result depends on how light refracts through the finished ice. Buyers who treat these as the same project often end up approving a sample that looks nothing like the concept rendering.
This article explains how silicone ice tray custom shape development actually works in an OEM/ODM context, what you can and cannot control on a logo, which specification details to lock down before tooling, and how to structure a project so the sample you approve is the product you receive. It is written for brand owners, promotional-product buyers, hospitality suppliers, and sourcing teams who need a practical decision framework rather than a product brochure.
2. What "Custom" Really Covers in Silicone Ice Mold Development
Core conclusion: In silicone ice mold projects, customization spans cavity design, product shape, overall size, color, logo, and packaging — and each of these has a different cost and risk profile [K1].
The most common mistake in early conversations is treating customization as a single toggle. In practice, suppliers typically break a custom silicone ice mold project into several independently specified layers, and the effort required for each one is not equal.
- Cavity design and product shape. This is the highest-effort layer. It includes the number of cavities, cavity geometry (cube, sphere, large block, novelty shape), wall thickness, the split line between mold halves, and how the finished ice releases. Novelty shapes with thin protrusions or deep undercuts are where tooling complexity rises fastest.
- Size. Custom sizes are a standard offering, but the practical range is constrained by molding behavior and by the tray's ability to sit flat and stable in a freezer [K5].
- Color. Custom color is a routine request, but it interacts with material selection and with how visible the logo will be against the tray body.
- Logo and artwork. Logo can be placed on the tray body, on the cavity surface (transferring a shape into the ice), or on packaging. These are three different production problems with three different approval criteria.
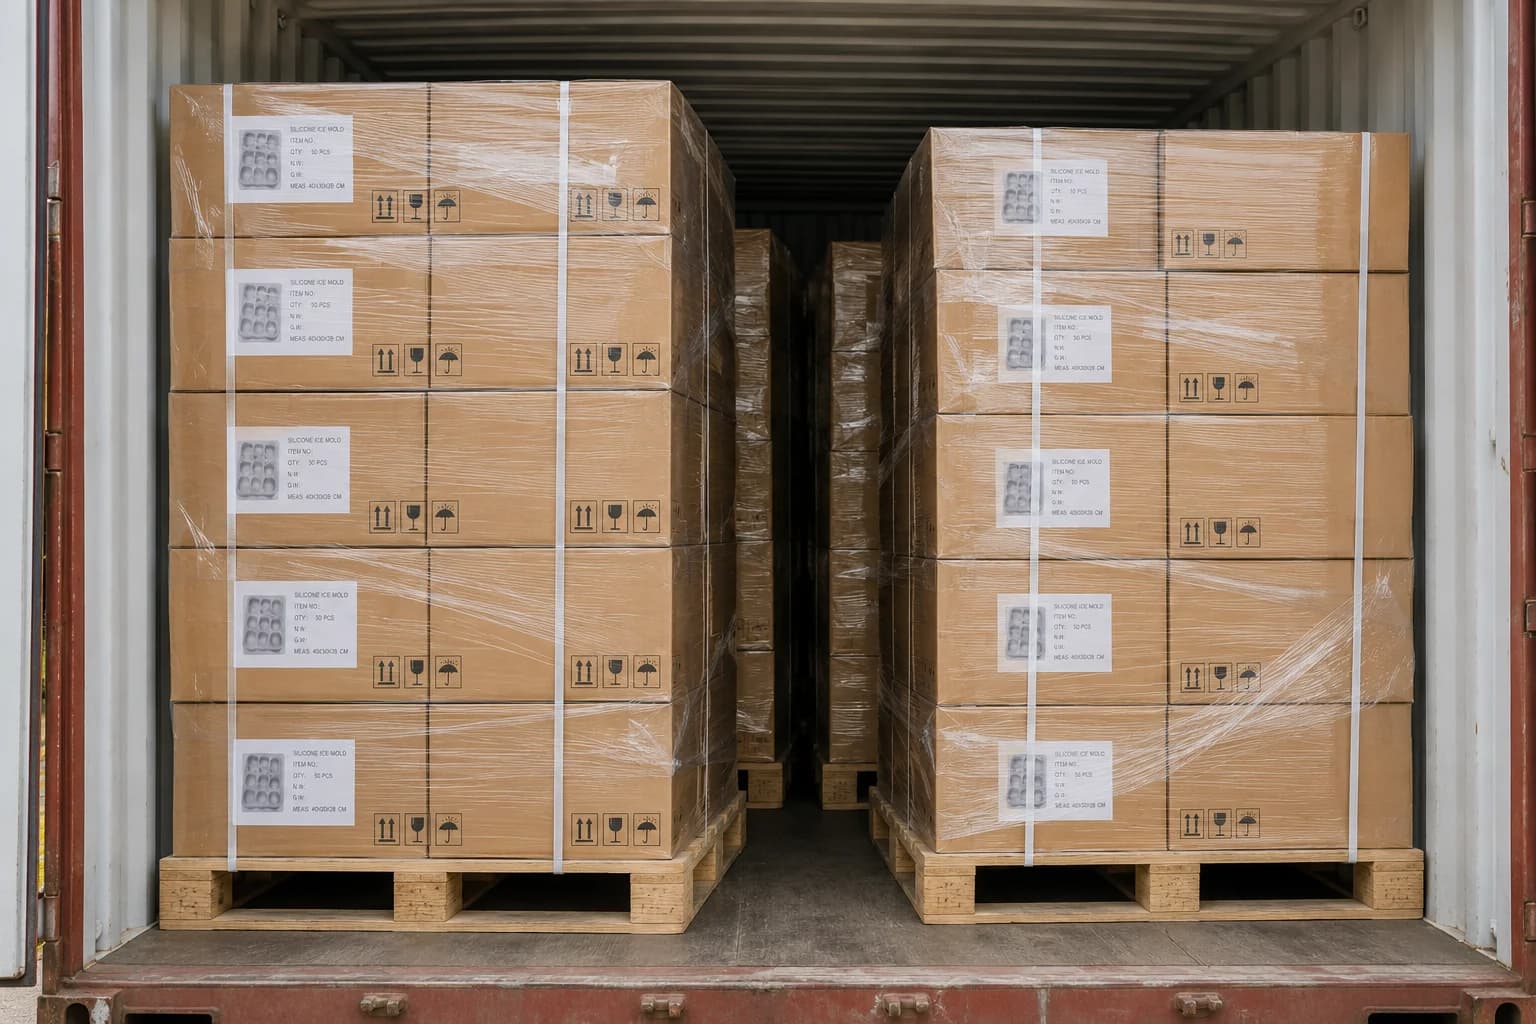
- Packaging. Retail packaging, gift boxes, and inserts are frequently what determines whether a promotional project ships on schedule, because print lead times can exceed molding lead times.
A useful way to think about this: the tray is a manufactured part, but the ice is the product the end user experiences. Any customization that touches the cavity changes the ice itself, and therefore deserves the most scrutiny. Renjia's custom silicone ice mold development program is structured around exactly this distinction — separating cavity-level design from surface-level branding so buyers can see where cost and risk concentrate.
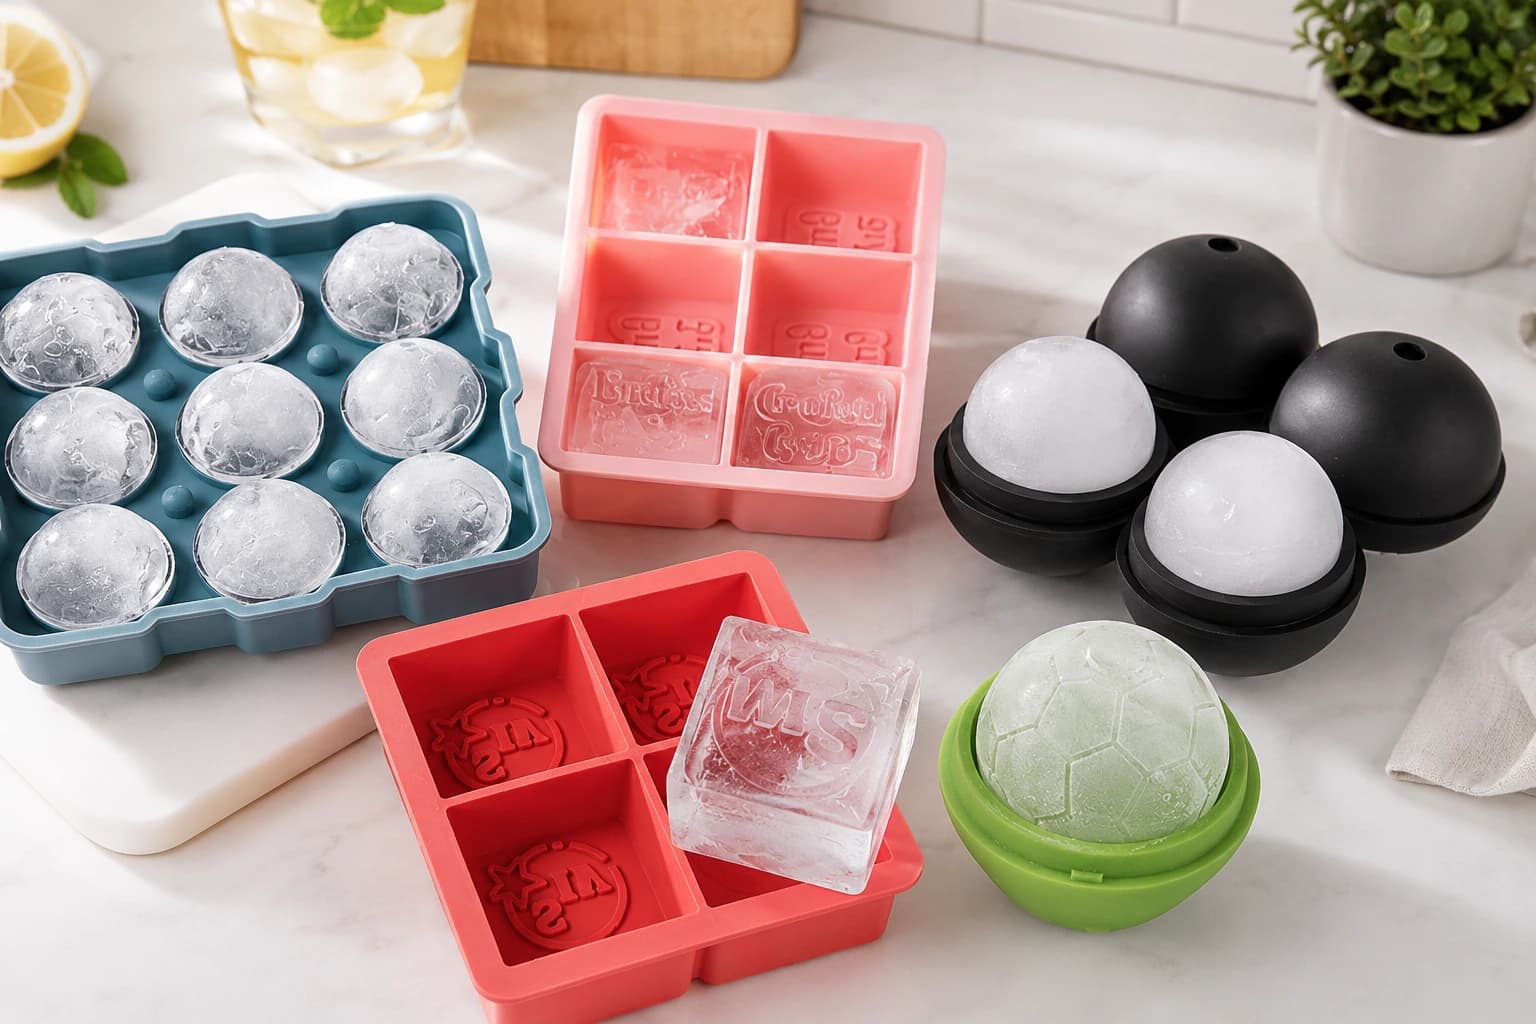
Practical advice: Before requesting a quote, write a one-page brief that separates "must-have" from "nice-to-have" across these six layers. Suppliers can often propose a lower-cost configuration — for example, an embossed logo on the tray body instead of a cavity-engraved logo — but only if they understand which requirements are flexible.
3. The Project Sequence: From Design File to Production
Core conclusion: Custom mold projects follow a reviewable sequence, and the value of that sequence is that each stage produces a decision point where a buyer can stop, correct, or proceed [K2].
The typical path runs from design review through sampling, tooling, production, and inspection. The stages are not merely administrative steps; each one answers a specific question that cannot be answered later.
| Stage | The question it answers | What the buyer should receive |
|---|---|---|
| Design-file review | Is the concept manufacturable as drawn? | Feedback on geometry, draft, wall thickness, and logo feasibility |
| Sampling | Does the physical product match the intent? | A physical sample of cavity, material, color, and logo |
| Tooling | Can the design be reproduced consistently? | Tooling plan, cavity layout, and expected production constraints |
| Production | Is the process stable at volume? | Production schedule and in-process checks |
| Inspection | Does the shipment match the approved sample? | Pre-shipment inspection against agreed criteria |
| Packaging | Does the retail unit survive handling and shipping? | Packaged sample or packaging proof |
Two boundary conditions deserve emphasis. First, sampling is not a formality — it is the cheapest point at which to discover that a logo engraved into a spherical cavity produces a distorted mark. Second, tooling decisions made before sample approval are difficult and expensive to reverse. A supplier that offers to skip sampling to save time is transferring risk to the buyer, not removing it.
Sourcing teams evaluating multiple vendors should also compare how each vendor documents these stages. A manufacturer with a defined silicone OEM/ODM process will usually be able to describe, in advance, what a design review covers and what criteria a sample is approved against — which is a more reliable signal than a headline price.
Practical advice: Ask for the sample approval checklist before the sample is made, not after. If the criteria are agreed in advance (dimensions, cavity count, color reference, logo position, packaging format), approval becomes a comparison rather than an opinion.
4. Designing a Logo for Ice: What Changes Between a Tray and a Ball
Core conclusion: A logo that works on a flat tray will often fail on an ice ball, because the ball's surface is curved, transparent, and highly reflective — and the mark must survive both demolding and light.
Consider what each format actually does to a logo.
On a personalized ice tray, the logo usually sits on the exterior of the tray — the base, the rim, or the sidewall. This is a conventional branding problem: embossing, debossing, or a color-contrast treatment, evaluated on an opaque silicone surface. Legibility is predictable and can be judged from a flat proof.
On a custom logo silicone ice ball mold, there are two distinct approaches, and buyers frequently conflate them:
- Logo on the mold exterior. The branding is on the tray or ball-mold body. The ice itself is plain. This is the simpler and more forgiving option.
- Logo transferred into the ice. The cavity surface carries a reversed engraving, so the finished ice sphere bears a raised or recessed mark. This is where design intent and physical result diverge most.
The second approach has real constraints worth planning around:
- Curvature distorts flat artwork. A wordmark designed on a straight baseline will wrap around a sphere. Short, bold, high-contrast marks survive far better than fine text or thin-line logos.
- Depth has a practical range. Too shallow and the mark disappears in the ice; too deep and demolding becomes difficult and the mark can tear or leave residue.
- Transparency and light work against detail. Clear ice refracts, so a fine engraving may be invisible in a glass but obvious in a direct-light photograph. How the product will be photographed matters as much as how it performs.
- Draft and demolding govern everything. Any engravings must not create undercuts that prevent the ice from releasing cleanly.
This is also why ice molds sit at the intersection of two product categories. Ice trays, ice ball trays, popsicle molds, and soap molds are commonly developed as promotional items, where branding and packaging carry as much weight as function [K3]. Buyers building a promotional range often review the wider promotional silicone product portfolio alongside ice molds, because the same tooling and packaging decisions repeat across the range.
Practical advice: Supply your logo in vector format with a clear-space specification, and explicitly state the minimum mark size you consider acceptable. Then request a physical sample photographed under the lighting conditions your marketing team will actually use.
5. Specification and Compliance: What to Verify Before Committing
Core conclusion: Material and specification claims should be confirmed in writing against the actual production batch, and compliance documentation should be matched to the destination market rather than assumed.
The verified public specifications for this product family provide a concrete starting point for a specification sheet [K5]:
| Specification | Verified public value |
|---|---|
| Material | Silicone |
| Food-contact grade | Food-grade |
| Odor | Odorless |
| Temperature resistance | -40°C to 240°C (-40°F to 464°F) |
| Sizes | Custom sizes available |
| Customization options | Custom colors, custom sizes, custom shapes, custom packaging |
These are the parameters worth reproducing verbatim in a purchase specification, so that the approved sample and the production order are measured against the same baseline. Temperature resistance in particular is often misquoted in marketing copy — a range of -40°C to 240°C covers freezer use through boiling-water cleaning, and stating it accurately is more useful than overstating it.
On compliance, the honest position is narrower than many buyers expect. Requirements differ by market, by product category, and by how the item is positioned (food-contact kitchen tool versus general promotional gift). A responsible supplier will ask which market you are selling into and what documentation your retailer requires, and will separate what it can support from what it cannot. Buyers should treat any blanket certification claim that is not tied to a specific market and a specific document as unverified. The same discipline applies to the broader household and kitchen ranges many buyers source together — promotional items and kitchen tools can carry different documentation expectations even when the material is nominally the same.

Practical advice: Build a one-page specification sheet for each SKU containing the six verified parameters above, the approved sample reference number, the packaging format, and a list of required documents by market. Review it at pre-shipment inspection.
6. FAQ
Q1. Can I put my logo on the ice itself, or only on the mold?
Both are possible, but they are different projects. A logo on the mold body is a surface-branding decision and is comparatively straightforward. A logo transferred into the ice requires an engraving in the cavity surface, and the result depends on the curvature of the cavity, the engraving depth, and how the ice is lit when photographed. Short, bold marks work better than detailed artwork. Always approve this on a physical sample rather than a rendering.
Q2. How much does a custom silicone ice tray cost to develop?
Cost depends primarily on cavity complexity and the number of tooling pieces required, not on the logo alone. A single-cavity novelty shape in a simple layout is a very different tooling proposition from a multi-cavity sphere mold with engraved branding. Because pricing is project-specific, the reliable approach is to request a quote against a written brief that separates must-have from optional features, so the supplier can propose cost-reducing alternatives.
Q3. What information should I prepare before contacting a supplier?
Prepare four things: a vector logo file with clear-space rules, a dimension sketch or reference sample, a target market and sales channel (which determines documentation and packaging expectations), and a realistic quantity range. Also state whether branding should appear on the tray body, in the ice cavity, on packaging, or across all three. Suppliers who receive this upfront can usually respond with a manufacturability assessment rather than a generic price list.
Q4. Is food-grade silicone the same as food-safe certification?
No. "Food-grade" describes the material specification; certification is a market-specific document issued against a standard. The two should not be used interchangeably in marketing copy. Ask your supplier which specific documents they can provide for your destination market, and confirm that the documentation references the material and production actually used for your order.
7. Conclusion
Custom ice mold development rewards buyers who separate the product into layers. The tray body, the cavity geometry, the logo treatment, and the packaging each carry their own cost, risk, and approval criteria — and treating them as one undifferentiated "custom" request is the most common reason projects stall between concept and shipment.
For straightforward branding — a logo on the tray exterior, a custom color, retail packaging — the path is well established and the main discipline is a written specification sheet. For ambitious cavity work, especially logo-engraved ice balls, budget time for at least one physical sample round and judge the result as a photographed object, not just a functional one.
A practical next step: write a one-page brief covering cavity design, size, color, logo placement, packaging, target market, and quantity band, then request a design review before discussing tooling. That single document will tell you more about a supplier's competence than any catalogue, because it forces a manufacturability answer rather than a product list.