Key Takeaways
- Cavity design is the first and most important decision because it determines the pop's shape, volume, branding surface, and tooling requirements [K1].
- Stick selection affects freezing stability, user experience, packaging, and food-contact compliance—decide it early, not after the mold is produced.
- Release performance depends on silicone flexibility, cavity geometry, draft angles, and verified temperature resistance, not just "non-stick" marketing claims [K3].
- Work with an experienced silicone OEM/ODM partner through design review, sampling, tooling, and pre-shipment inspection to avoid costly revisions [K2][K5].
- Always confirm material specs, food-grade status, and market-specific compliance requirements directly with the manufacturer before production [K3][K5].
1. Introduction
Ice pop molds used to be a simple commodity: fill the cavity, insert a stick, freeze. But for brands, importers, and private-label buyers, the custom silicone ice pop mold has become a more strategic product. It is a branded dessert tool, a promotional giveaway, a kids' party item, and a kitchen staple that appears in product photography, unboxing videos, and seasonal retail promotions.
The problem is that most buyers start with the wrong questions. They ask about color and packaging before they have decided on cavity geometry, stick retention, and release behavior. Those three decisions determine whether the mold works in real use, whether it survives shipping and freezer conditions, and whether your brand appears clearly in the final ice pop.
This article explains how to make those three core decisions—cavities, sticks, and release—from an OEM/ODM sourcing perspective. It draws on verified product knowledge for custom silicone ice molds, including typical customization options, material specifications, and buyer-side project guidance [K1][K2][K3]. If you are planning a custom silicone ice pop mold project, this gives you the decision framework you need before you request a quote.
2. Cavity Design: Shape, Size, and Branding Surface
Core conclusion: The cavity is your product. Its shape, size, and internal surface determine the pop's identity, fill volume, freezing time, and how clearly your logo appears in the finished frozen product.
In custom silicone ice mold development, cavity design is the first item listed under typical customization [K1]. This includes product shape, size, and the internal geometry that leaves the brand mark on the ice pop itself. Unlike printed packaging, the logo on a pop is a physical recess or raised feature inside the cavity—so it must be designed together with demolding behavior, not as an afterthought.
There are three practical rules for cavity decisions:
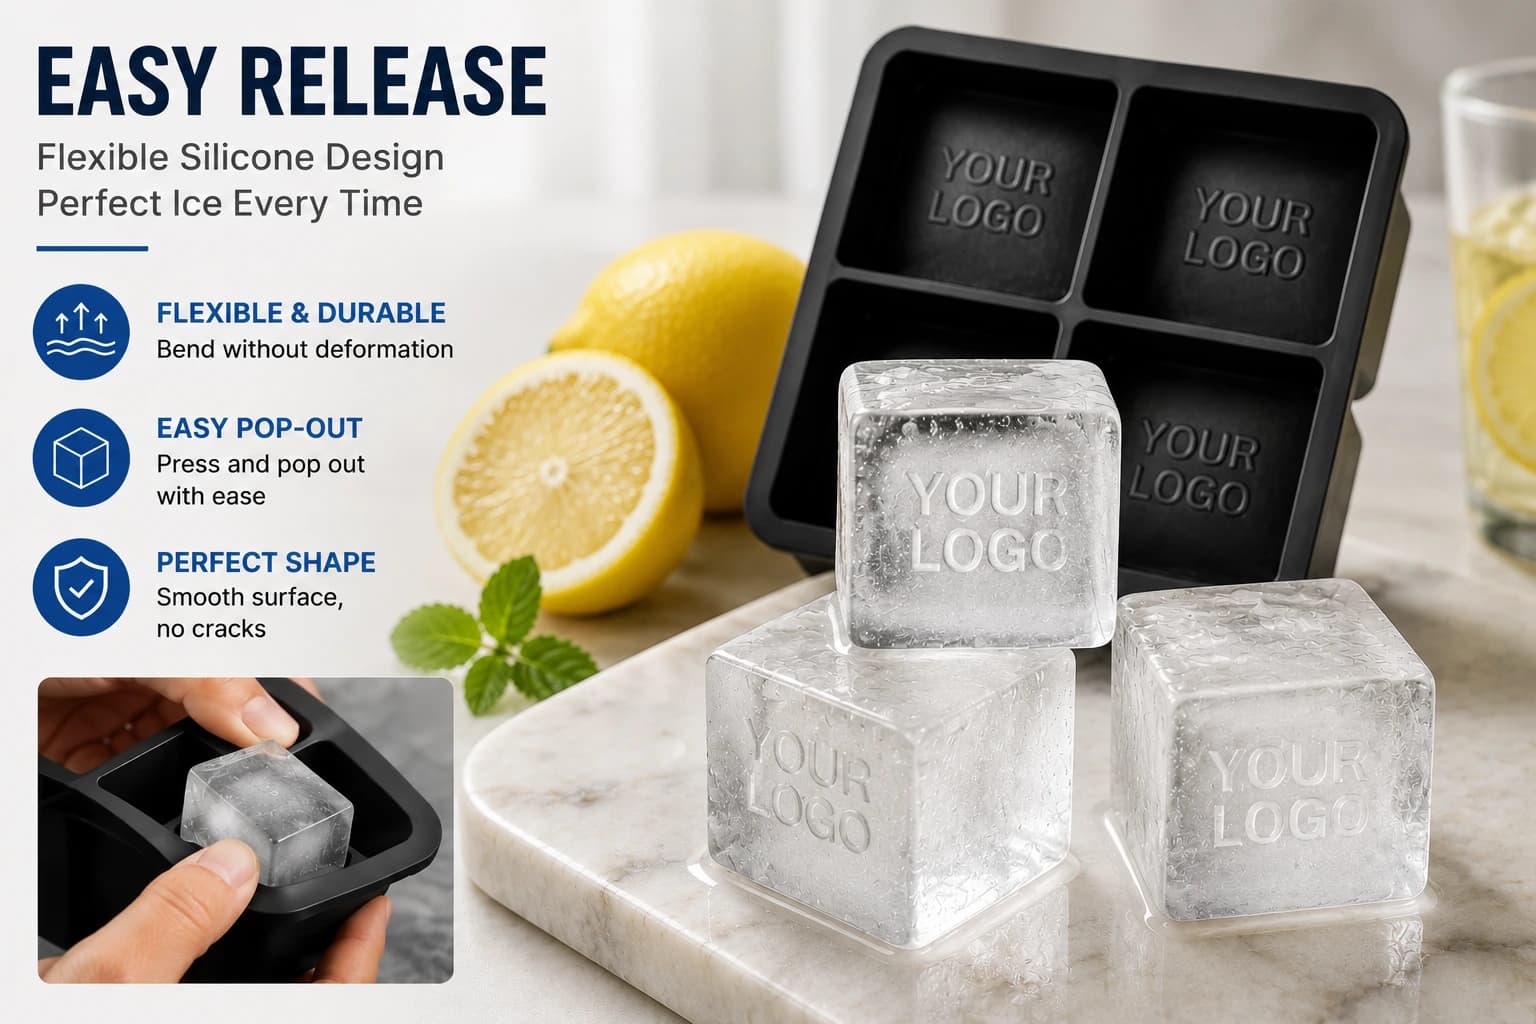
- Define the target portion size first. A smaller cavity freezes faster and is easier for children to hold. A larger cavity offers more surface area for branding but takes longer to freeze solid and may require a thicker stick for stability. If you plan to sell the mold at retail, consider how the finished pop size compares to competitors' products.
- Match the shape to the user. Rounded, simple shapes demold more easily and are more forgiving for home use. Highly detailed character shapes or deep sculpted details look attractive but can trap product and complicate cleaning. Custom colors and shapes are supported, but complexity has a cost impact on tooling and sampling [K1][K3].
- Design the logo with depth constraints in mind. A deep embossed logo can create undercut areas that freeze around the mark and resist release. A shallow deboss is usually safer. During the design review phase, ask the manufacturer to assess logo depth, placement, and the number of cavities per mold before committing to tooling [K2].
Scenario-based advice: If you are a promotional buyer ordering a custom silicone ice pop mold for a summer marketing campaign, choose a simple geometric cavity with a shallow logo deboss. That reduces tooling risk and speeds up the sampling cycle. If you are a kitchenware brand launching a premium line, you can invest in more complex shapes, but plan for additional sampling rounds to validate freeze and release performance.
For a related manufacturing reference, review custom silicone ice mold manufacturing.
3. Stick Selection and Placement
Core conclusion: The stick is a structural element of the freezing process. Its material, length, and position inside the mold determine whether pops come out stable or tilted, and whether the mold can be packaged efficiently.
Many buyers treat the stick as a minor accessory. In reality, stick selection interacts directly with cavity design and mold construction. The mold must include a stick slot, a guiding groove, or a holder that keeps the stick vertical and centered while the liquid freezes. If the stick is not held in position, it will drift to one side, and the finished pop will be uneven and fragile.
Common stick options include:
- Wooden sticks: The most common and cost-effective choice. They provide a natural look but may carry their own odor, moisture, or splintering characteristics, so sourcing quality matters.
- Plastic sticks: Often used for children's products because they have no splinters and can be produced in bright colors. Food-contact suitability must be confirmed with the manufacturer.
- Silicone sticks: A reusable option that matches the mold material and can be customized in color and shape. These raise the product cost and change the user experience from single-use to reusable.
There is no universally "best" stick. The right choice depends on your target market, price point, and compliance requirements. What matters is that the mold's cavity geometry and stick-retention slot are designed around the stick you choose before tooling begins. Because the knowledge base covers available customization in shape, size, color, logo, artwork, and packaging—but not every stick material—you should explicitly ask your manufacturer which stick types they can support and what food-contact documentation they can provide for each [K1][K2][K5].
Scenario-based advice: For a kids' party product, a plastic or smooth wooden stick with a rounded end reduces splinter risk. For an eco-positioned brand, wooden sticks may fit the story better, but verify splinter quality and any finish treatments. For a reusable premium set, silicone sticks are worth evaluating even though they increase cost. In all cases, request samples that include the actual stick, not just the mold, so you can test freezing stability and demolding together.
4. Release Performance and Mold Construction
Core conclusion: Easy release is a function of material properties, cavity geometry, and user technique—not a magic "non-stick" property. Verified food-grade silicone with a wide temperature range is the starting point; mold design decides the rest.
For additional context on this decision, see Custom Ice Cream Bar Molds: Shape, Portion Size, and Production Requirements.
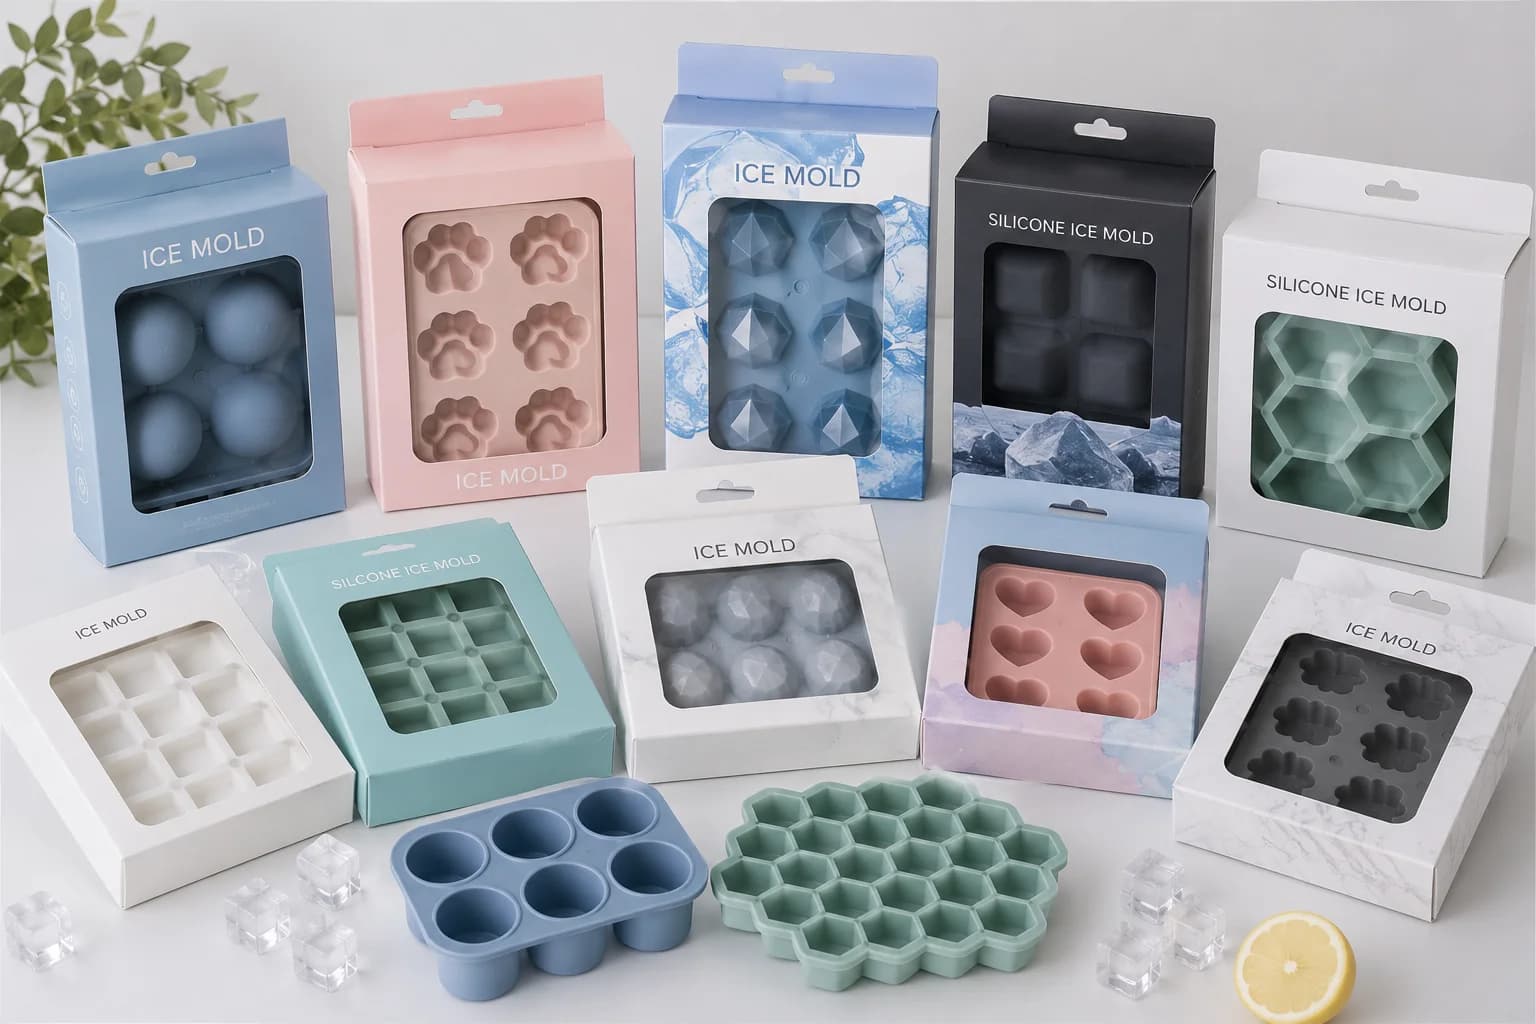
The verified public specification for Renjia's custom silicone molds lists food-grade silicone, odorless material, and a temperature resistance of -40°C to 240°C (-40°F to 464°F) [K3]. This range matters for two reasons. First, the mold must endure home freezer temperatures without becoming brittle. Second, a common release technique is to briefly rinse the outside of the mold with warm water—so the material must tolerate that temperature swing without degrading.
Beyond the material, release performance is governed by the following design details:
- Draft angles: Slightly tapered cavity walls allow the frozen pop to slide out more easily. Vertical or inverted walls create suction-like resistance.
- Silicone flexibility: A softer silicone allows the user to flex, twist, or press the bottom of the mold to loosen the pop. Harder silicone lasts longer in some respects but releases less easily.
- Surface finish: A smooth, non-textured cavity interior releases more consistently. Heavy texture or intricate details are risky options for a frozen product.
- Cavity depth and opening width: Deep, narrow cavities freeze slowly and are harder to demold. Wide, shallow openings release easily but may not produce the elongated "pop" shape consumers expect.
The user's release technique also matters, so plan to include simple instructions on the packaging or a hang tag: press the bottom, flex the mold lightly, or rinse the exterior with warm water for a few seconds. This is a small step that significantly reduces frustration and product returns.
Scenario-based advice: During sample approval, do not test the mold only with water. Test it with the actual recipe you plan to market—whether that is juice, yogurt, or a dairy blend—because sugar content, fat content, and freezing time all change release behavior. Use the buyer checklist approach recommended in the knowledge base: confirm sample performance before approving production [K2].
5. Key Comparison: Custom Mold Decision Checklist
The table below organizes the three key decisions into a format you can use directly in a sourcing meeting or in preparing your design file.
Before finalizing the specification, use Easy-Release Silicone Ice Cube Trays: How Mold Design Affects Performance as an additional planning reference.
| Decision area | Options to evaluate | Typical questions to ask | Impact on cost and quality |
|---|---|---|---|
| Cavity design | Shape, size, number of cavities, logo depth | What is the recommended logo depth for clean release? How does cavity count affect freezing time? | More complex shapes and deep logos raise tooling costs and sampling rounds [K1][K2] |
| Stick type and retention | Wooden, plastic, silicone; slot vs. guided holder | Which stick materials can you support? How is the stick kept centered during freezing? | Stick choice affects food-contact documentation, user safety, and packaging design [K2] |
| Release and material | Silicone hardness, draft angle, surface finish, temperature range | What are the verified temperature limits? What is the recommended release method? | Higher-grade food silicone and optimized geometry reduce returns and complaints [K3] |
Structured specification block (verified public data):
Material: Silicone material
Food-contact grade: Food-grade
Odor: Odorless
Temperature resistance: -40°C to 240°C (-40°F to 464°F)
Core specification: Custom sizes available
Customization options: Custom colors, custom sizes, custom shapes, custom packaging
Source: Renjia verified company and product sources, 2026-07-13 [K3].
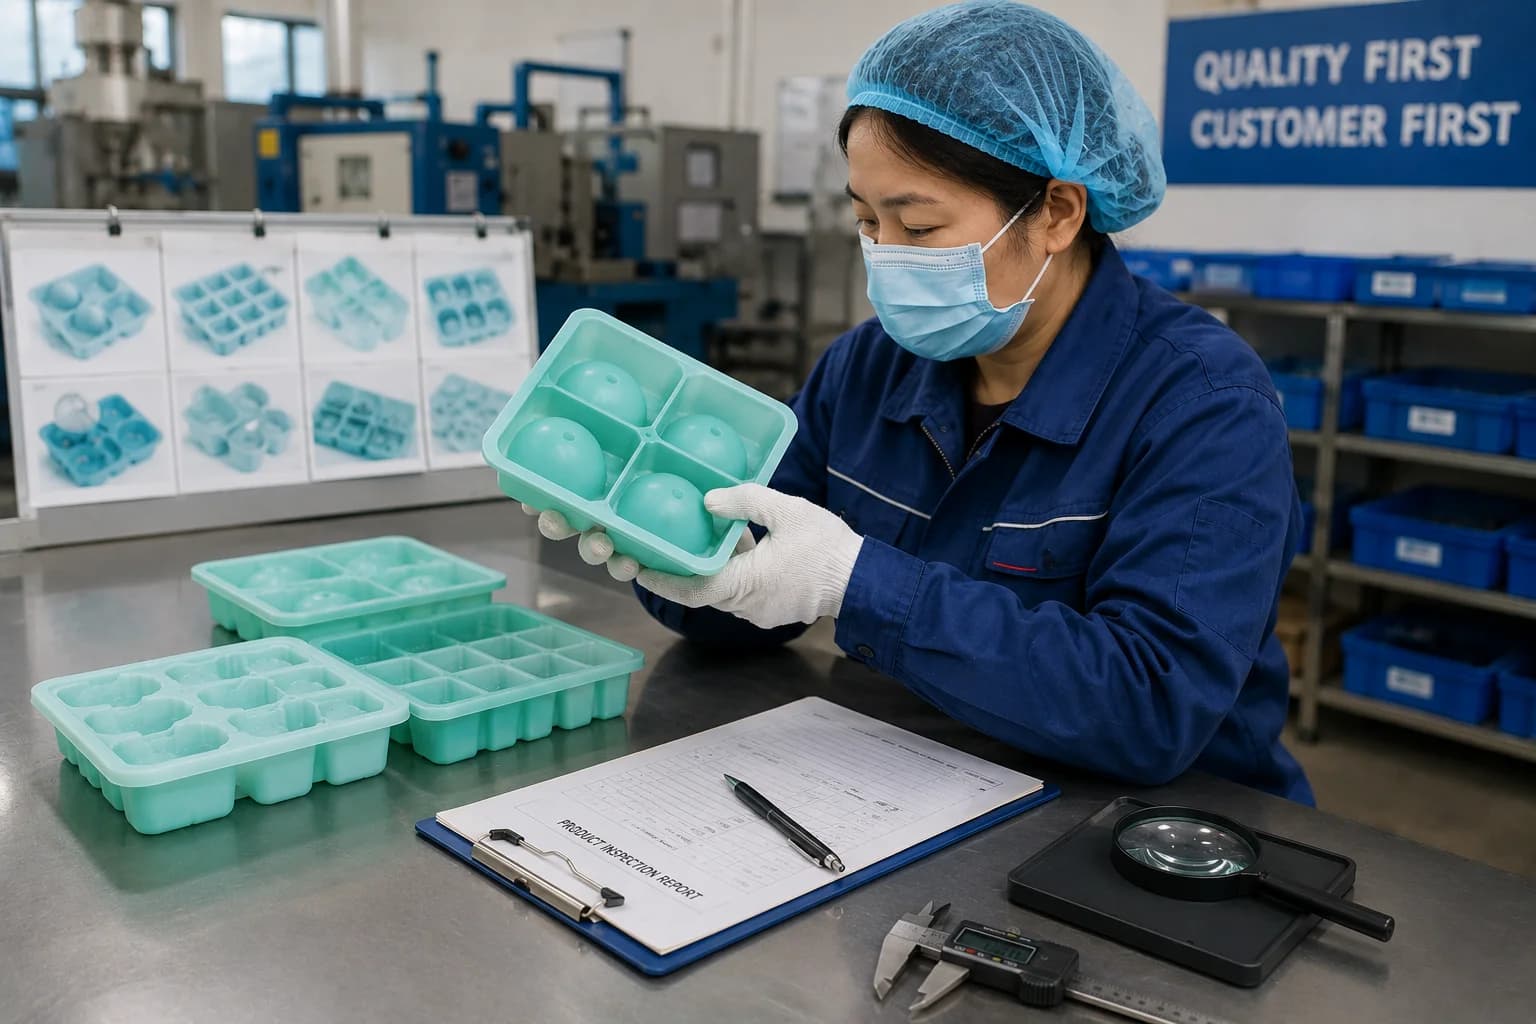
Before production, also confirm the practical project parameters with the manufacturer: MOQ, tooling arrangements, sampling timeline, and lead-time planning [K2]. A responsible silicone OEM/ODM partner should provide clear guidance on design-file preparation and pre-shipment inspection rather than vague promises [K5].
6. FAQ
Q1. How many cavities should a custom silicone ice pop mold have?
There is no single correct answer. The cavity count should follow from your target user, packaging plan, and freezer size. A four-cavity mold is typical for family use; six-cavity or eight-cavity molds offer larger batches but require more freezer space and freeze more slowly. Cavity design is fully customizable [K1], so the best approach is to define your retail packaging dimensions and portion size before deciding the count.
Q2. Can I put my logo on the ice pop itself?
Yes. Cavity design can include branded features such as a debossed or embossed logo on the pop, and custom colors and shapes are supported [K1][K3]. However, the logo must be designed with a safe depth and placement to avoid release problems. Ask the manufacturer to evaluate this during the design review phase, before tooling begins [K2].
Q3. What temperature range can food-grade silicone ice pop molds withstand?
The verified public specification for Renjia custom silicone molds is -40°C to 240°C (-40°F to 464°F) [K3]. This covers standard home freezer temperatures as well as warm-water rinsing for release. Always confirm the specific material certificate and temperature testing with your manufacturer for your particular product run.
Q4. What is the difference between wooden, plastic, and silicone sticks?
Wooden sticks are low-cost and natural-looking but must be checked for splinters and odor. Plastic sticks work well for children's products and can be colorful but need food-contact confirmation. Silicone sticks are reusable and match the mold material but increase the product cost. The more important point is that the mold's stick holder must be designed for the specific stick you choose [K2]. Discuss materials and documentation with your manufacturer before finalizing the mold design.
7. Conclusion
The custom silicone ice pop mold is a deceptively simple product. Fifteen minutes after it arrives, a customer will only judge it on three things: whether the pop looks like the picture, whether the stick holds steady, and whether the pop comes out without a fight. Every one of those outcomes is decided long before production, during cavity, stick, and release design.
Start with the cavity: define the shape, portion size, and logo placement. Then choose the stick and confirm how the mold will hold it. Finally, validate release behavior through material choice and geometry, using sample testing with your actual recipe. Throughout the project, rely on the manufacturer's practical guidance for design-file preparation, tooling, sampling, inspection, and compliance planning [K2][K5]. A reliable silicone OEM/ODM partner will help you move from idea to dependable production through clear communication and evidence-aware decision-making [K5].