Key Takeaways
- Cloudy ice is mainly caused by trapped air bubbles and dissolved solids that get locked in when water freezes quickly from all directions at once.
- Directional freezing—slowing the freeze so it moves from the top down—is the most practical no-machine method for clearer ice at home.
- A small cooler or insulated box with an open ice tray inside is the standard household setup. Water quality helps, but it does not replace directional freezing.
- Clear ice for a single drink and consistent clear ice for a product, event, or brand are different problems. The first is a technique; the second usually needs a repeatable mold and process.
- If you are sourcing custom silicone ice molds for commercial or promotional use, verify current availability, materials, dimensions, certifications, MOQ, and lead time before finalizing a quotation [K1].
1. Introduction
Anyone who has pulled a tray of ice from a home freezer knows the look: white in the middle, cracks running through the cube, and a texture that seems to disappear the moment it hits a glass. The question “how do i get clear ice cubes” is usually asked after a few failed attempts with tap water, boiled water, or a tray left in the freezer overnight.
The good news is that clear ice without a machine is possible. It does not require laboratory equipment, and it does not depend on a secret water brand. What it does require is an understanding of why ice turns cloudy in the first place, and a method that gives air and impurities somewhere to go instead of trapping them in the cube. This article explains the science in plain terms, walks through a practical no-machine method, and clarifies when a home technique is enough—and when a custom silicone mold becomes the more reliable option.
2. Why Homemade Ice Turns Cloudy: The Science of Trapped Air and Impurities
Core conclusion: Cloudiness is not a sign that water is dirty. It is a sign that freezing happened too fast and from all sides, trapping gas and minerals inside the ice.
When water freezes, dissolved air and minerals are pushed away from the forming ice crystals. In a standard ice tray, freezing starts at the outer walls and moves inward. The last part of the water to freeze sits in the center, where those pushed-away bubbles and solids concentrate. That center is the white, cloudy core you see. Fast freezing makes the problem worse because there is less time for bubbles to escape or for impurities to move.
Directional freezing changes the outcome. If the tray is insulated on the sides and bottom, the cold reaches the top first. Ice forms at the surface, and the freezing front moves downward. Bubbles and dissolved solids are pushed ahead of the front and end up in the bottom layer, which you can discard. This is the principle behind commercial clear ice machines, and it can be reproduced at home with a cooler and a little patience.
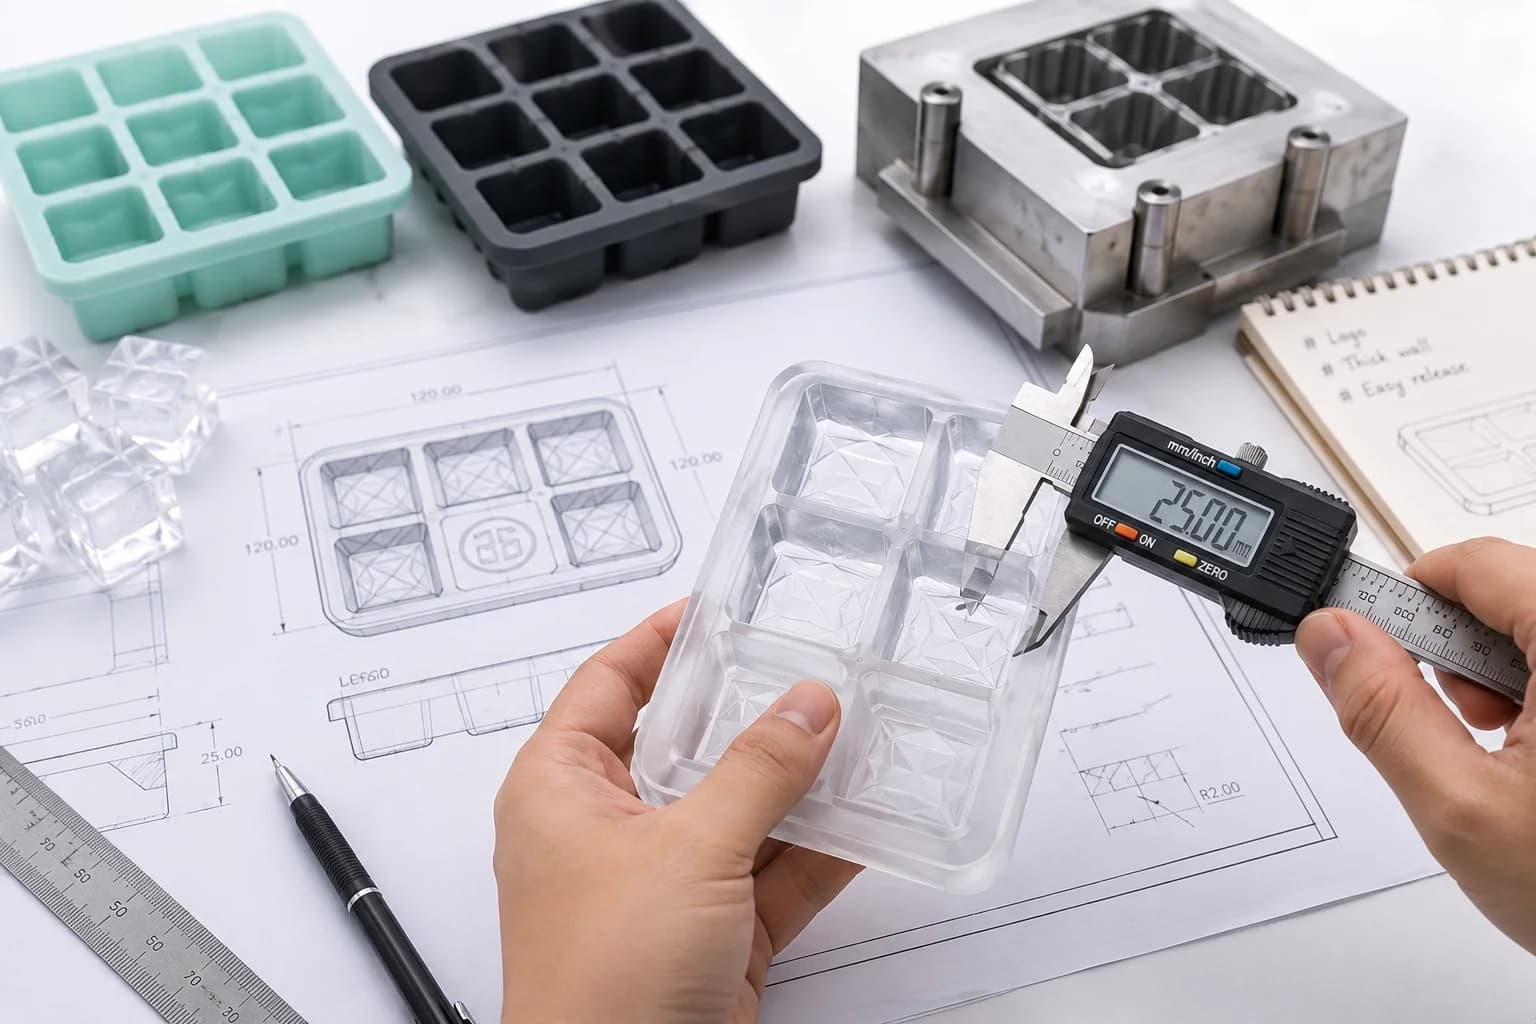
Container material matters at the extraction stage, not just the freezing stage. Rigid trays can crack clear ice during release; flexible silicone trays are easier to release and are also the format used for many custom silicone ice molds produced for branded or promotional use [K5]. For a home setup, a simple silicone tray works well as long as it can sit open inside a larger insulated container.
Practical advice: Do not try to fix cloudy ice by changing only the water. Start with a method that controls the freezing direction. Water quality is a supporting factor, not the main cause.
3. The Directed Freezing Method: Making Clear Ice Without a Machine
Core conclusion: A small cooler with an open ice tray inside is the most accessible no-machine setup for directional freezing. It works because the cooler slows heat transfer and forces the freeze to start at the top.
Here is a practical process that can be repeated at home:
- Choose an insulated container. A small hard cooler or a thick insulated box works. The walls should slow freezing on the sides and bottom.
- Place an open ice tray inside. A silicone tray or a rigid tray both work. Do not cover the tray. The goal is for cold air to reach the top surface first.
- Fill with water and leave headroom. Leave about 10–15% of the tray empty so the ice has room to expand.
- Close the outer container with a slight gap. The cooler lid should sit mostly closed but not sealed. This allows pressure to equalize while still slowing heat exchange.
- Freeze at a standard freezer setting. A typical home freezer set to around -18°C is suitable. Freezing time depends on tray size, water volume, and insulation. Many setups need 18–24 hours for a full directional freeze.
- Remove and temper the ice. Let the tray sit at room temperature for 5–10 minutes before releasing the cubes. This reduces cracking.
- Discard the cloudy bottom layer. The last portion to freeze will contain most of the trapped bubbles and minerals. Cut or break it away from the clear top section.
The result is not the same as commercial clear ice, which is produced under controlled industrial conditions. But for home use, the difference is significant: the cubes are more transparent, melt more slowly in a glass, and do not release trapped air that dilutes a drink.
Caution: Do not use glass containers inside a cooler in the freezer. Thermal stress can cause breakage. Also, avoid stacking other frozen items directly against the cooler, as this can create uneven freezing.
4. Practical Adjustments: Water Quality, Container Choice, and Cooling Speed
Core conclusion: Three variables are worth adjusting: the water you start with, the container you freeze in, and the speed of the freeze. Water quality has a real but limited effect. Directional freezing has the largest effect.
Water type can influence how much dissolved gas and mineral content enters the process. The table below compares common options.
| Water type | Effect on clarity | Practical notes |
|---|---|---|
| Tap water | Low to medium | Contains dissolved air and minerals; results vary by region. |
| Filtered water | Medium | Removes some particles and chlorine; dissolved gases remain. |
| Boiled and cooled water | Medium to high | Boiling reduces dissolved air; cooling should be covered to prevent reabsorption. |
| Distilled water | Medium to high | Low mineral content; still needs directional freezing to manage bubbles. |
Container choice affects release and shape retention. Flexible silicone is easy to release and tolerant of expansion. Rigid plastic is inexpensive but can crack cubes during removal. Metal trays transfer cold quickly, which speeds freezing and can worsen cloudiness unless the tray is insulated inside a cooler.
Cooling speed is the variable most people overlook. A freezer set to a very low temperature will freeze the tray faster, which usually means cloudier ice. Slower freezing gives bubbles more time to move to the last freezing zone. If your freezer has a quick-freeze setting, turn it off for ice production. If you are comparing container materials for a product rather than a dinner party, the silicone OEM/ODM manufacturing process usually starts with a design review, then sampling, then tooling and production [K2]. That sequence matters because material selection and mold design directly affect how consistently a finished product performs.
Practical advice: Start with boiled and cooled water plus a cooler-based directional freeze. Change one variable at a time. If clarity improves, keep the method and adjust only the water source next.
5. Scaling Up: When Custom Silicone Ice Molds Make Sense
Core conclusion: The cooler method is a technique, not a production system. When you need the same shape, size, and release behavior across batches, a custom silicone ice mold is the more practical path.
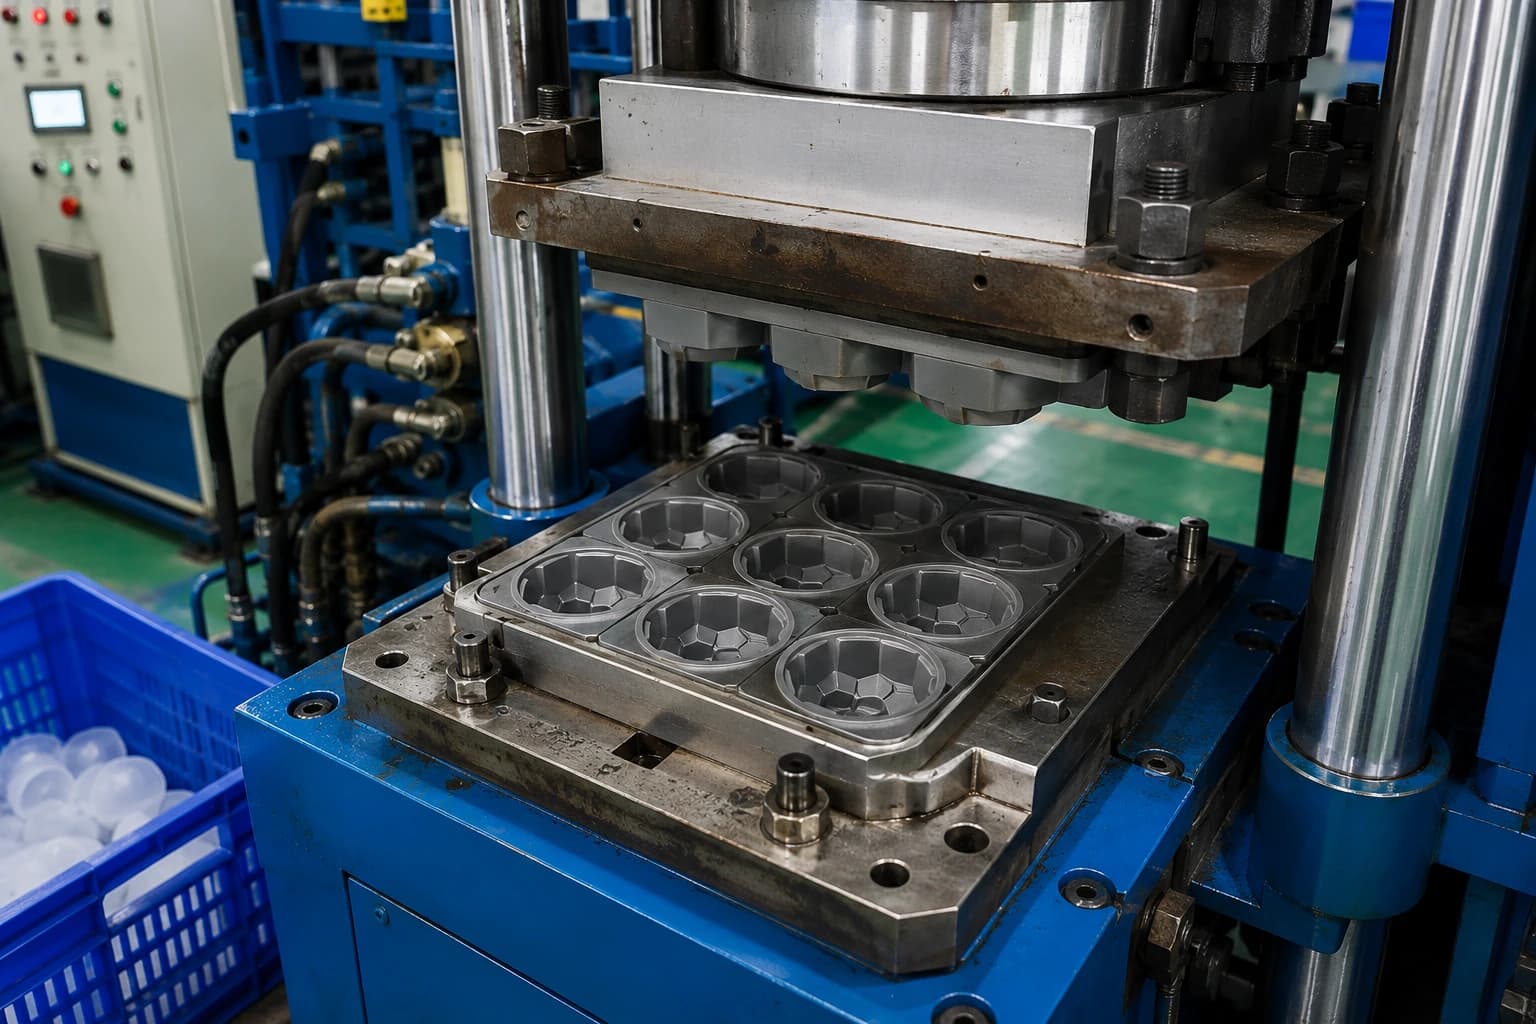
The difference between a home tray and a custom mold is not just the material. It is the intent. A home tray is designed for general freezing. A custom silicone ice mold is designed around a specific cavity, shape, size, color, logo, and packaging requirement [K5]. That makes it suitable for branded ice programs, cocktail bars, promotional products, and retail sets.
A common scenario: a beverage brand wants a 40 mm clear cube with a logo embossed on one face. A home cooler can produce clear ice, but it cannot repeat the same shape and embossed detail across hundreds of cubes. A custom mold addresses the shape and detail, while the freezing method still determines clarity. The mold controls geometry; the process controls transparency.
From a sourcing perspective, ice molds can be tagged under household, kitchen, and promotional use cases, and that categorization should not limit cross-category content [K1]. This flexibility matters because the same mold design may serve a kitchen product line, a bar program, or a promotional campaign. The manufacturing path usually includes design-file preparation, sampling, tooling, packaging, and quality inspection [K2]. A practical next step for a brand is to request a sample before committing to a full production run [K4]. Sampling confirms cavity detail, release behavior, and material feel before tooling is finalized.
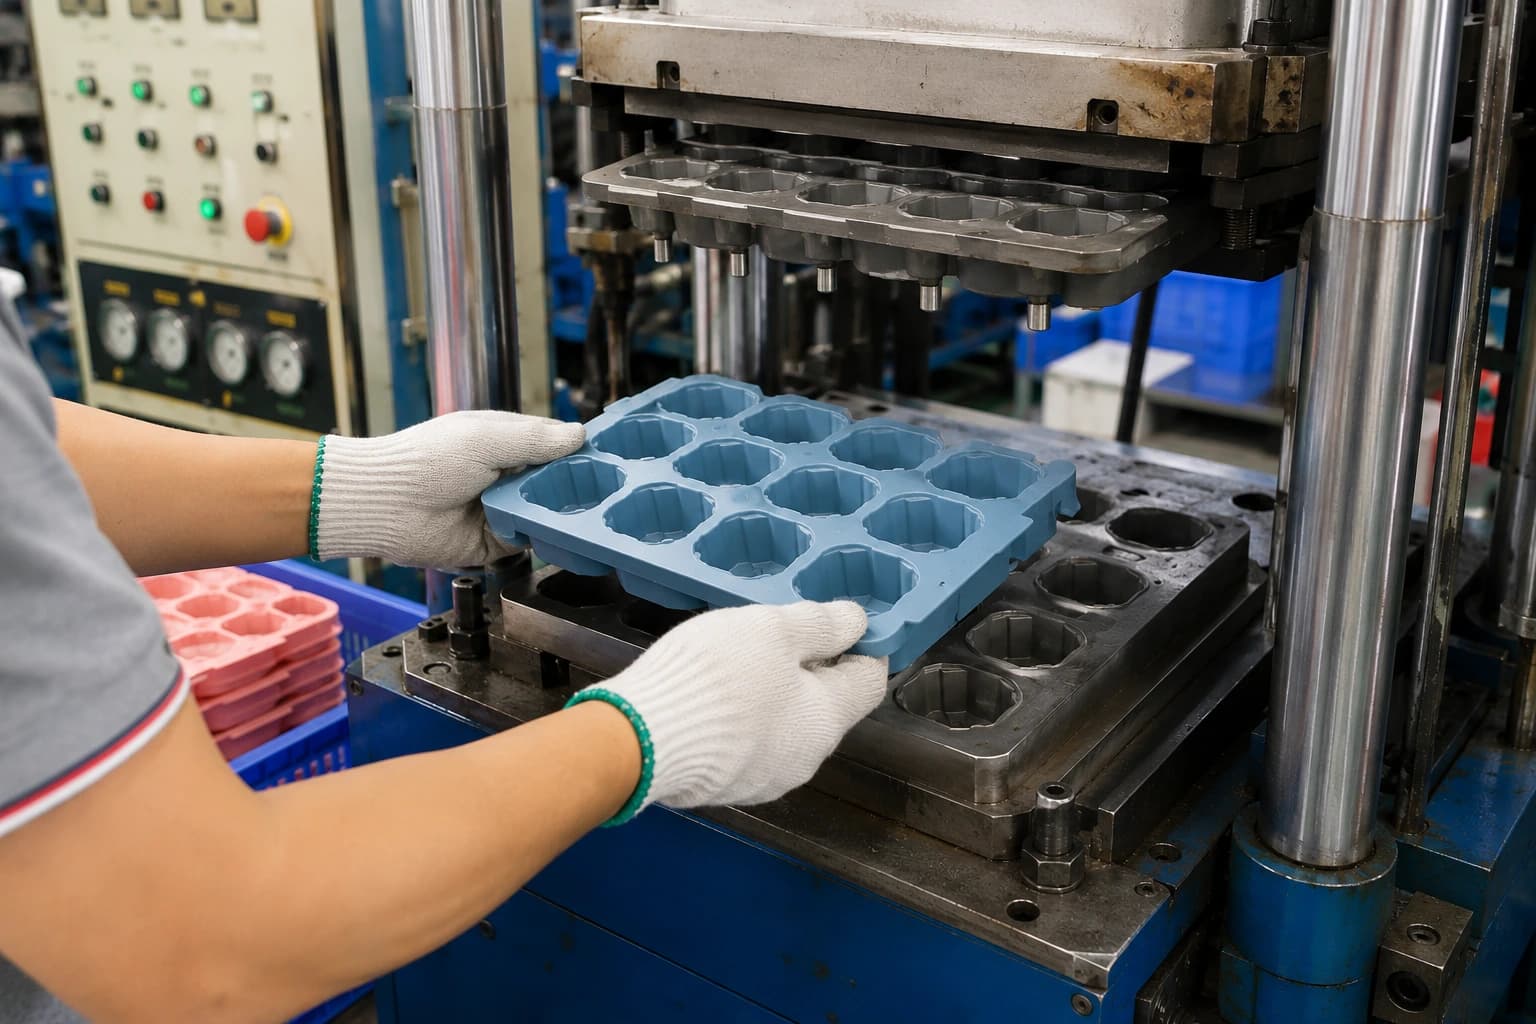
Boundary condition: Do not assume a custom mold automatically produces clear ice. Transparency depends on water quality, freezing direction, and cooling speed. The mold improves consistency, not chemistry. Before publishing a product-specific page or quotation, confirm current availability, material composition, dimensions, certifications, MOQ, and lead time [K1].
6. Method Comparison: Which No-Machine Approach Fits Your Goal?
The table below summarizes the trade-offs between common no-machine methods. Use it to choose based on your actual goal, not on the highest possible clarity.
| Method | Clarity potential | Typical time | Equipment | Best for |
|---|---|---|---|---|
| Standard ice tray | Low | 3–6 hours | Tray only | Fast cooling when clarity is not important |
| Boiled and cooled water in a tray | Low to medium | 4–8 hours | Tray, kettle | Slight improvement without extra equipment |
| Cooler directional freeze | High | 18–24 hours | Insulated cooler, tray | Home clear ice for drinks |
| Insulated box with silicone tray | Medium to high | 12–24 hours | Insulated box, silicone tray | Clear ice in flexible shapes |
| Custom silicone mold with controlled freezing | Medium to high | Depends on process | Custom mold, controlled freezer | Branded, promotional, or repeatable shapes |
Two cautions apply across all methods. First, clarity is a range, not a guarantee. Second, the last freezing section will always concentrate impurities. Removing that section is part of the method, not an optional step.
7. FAQ
Q1. Can I get clear ice cubes with just a tray and tap water?
Rarely. Tap water contains dissolved air and minerals, and a standard tray freezes from all sides. The center traps those materials and turns cloudy. You can improve results slightly by using boiled and cooled water, but a cooler-based directional freeze is what makes the visible difference.
Q2. If I boil the water, do I still need directional freezing?
Yes. Boiling reduces dissolved air, which helps, but the freezing direction still controls where remaining bubbles and minerals end up. Without directional freezing, the center of the cube will still collect the last-freezing impurities.
Q3. How long should I leave the tray in the cooler?
It depends on freezer temperature, water volume, and insulation thickness. A common range is 18–24 hours. Check after 18 hours. If the top layer is clear and firm and the bottom still has liquid, it needs more time. If the whole tray is solid, the last section may already be cloudy, but the top portion should still be usable.
Q4. Can a silicone ice mold make clear ice by itself?
No. A silicone mold shapes the ice; it does not control freezing direction. Clear ice still depends on water quality, cooling speed, and directional freezing. A custom silicone mold improves shape consistency and release, which is why it is used for branded and repeatable ice programs [K5].
8. Conclusion
Making crystal clear ice cubes without a machine comes down to one principle: slow the freeze and give impurities somewhere to go. The cooler method is simple, repeatable, and effective for home use. Start with boiled and cooled water, use a flexible tray inside an insulated container, freeze for 18–24 hours, and discard the cloudy bottom layer.
If your goal is a single drink or a weekend gathering, that method is enough. If your goal is a consistent shape, a branded cube, or a product line, the next step is a custom silicone mold designed for your cavity, size, color, and packaging needs. The recommended primary action is to get a quote, with a sample request as the secondary step [K4]. Do not promise a response time unless the team can consistently meet it [K4]. Verify current product details, MOQ, and lead time before publishing or ordering [K1].