Key Takeaways
- Clear ice is less about the tray and more about directional freezing: water should freeze from one side while air and dissolved solids are pushed into a sacrificial layer.
- A standard freezer usually freezes water from all directions at once, which traps bubbles and minerals and creates cloudy cubes.
- The most reliable home method is a small insulated cooler with the top open, or a directional mold designed for top-down freezing.
- The best ice molds for whiskey are large, slow-melting, easy to release, food-safe, and compatible with your freezer space.
- If you source custom silicone ice molds for branding or retail, validate cavity design, sampling, tooling, MOQ, packaging, and compliance before quoting [K1][K2][K5].
1. Introduction
A cloudy ice cube in a glass of whiskey is a small but noticeable disappointment. It looks dull, melts unevenly, and can carry trapped minerals or odors into the drink. Many people assume the problem is the water, so they try bottled or distilled water. That helps, but it rarely solves the issue on its own.
The real problem is how a standard freezer works. It is designed to freeze food quickly, not to grow clear ice. Cold air reaches the tray from the top, bottom, and sides. Water freezes from the outside inward, and the last part to freeze traps air bubbles and dissolved solids in the center. The result is a cloudy cube.
This article explains how to make crystal clear ice cubes in a standard freezer using practical, home-kitchen methods. It also covers how to choose the best ice molds for whiskey, compares common approaches, and gives sourcing notes for custom silicone ice molds.
2. Why a Standard Freezer Usually Makes Cloudy Ice
Core conclusion: Cloudiness comes from trapped air, dissolved minerals, and multi-directional freezing, not from a single cause.
Water freezes from the coldest surface inward. In a normal tray, the top, bottom, and sides are all exposed to cold air or a cold shelf. The outer layer freezes first, and the center freezes last. That center is where air bubbles and dissolved solids concentrate. If freezing is fast, the bubbles do not have time to escape.
For a related manufacturing reference, review custom ice mold design and manufacturing.
Several factors make this worse:
- Dissolved gases: Tap water contains dissolved air. When water freezes, those gases form bubbles.
- Minerals: Hard water leaves haze and white residue.
- Fast freezing: A very cold freezer freezes the outside quickly, sealing impurities inside.
- Frost-free air circulation: Many freezers cycle air to reduce frost, which can create uneven temperatures and surface frost.
- Tray design: Most trays freeze from all sides, so there is no clear direction for impurities to escape.
Practical advice: Start with clean, low-mineral water. Filtered, distilled, or boiled-and-cooled water can reduce dissolved gases and minerals. Place trays on a level middle shelf, not the door, because door shelves change temperature more often. If you use a standard tray, wrap the sides and bottom with a towel or insulation and leave the top open. This encourages freezing from the top down, but it is not as effective as a cooler.
Boundary condition: Even with good water and insulation, a standard tray may still produce partly cloudy cubes. Water quality, freezer temperature, and freezer loading all vary.
3. The Most Reliable Home Method: Directional Freezing in a Small Cooler
Core conclusion: A small insulated cooler with the top open is the simplest way to make clear ice in a standard freezer.
The method works because the top surface freezes first. As ice forms at the top, air bubbles and dissolved solids are pushed downward into the remaining liquid. The bottom becomes cloudy and can be discarded. The top becomes clear enough to cut into cubes.
For additional context on this decision, see The Ultimate Guide to Using Silicone Ice Ball Molds for Crystal Clear Ice.
Step-by-step process
- Choose a clean, food-safe cooler. A small six-pack cooler or lunch cooler works well. A larger cooler can make a bigger clear block, but it takes more freezer space and time.
- Fill with water. Leave 1–2 inches of headspace. Use filtered, distilled, or boiled-and-cooled water for better results.
- Place the cooler level in the freezer. Use a middle shelf. Leave the lid off or ajar so cold air can reach the top surface. If the lid is closed, the top is insulated and freezing becomes less directional.
- Wait and check. A small cooler may take roughly 12–24 hours to form a clear top layer with a cloudy bottom. Larger blocks take longer. You want a solid clear top section and a slushy or cloudy bottom section.
- Remove the clear block. Let the cooler sit at room temperature for a few minutes, or dip the outside in warm water to release the ice. Invert onto a cutting board.
- Cut the ice. Use a serrated knife, ice pick, or a mold as a template. Work quickly and wear gloves. For whiskey, aim for cubes around 2 inches per side.
- Store clear cubes properly. Keep them in a sealed freezer bag or container. They can develop surface frost over time, so use them within a few weeks for the best appearance.
Practical scenario: For a whiskey glass, cut a 2-inch cube from the clear top block. For cocktails, cut smaller 1.5-inch cubes. For spheres, use a directional sphere mold or carve the clear block with a sphere cutter.
Caution: Do not let the entire cooler freeze solid if you want maximum clarity. Once the cloudy bottom is fully frozen, the impurities are locked into the block. Stop when the clear layer is thick enough for your needs.
4. Choosing the Best Ice Molds for Whiskey and Clear Ice
Core conclusion: The best ice molds for whiskey are not simply the largest or most expensive. They should support directional freezing, release cleanly, and fit your freezer.
Before finalizing the specification, use Create Professional-Quality Ice Spheres with a Crystal Clear Ice Ball Mold as an additional planning reference.
Different mold types serve different purposes:
- Standard silicone trays: Flexible and easy to release, but they usually freeze from multiple directions. They are fine for everyday ice. With low-mineral water and added insulation, clarity may improve, but many cubes will still be cloudy.
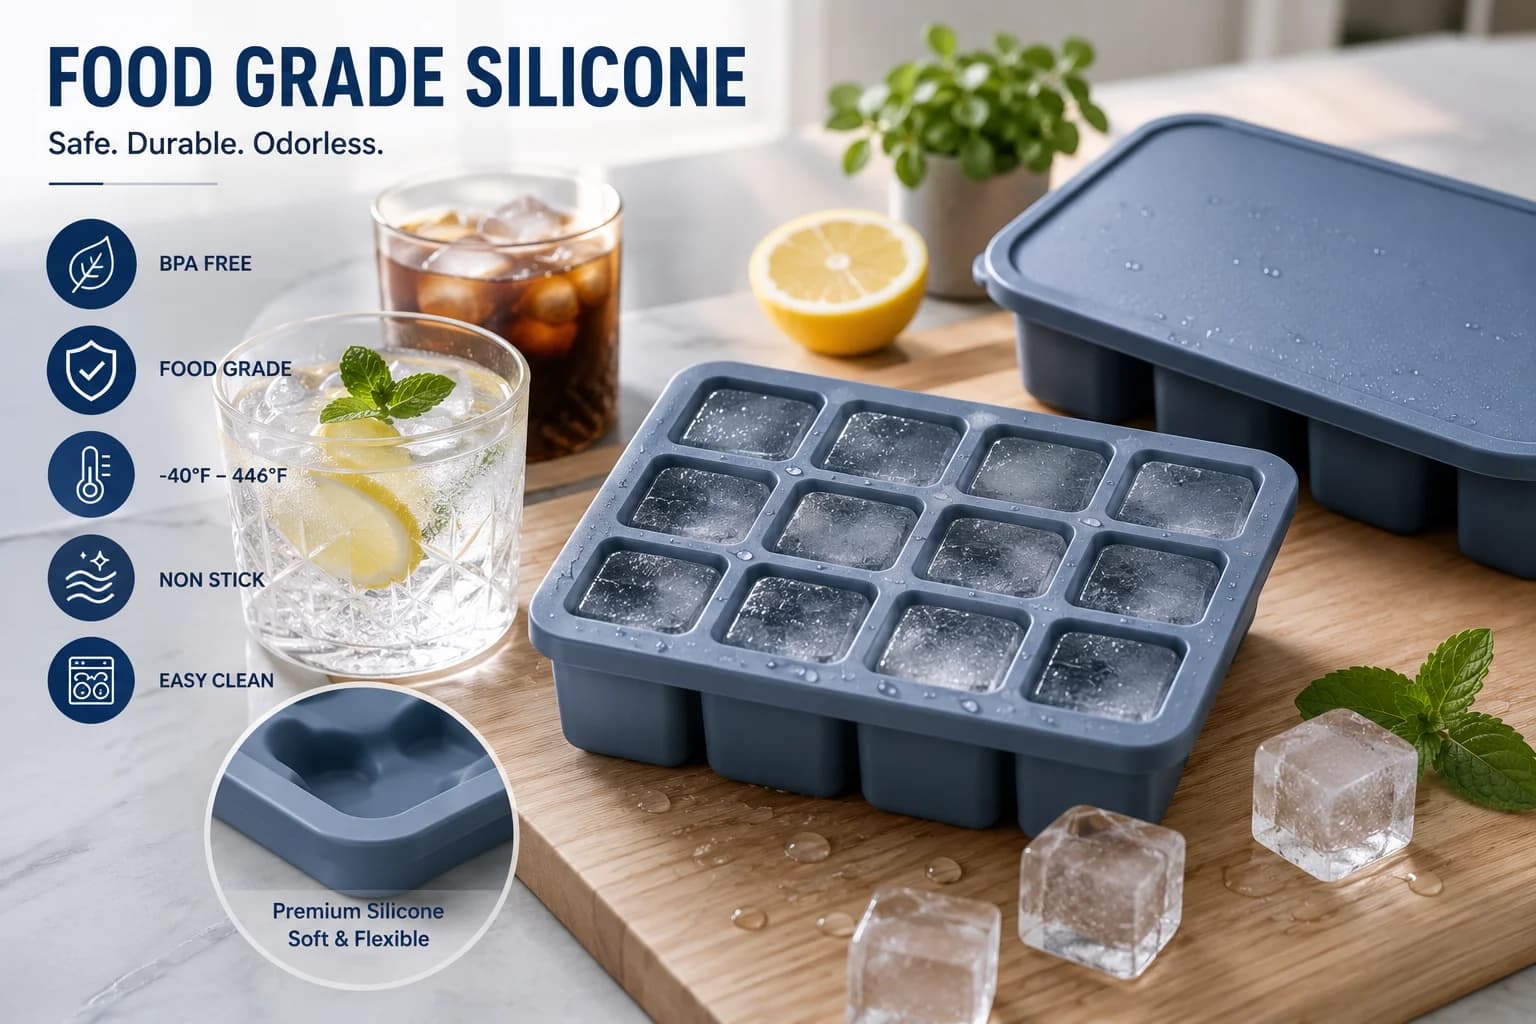
- Directional silicone molds: These are designed with an insulated base and sides and an open top. They encourage top-down freezing. Look for food-grade silicone, no strong odor, stable cavity walls, and a size that fits your freezer shelf.
- Cooler plus cutting mold: This gives the highest home clarity. Freeze a clear block in a small cooler, then use a silicone mold as a cutting template. It takes more effort but produces consistent, presentation-quality cubes.
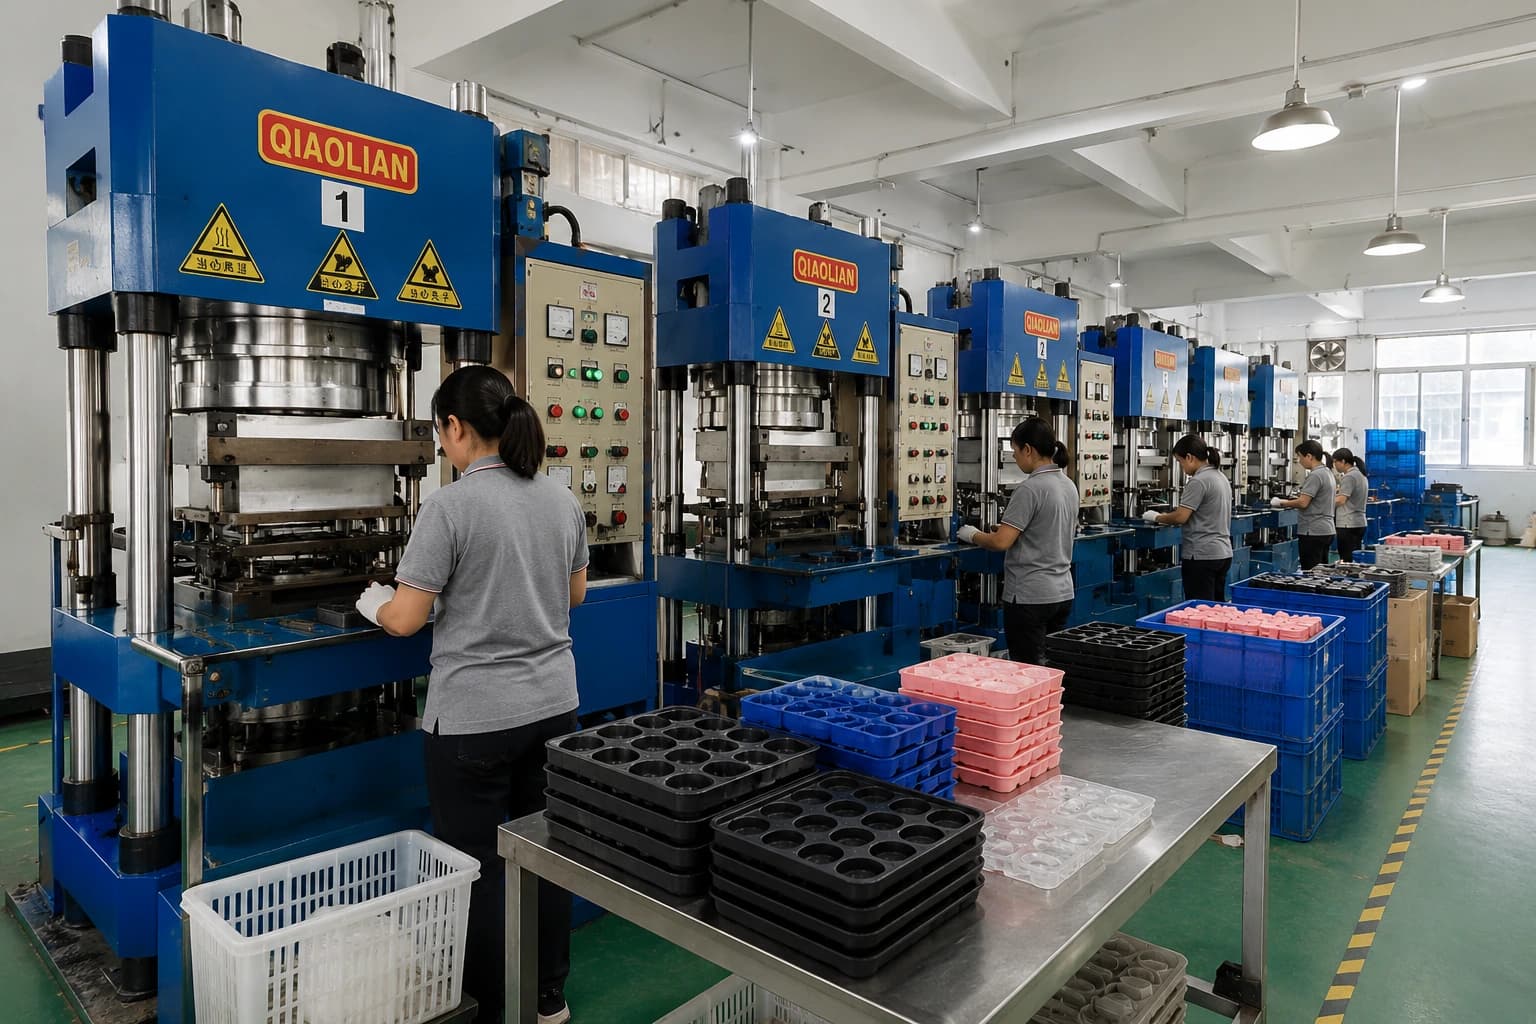
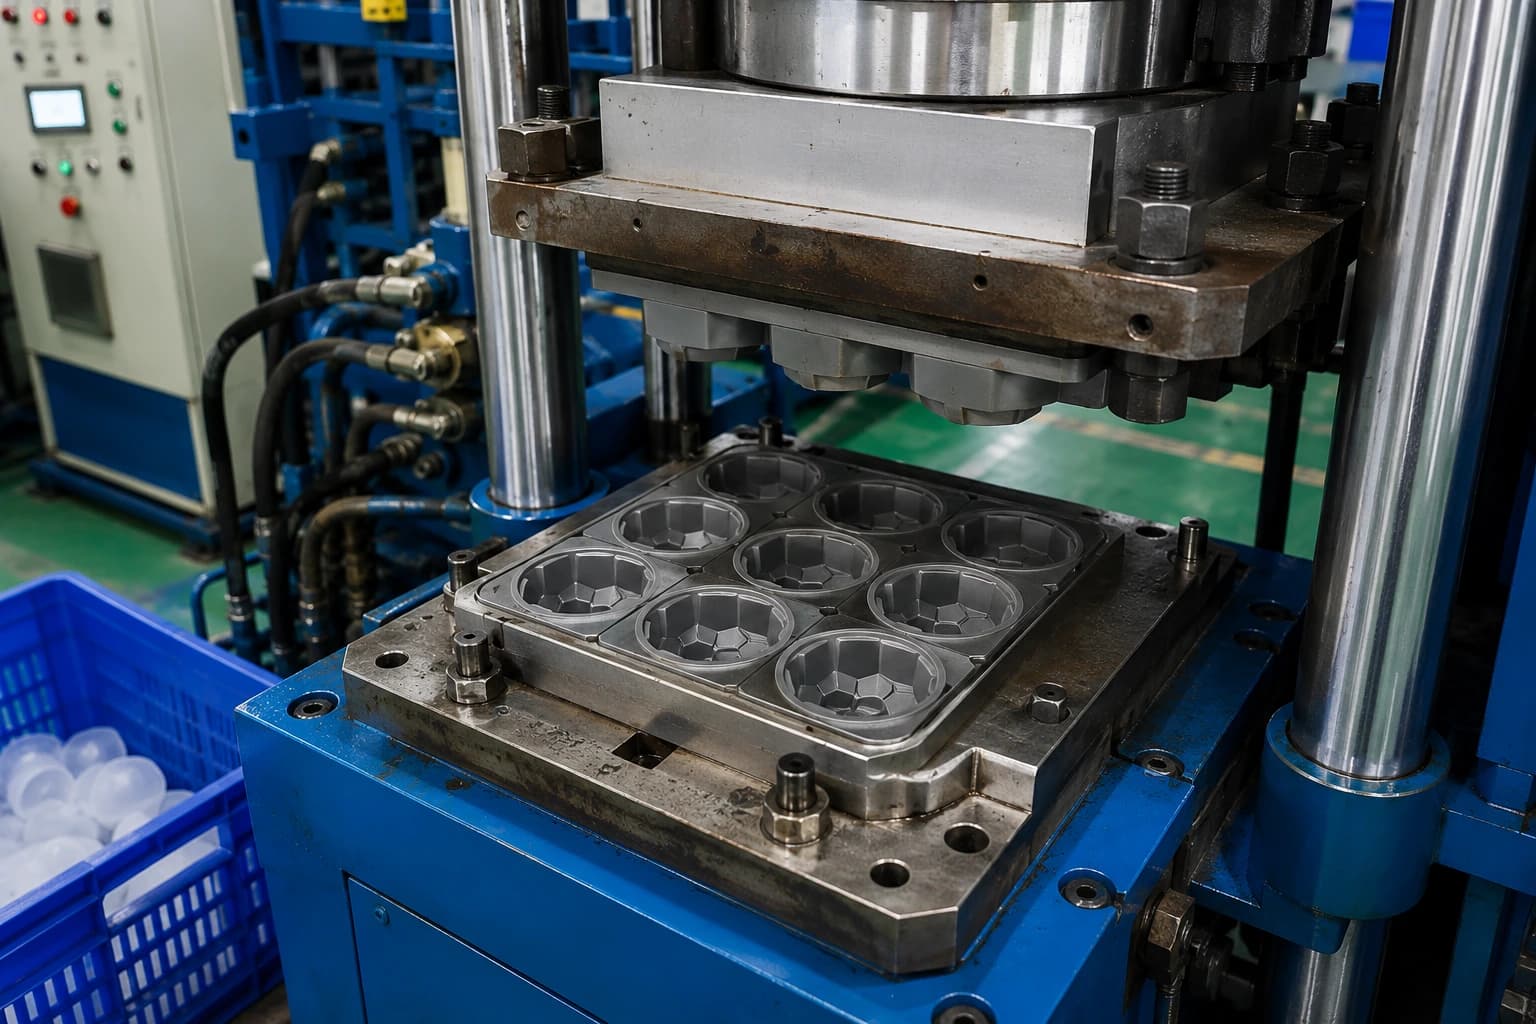
- Custom silicone ice molds: For bars, hotels, promotions, or retail sets, custom molds can be developed with specific cavity design, shape, size, color, logo, and packaging [K1]. Renjia’s verified product knowledge lists custom silicone ice molds under internal reference RJ-CIM-001 and notes that suitable topics include branded ice, custom mold development, design-file preparation, sampling, tooling, packaging, quality inspection, and sourcing [K1]. Ice molds can also be tagged under household, kitchen, and promotional use cases, and category placement should not limit cross-category content [K3]. The extended product portfolio includes ice block molds under household products and ice cube trays, ice ball trays, and popsicle molds under promotional products [K4].
For whiskey specifically, size matters. A cube around 2 inches per side, or a sphere around 2.5 inches in diameter, melts more slowly and dilutes the drink less. Smaller molds freeze faster but melt faster. Measure your freezer shelf before buying, especially if you plan to use a cooler or a large directional mold.
Buyer checklist for custom silicone ice molds
- Confirm current availability, material composition, dimensions, certifications, MOQ, and lead time before publishing a product-specific page or quotation [K3].
- Do not assume an unconditional 500-piece MOQ for every custom project, free samples, free freight, guaranteed sampling