Key Takeaways
- Cloudy ice is caused mainly by dissolved gases and suspended particles being trapped in the cube as it freezes — not by the "type" of water alone.
- Freezing speed and direction matters more than the water brand. Slow, one-directional freezing pushes air and minerals into a discardable bottom layer, leaving clear ice behind.
- Water treatment (boiling, filtering, distilling) reduces cloudiness but cannot fix a fast, multi-directional freeze.
- Silicone molds are food-grade, odorless, and rated from -40°C to 240°C (-40°F to 464°F), which makes them practical for freezing and demolding — but silicone insulates, so it changes your freezing cycle [K3].
- For commercial, branded, or promotional ice programs, confirm availability, material composition, dimensions, MOQ, and lead time before publishing product claims or quoting [K4].
1. Introduction
Anyone who has spent money on good spirits, iced coffee, or a cocktail knows the disappointment: the drink is well made, but the ice is white in the middle, melts quickly, and dilutes everything within minutes. The question "how do I get clear ice cubes" usually starts there — with a real, visible failure rather than a scientific curiosity.
The confusion comes from advice that focuses on the wrong variable. Most guides lead with water: use bottled, use filtered, use distilled, boil it twice. Water quality matters, but it is only one input. The physical process that produces clear ice is directional freezing — controlling which direction the ice grows and how fast. Water, temperature, and freezing direction are a system, and changing only one of them rarely works.
This article explains what actually causes cloudy ice, how temperature and freezing rate interact, and how to build a repeatable directional freezing setup at home or behind a bar. It also covers mold selection and what to verify before buying or spec'ing molds for a commercial ice program, using verified product information where relevant [K1][K3][K4].
2. Water: What Actually Makes Ice Cloudy
Core conclusion: Water treatment reduces cloudiness by removing dissolved gases and minerals, but it is a supporting fix, not the main one.
When water freezes, the ice crystal lattice excludes most dissolved substances. Two things happen as a result:
- Dissolved gases (oxygen, nitrogen, carbon dioxide) come out of solution as solubility drops. They form tiny bubbles that get trapped in the growing ice and scatter light — that is the white, frosted core you see in a normal tray.
- Minerals and fine particles (calcium, magnesium, dust) are pushed ahead of the freezing front and concentrated. At high concentration they create a visible haze.
So the practical levers are:
- Reduce dissolved gas. Boiling water and letting it cool (covered, to limit re-absorption and odor pickup) drives off a large share of dissolved air. Doing this once is usually enough; repeated boiling adds little.
- Reduce dissolved solids. Distilled or reverse-osmosis water removes most minerals. Note the trade-off: some people find fully demineralized ice tastes "flat," so filtered tap water is often the better compromise for drinks.
- Be careful with mineral water. Sparkling and high-mineral bottled waters are worse for clarity, not better — you are adding gas and solids on purpose.

Practical scenario: If you boil, cool, and pour the water into a standard tray in a -18°C freezer, you will usually see a modest improvement — clearer edges, still a cloudy center. That is the ceiling of the water-only approach. To go further, you have to change how the cube freezes.
Caution: Ice adsorbs odors from its surroundings. Store finished clear ice in a sealed bag or container in a clean freezer; uncovered ice in a freezer next to fish or leftovers will pick up those smells within a day.
3. Temperature and Freezing Rate: Why Slow Wins
Core conclusion: Freezing rate determines whether bubbles and minerals end up inside your cube or in a layer you can throw away.
For a related manufacturing reference, review silicone ice mold manufacturing.
Fast freezing has three effects that all work against clarity:
- Nucleation wins over diffusion. When water freezes quickly, gas bubbles and impurities do not have time to migrate. They are locked in place, spread throughout the cube.
- Many small crystals form. A large number of crystal boundaries creates more surfaces that scatter light.
- The freezing front becomes irregular. Ice grows in whatever direction heat leaves fastest, which in a standard tray is all directions at once — from six sides inward. The last water to freeze is trapped in the center, and that is exactly where the cloudiness concentrates.
Slow freezing changes the picture. A well-controlled, slow freeze produces a single advancing freezing front. As that front moves, it rejects dissolved gas and solutes ahead of it, pushing them into the remaining liquid. If you stop the process while a liquid layer still remains, that layer holds most of the impurities — and you can discard it.
Why thick blocks are clearer than small cubes: ice is a thermal insulator. As the frozen layer thickens, it slows heat transfer further, so the freezing front naturally decelerates. A 2-inch cube freezes far faster, relative to its size, than a large block — which is why large-format clear ice is easier to achieve than small clear cubes.
Practical settings:
- Keep the freezer at its normal operating temperature. A colder freezer or a blast chiller freezes faster and produces cloudier ice.
- Insulate the container so heat can only escape through one face. This is the mechanism behind every home clear-ice method.
- Supercooling is a specific trap: perfectly still, clean water can sit below 0°C without freezing, then freeze suddenly and turbulently. A gentle nucleation point or simply not using ultra-pure water in an ultra-clean container reduces the risk.
4. Directional Freezing: The Core Technique
Core conclusion: Insulate the container on all sides except the top, freeze slowly, and cut off the cloudy bottom before serving. This is the most reliable home method for clear ice.
Method:
- Choose a container. A small cooler with the lid removed, a foam box, or an insulated shell sized to hold your mold works well. The goal is one open face facing up.
- Pre-treat the water. Boil, cool covered, then pour. Leave headroom of roughly 10–20% so the expanding ice has somewhere to go.
- Place it level in the freezer. Open side up. Do not stack items on top or block airflow around the open face.
- Freeze slowly, and stop early. For a 1–2 liter block, this typically means overnight (roughly 12–24 hours depending on freezer temperature and insulation thickness). The target state is a solid clear block with a slushy or liquid layer remaining at the bottom — that layer is where the impurities have collected.
- Release the block. Let it temper at room temperature for a few minutes, or briefly run cool water over the outside of the container. Avoid pouring hot water directly on frozen ice; thermal shock causes cracking.
- Discard the cloudy portion. Cut off the bottom 25–50% of the block, depending on how much of it is milky. What remains is your clear ice.
- Cut to size and store sealed. Work on a cutting board with a towel underneath. For large blocks, use gloves, and avoid prying with a knife — use a mallet or a serrated saw with a slow, controlled stroke.
Boundary condition: If you let the block freeze completely solid, the cloudy core stays in the middle and you have gained nothing. The early stop is not optional; it is the mechanism.
Common mistake: Insulating only the sides while the container sits directly on a cold shelf. Heat then escapes through the bottom, the freeze runs bottom-up, and the clear layer ends up inverted or mixed.
For additional context on this decision, see Clear Ice Molds for Commercial Programs: Design Factors Buyers Should Evaluate.
5. Molds, Trays, and Custom Ice Programs
Core conclusion: Mold choice affects demolding and shape control, but it does not replace directional freezing. Match the mold to the freezing method, not the other way around.
Rigid trays and containers hold shape well and stack easily. Straight-sided rigid molds are harder to release; a tapered wall or a flexible material solves that.
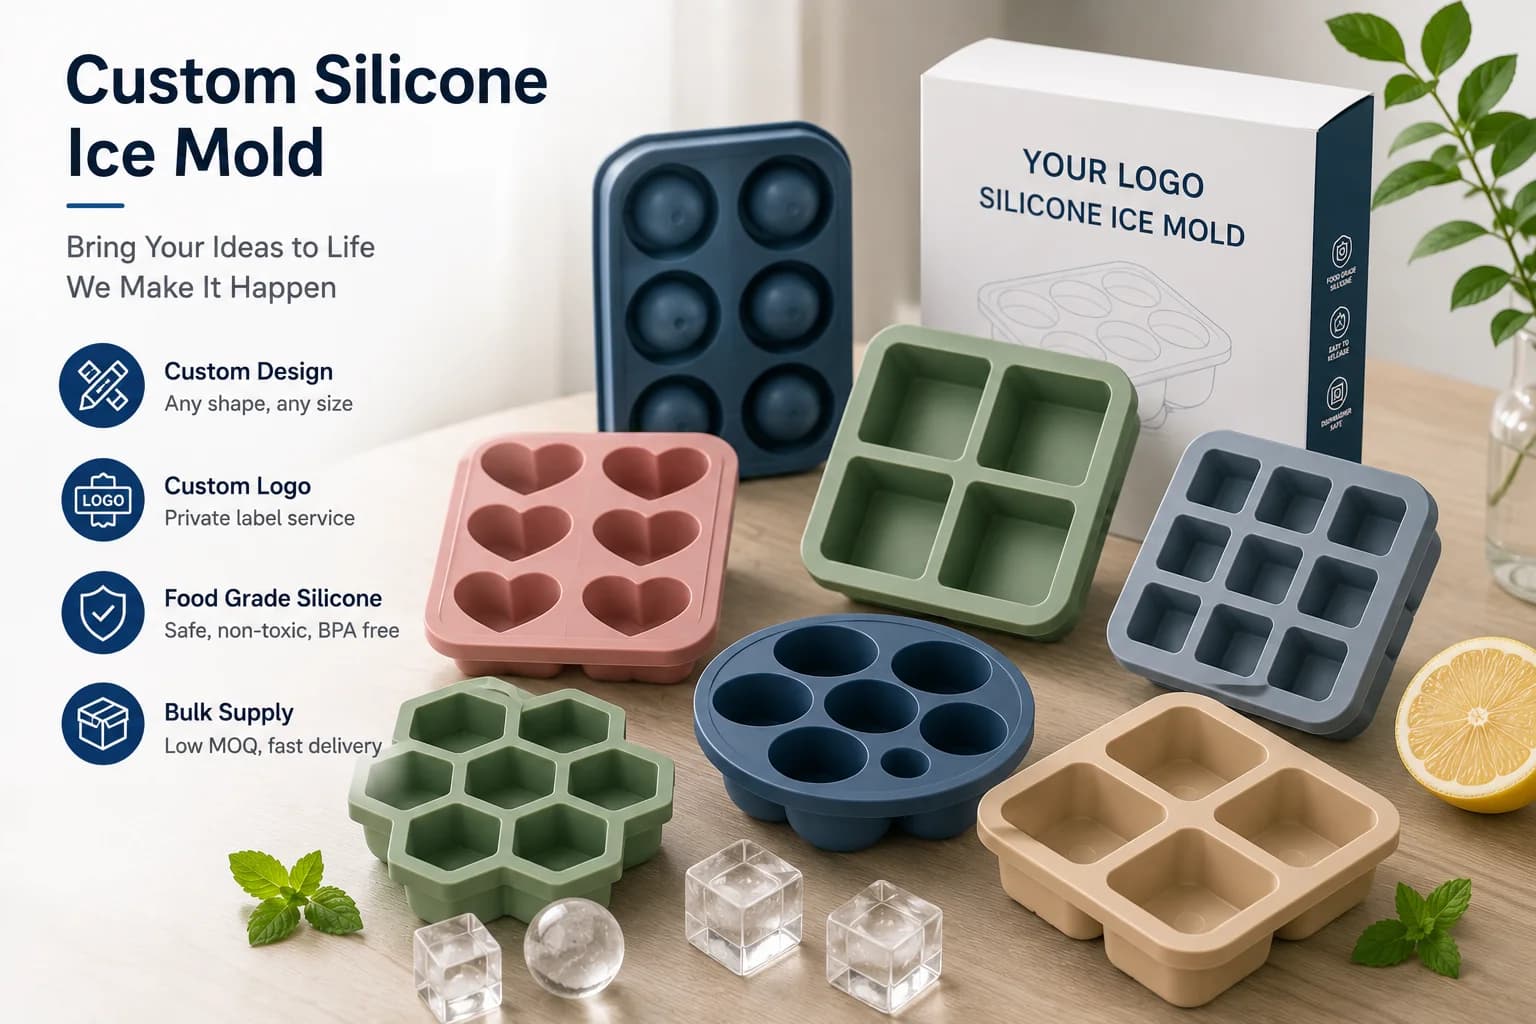
Silicone molds are a practical middle path for clear ice because they combine shape flexibility with easy release: food-grade, odorless, and rated from -40°C to 240°C (-40°F to 464°F), with custom sizes, colors, shapes, and packaging available [K3]. Typical customization covers cavity design, product shape, size, color, logo, and packaging [K1].
The insulation caveat: silicone is a poor conductor of heat compared with metal or thin rigid plastic. That slows the freezing cycle in both directions — which can help you freeze slowly, but also means you should plan a longer cycle and, if you are chasing maximum clarity, place the silicone mold inside an insulated shell with the top face open.
For branded or commercial ice programs, the sequence matters:
| Stage | What happens | What to verify |
|---|---|---|
| Design review | Define cavity shape, size, logo placement, and packaging | Design files are production-ready and consistent with the freezing method [K2] |
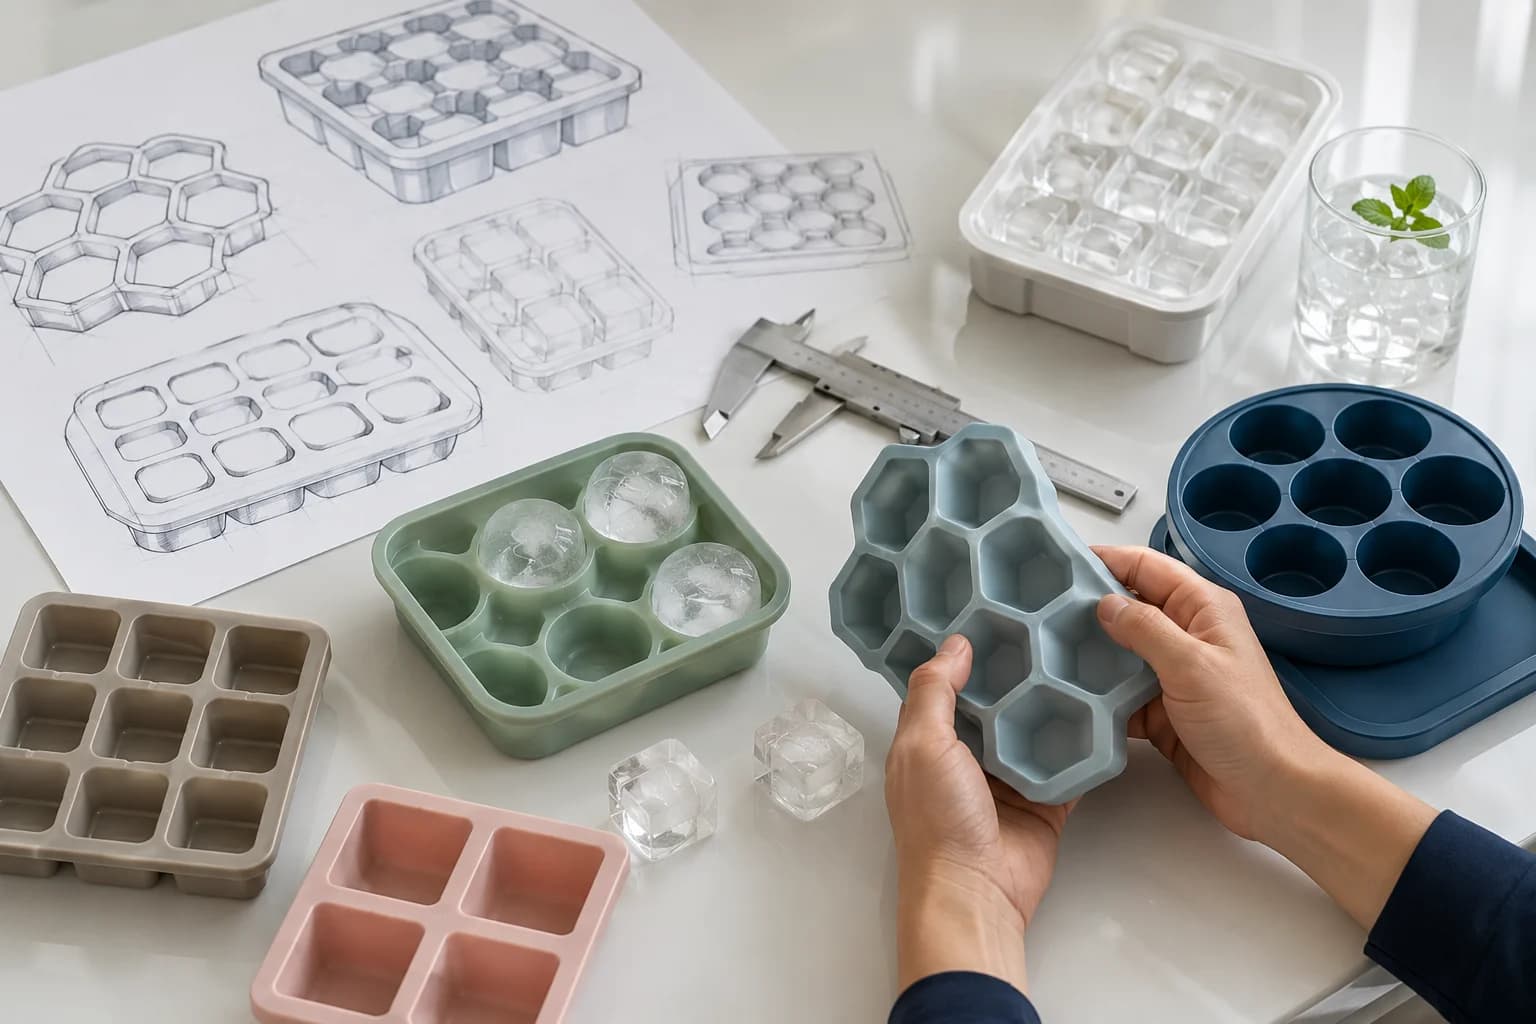
| Sampling | Physical samples are produced for approval | Wall thickness, release behavior, and clarity performance in your actual freezer |
| Tooling | Tooling is prepared once the design is locked | Tooling cost and change-order implications [K2] |
| Production | Volume manufacturing with agreed quality checks | MOQ, lead time, and inspection criteria [K2] |
Ice molds can reasonably be positioned under household, kitchen, and promotional use cases, so a single mold program can serve multiple channels [K4]. However, portfolio diagrams show reported product coverage, not a guarantee that every item is stocked for every market — confirm current availability, material composition, dimensions, certifications, MOQ, and lead time before publishing a product page or issuing a quotation [K4]. Treat tooling and process improvement as a disciplined development cycle rather than a one-off novelty [K5].
Before finalizing the specification, use How to Make Crystal Clear Ice Balls with a Foldable Silicone Ice Ball Mold as an additional planning reference.
6. Key Comparison: Which Method Fits Your Goal
| Method | How it works | Realistic clarity | Time | Best for |
|---|---|---|---|---|
| Standard tray, tap water | Fast, multi-directional freeze | Cloudy center | A few hours | Everyday convenience |
| Standard tray, boiled/filtered water | Fewer dissolved gases and solids | Clearer edges, cloudier core | A few hours | Small improvement with no setup |
| Directional freezing in an insulated cooler | One open face, slow single front, discard cloudy layer | Highest home clarity | Overnight (roughly 12–24 hrs for 1–2 L) | Bars, hobbyists, cocktail service |
| Silicone mold + insulated shell | Shape control plus slow directional freeze | High clarity with custom shape | Overnight plus mold lead time | Branded ice, gifting, promotions [K1][K4] |
| Commercial clear ice machine | Continuous controlled directional freeze | Consistent, high volume | Continuous | High-volume commercial operations |
Troubleshooting quick list:
- Cloudy throughout: freezing far too fast, or no insulation at all.
- Cloudy core only, clear shell: normal tray behavior; the cube froze from all sides.
- Clear top, milky bottom: directional freezing is working — you simply need to cut more off.
- Cracks or shattered blocks: thermal shock. Temper before release and handle large blocks with gloves.
- Ice stuck in the mold: rigid tray with straight sides. Temper briefly, or switch to a flexible silicone mold [K1][K3].
- Ice tastes like the freezer: store sealed; ice actively adsorbs odors.
7. FAQ
Q1. Does boiling water really make clear ice?
Partly. Boiling drives off dissolved gases, which is one of the two main causes of cloudiness, so it does improve results. It does not remove dissolved minerals, and it does not change the freezing direction. If you boil the water but freeze it fast in a standard tray, you will still get a cloudy center. Boiling plus slow directional freezing is the combination that works.
Q2. Can I get fully clear cubes in a normal ice tray?
Usually not fully clear, because a standard tray freezes from all six sides and traps the last, dirtiest water in the middle. You can improve clarity with pre-treated water and a slightly warmer freezer, but the reliable route is directional freezing in an insulated container, followed by cutting away the cloudy section.
Q3. Should I use a rigid tray or a silicone mold for clear ice?
Rigid trays hold their shape accurately and stack well, but straight-sided molds can be difficult to release. Silicone molds release easily by flexing and are food-grade, odorless, and rated from -40°C to 240°C, with custom shapes, sizes, colors, and packaging available [K3]. The trade-off is that silicone insulates, so freezing takes longer — plan your cycle accordingly and, for best clarity, use the mold inside an insulated shell with an open top [K1].
Q4. What should I verify before ordering custom ice molds for a commercial program?
Confirm current availability, material composition, dimensions, certifications, MOQ, and lead time before publishing a product-specific page or issuing a quotation [K4]. Understand how a project moves from design review through sampling, tooling, and production, and clarify who owns design-file preparation and sample approval [K2]. It also helps to define your intended use case early, since ice molds can sit under household, kitchen, and promotional categories rather than a single one [K4].
8. Conclusion
If you only remember one thing: clarity is a freezing problem before it is a water problem. Water treatment removes some of the raw material for cloudiness, and temperature control sets the speed of the process, but directional freezing is what actually separates clean ice from the bubbles and minerals you do not want in the glass.
A practical starting point: boil and cool your water, pour it into an insulated container with one open face, freeze it overnight at your freezer's normal setting, stop before the block is solid, release it carefully, and cut away the cloudy bottom quarter to a half. That single change typically delivers the biggest visible improvement per unit of effort.
If you are producing ice at scale — for a bar program, a product launch, or a branded promotion — treat the mold as part of the freezing system rather than a standalone purchase. Match cavity design and material to your freezing method, and verify availability, material composition, dimensions, MOQ, and lead time before committing to a specification or a published claim [K2][K4].