Key Takeaways
- Cloudy ice is a freezing-direction problem, not just a water-quality problem. Water that freezes from one direction pushes dissolved air and minerals into a small cloudy zone you can cut off and discard.
- The most repeatable home and bar method is directional freezing in a small insulated cooler with the lid removed: typically 18–24 hours in a standard freezer produces a clear block with a visibly cloudy base.
- Water treatment (filtering, boiling, or distilling) improves clarity at the margin, but freezing speed and container geometry matter more than the water source alone.
- Silicone molds are most useful for shaping, branding, and clean release rather than for creating clarity by themselves. Food-grade silicone is odorless and rated from −40°C to 240°C (−40°F to 464°F), which covers freezer use and normal cleaning cycles [K5].
- Buyers sourcing custom molds should verify cavity design, sampling, tooling, MOQ, lead time, and current availability before publishing or quoting specifications [K1][K2][K3].
1. Introduction
A cocktail served over cloudy ice looks flat before anyone takes a sip. The drink dilutes faster, the glass looks hazy, and the ice itself develops cracks and a chalky center within minutes. For bartenders, that is a presentation and consistency issue. For home enthusiasts, it is usually a puzzle: the water was clean, the tray was new, so why did the cubes come out white in the middle?
The short answer is that a standard ice tray freezes water from all six sides at once. As ice forms, dissolved air, trace minerals, and microscopic impurities are pushed ahead of the advancing freeze front. In a tray, those rejected materials have nowhere to go — they get trapped in the center of every cube. Clear ice comes from giving them somewhere to go: freeze the block slowly and directionally, then cut away the small cloudy section that collected the waste.
This guide explains how to make clear ice cubes step by step, using equipment most people already own. It covers the physics in plain terms, the practical variables that change results, the trade-offs between coolers, trays, and custom silicone molds, and what commercial buyers should check before ordering branded ice molds. The methods here are the same ones used behind serious bars; the difference is scale and tooling, not principle.
2. Why Most Ice Turns Cloudy — and Why Directional Freezing Fixes It
Core conclusion: Clarity is governed by how the freeze front moves, not by how "pure" the water looks. Slow, one-directional freezing concentrates impurities instead of trapping them throughout the block.
Three things cause cloudiness:
- Dissolved gases. Tap water holds dissolved air. When water freezes quickly, those gases form tiny bubbles that scatter light and appear white.
- Dissolved minerals and solids. Calcium, magnesium, and trace organics are rejected by the growing ice crystal lattice. Fast freezing traps them in place.
- Fast, multi-directional freezing. A tray in a −18°C freezer removes heat from every surface simultaneously, so freeze fronts collide in the cube's center and seal the impurities in.
Directional freezing flips this. When you insulate the sides and bottom of a container and leave the top exposed to cold air, heat leaves mainly through the top surface. The ice grows downward in a single, slow front. Air and minerals are carried along ahead of that front and end up concentrated in the bottom layer, which stays cloudy while everything above it stays transparent.
Practical scenario: This is exactly how commercial clear-ice machines work at larger scale — a well-insulated tank with a cold plate on one side grows a large block over many hours, and the operator discards the dense, cloudy end. The home version is the same idea shrunk to a countertop cooler.
For a related manufacturing reference, review make clear ice cubes step.
Recommendation: Treat the cloudy portion as a feature, not a failure. Plan for it, and cut it off in one clean pass rather than trying to "fix" it by re-freezing.
3. Step-by-Step: How to Make Clear Ice Cubes at Home or Behind the Bar
Core conclusion: A small insulated cooler with the lid off, filled with water and left undisturbed in a freezer, is the most reliable low-cost route to clear ice. Expect roughly 18–24 hours per block, depending on the freezer and container size.
Step 1: Choose the container
Use a small hard-sided cooler or insulated box, roughly 1–2 liters in capacity. A thick-walled cooler is preferable because the insulation is what forces freezing from the top down. Thin plastic trays do not work for this method — they conduct cold from every side.
Step 2: Prepare the water
Fill the container with filtered or distilled water, leaving a couple of centimeters of headroom for expansion. Boiling the water and letting it cool before filling is a widely used extra step: it drives off some dissolved gas and can improve clarity, though it does not replace directional freezing.
Step 3: Open the lid
Remove the lid entirely, or leave it off-center so the top surface is exposed to circulating cold air. A closed cooler insulates on all six sides and freezes very slowly, which can take far longer and still produce inconsistent results.
Step 4: Freeze undisturbed
Place the container level in the freezer. Do not stack items on top and avoid opening the door repeatedly. Depending on freezer temperature and container size, the block typically takes most of a day to freeze; a container that is not fully frozen in the center is easier to work with than one frozen solid, because the cloudy bottom layer detaches more cleanly.
Step 5: Temper before cutting
Remove the block and let it sit at room temperature for about 10–15 minutes. Tempering reduces thermal shock, which is the main cause of cracking when you cut or drop ice into a warm glass.
Step 6: Separate the clear ice
Place the block on a cutting board. The clear upper section will be visually obvious; the cloudy base is denser and often slightly softer or more brittle. Use a serrated knife, a clean ice saw, or a tapping method with a sturdy tool to score and split the block along the clear/cloudy boundary. Discard or reserve the cloudy section for blending.
Step 7: Cut to serving size
Work from the clear section. For cocktail service, cut cubes of roughly 5–6 cm (2 inches) on a side, or larger blocks for spirits served neat. Larger pieces melt more slowly relative to their volume, which is why bar programs favor big, dense cubes.
Step 8: Store properly
Keep finished cubes in a sealed container or freezer bag. Clear ice will frost over if left exposed, and it can absorb freezer odors over time, so airtight storage matters as much as the freezing method.
4. Fine-Tuning: Water, Temperature, Time, and Yield
Core conclusion: Once the directional method is in place, four variables decide whether your results are good or inconsistent: freezer temperature, water treatment, container geometry, and how far you let the block freeze.
For additional context on this decision, see Silicone ice molds.
| Variable | What helps | Why it matters | Practical note |
|---|---|---|---|
| Freezer temperature | A standard home freezer around −18°C is workable | Colder freezers freeze faster, which traps more gas | Do not chase "as cold as possible"; slower is better |
| Water treatment | Filtered or distilled water; optional boiling and cooling | Reduces dissolved minerals and some dissolved gas | Improves clarity at the margin, not by itself |
| Container geometry | Small cooler with insulated sides and bottom, open top | Forces a single downward freeze front | Deep, narrow containers concentrate the cloudy layer |
| Freeze duration | Stop before the whole block is solid | Deep freeze-through traps impurities in the clear zone | A slightly slushy center is easier to trim |
| Cutting and tempering | 10–15 minutes of tempering before cutting | Reduces cracking and shattering | Warm tools and a clean board help |
Boundary conditions to know:
- Clear ice is not the same as "safe" ice. Clarity is an optical property. Food safety depends on using clean water, clean containers, and hygienic handling.
- Distilled water does not guarantee clarity. It removes minerals but not dissolved gases, and it still freezes from all directions in a standard tray.
- Yield is lower than with trays. A cooler method sacrifices the cloudy bottom layer, so plan on roughly losing a portion of the water you start with.
- Clear ice generally melts more slowly than cloudy ice of the same size, because it contains fewer air pockets and is denser. That translates to slower dilution in the glass — which is the real reason bars invest in it.
Recommendation for bartenders: Freeze two or three containers on a staggered schedule so you always have a block ready to break down. Consistency in service comes from supply rotation, not from one heroic freezing session.
5. Equipment Choices: Coolers, Trays, and Custom Silicone Ice Molds
Core conclusion: Different containers solve different problems. Insulated coolers create clarity; silicone molds create shape, branding, and easy release. The strongest setups combine both.
Coolers and insulated boxes do the heavy lifting on clarity. They are cheap, available, and need no special handling beyond freezer space.
Standard plastic trays are convenient but structurally unable to produce clear ice, because they freeze from six directions at once.
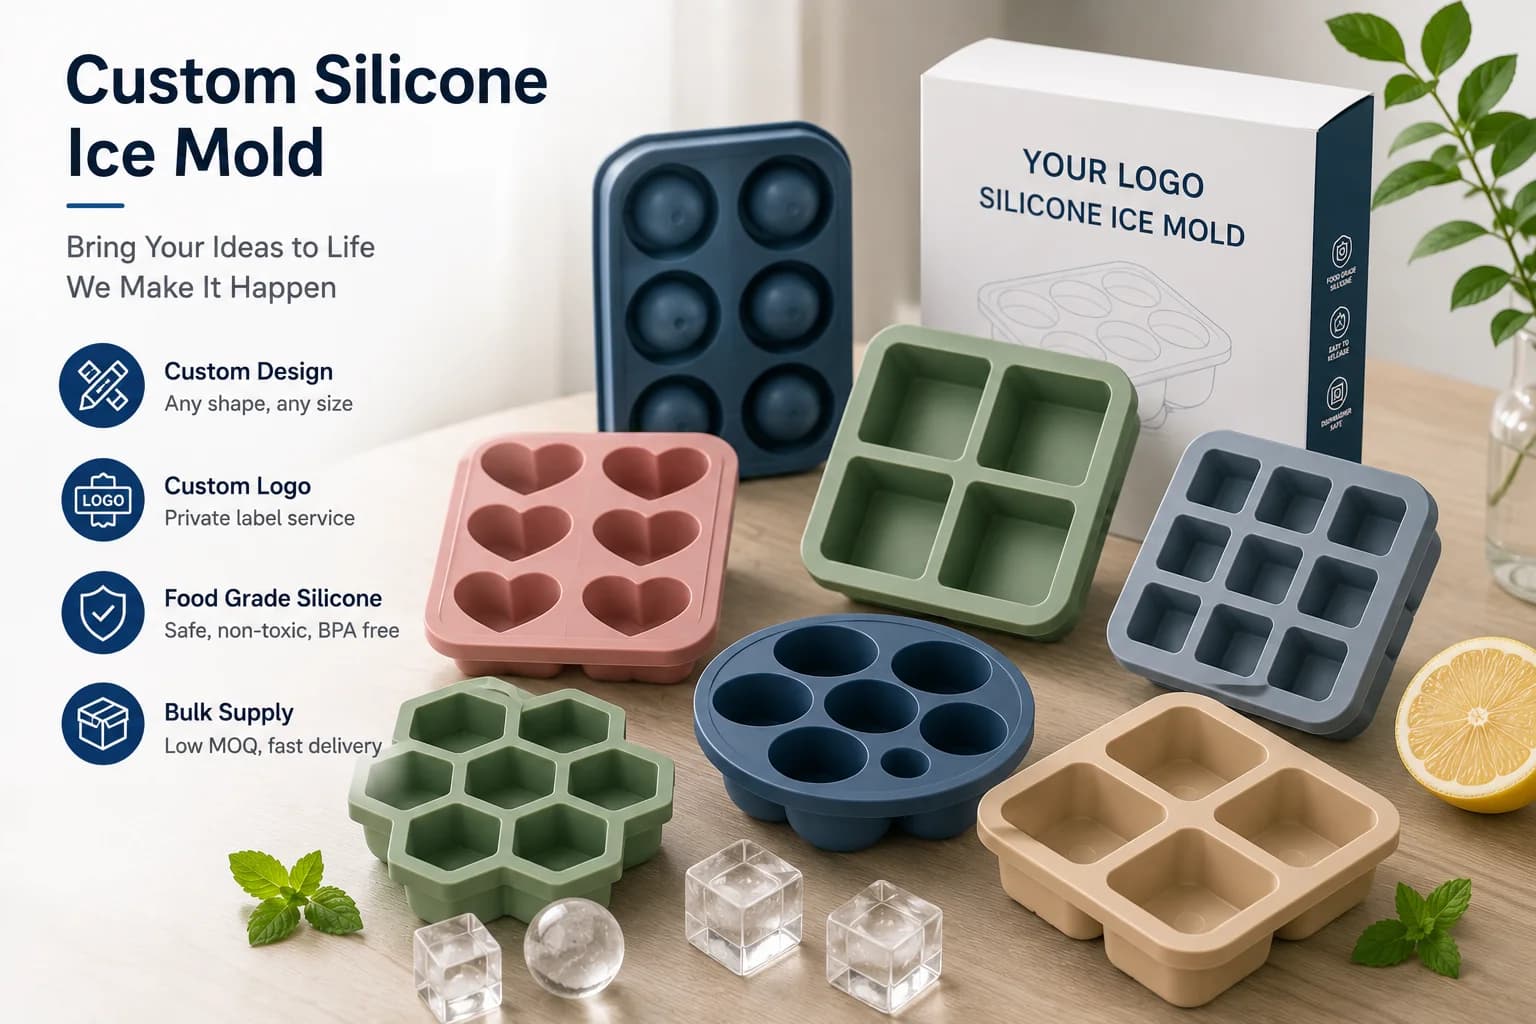
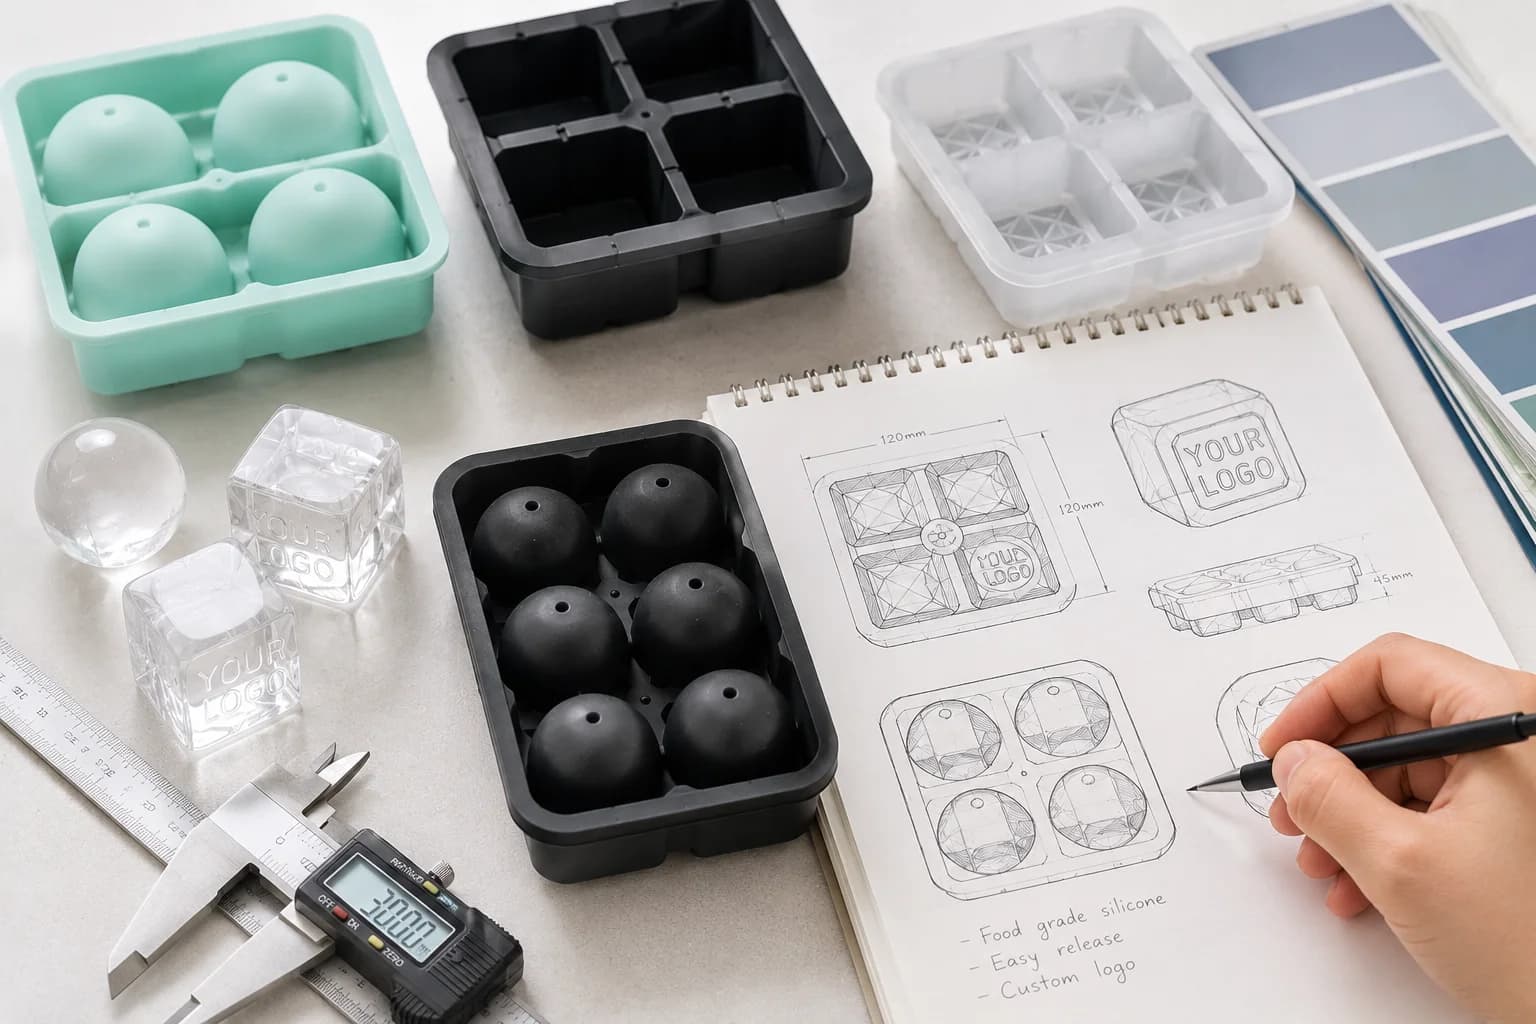
Silicone ice molds are the flexible middle ground. They do not insulate, so used alone they behave like trays. Their value shows up in three places: releasing large or unusual shapes without cracking them, shaping already-clear blocks into spheres, columns, or logo-bearing cubes, and supporting branded ice programs for bars, hotels, and events.
For buyers developing a branded ice program, silicone tooling is a practical route because customization covers cavity design, product shape, size, color, logo, and packaging [K2]. Typical project questions involve design-file preparation, sampling, tooling, MOQ, and lead-time planning [K1] — and because molds sit in freezers and get washed frequently, material specifications matter: food-contact grade silicone, odorless, with temperature resistance from −40°C to 240°C (−40°F to 464°F), and custom sizes, colors, shapes, and packaging available [K5].
Before finalizing the specification, use custom silicone ice mold manufacturing as an additional planning reference.
Two cautions worth building into any specification:
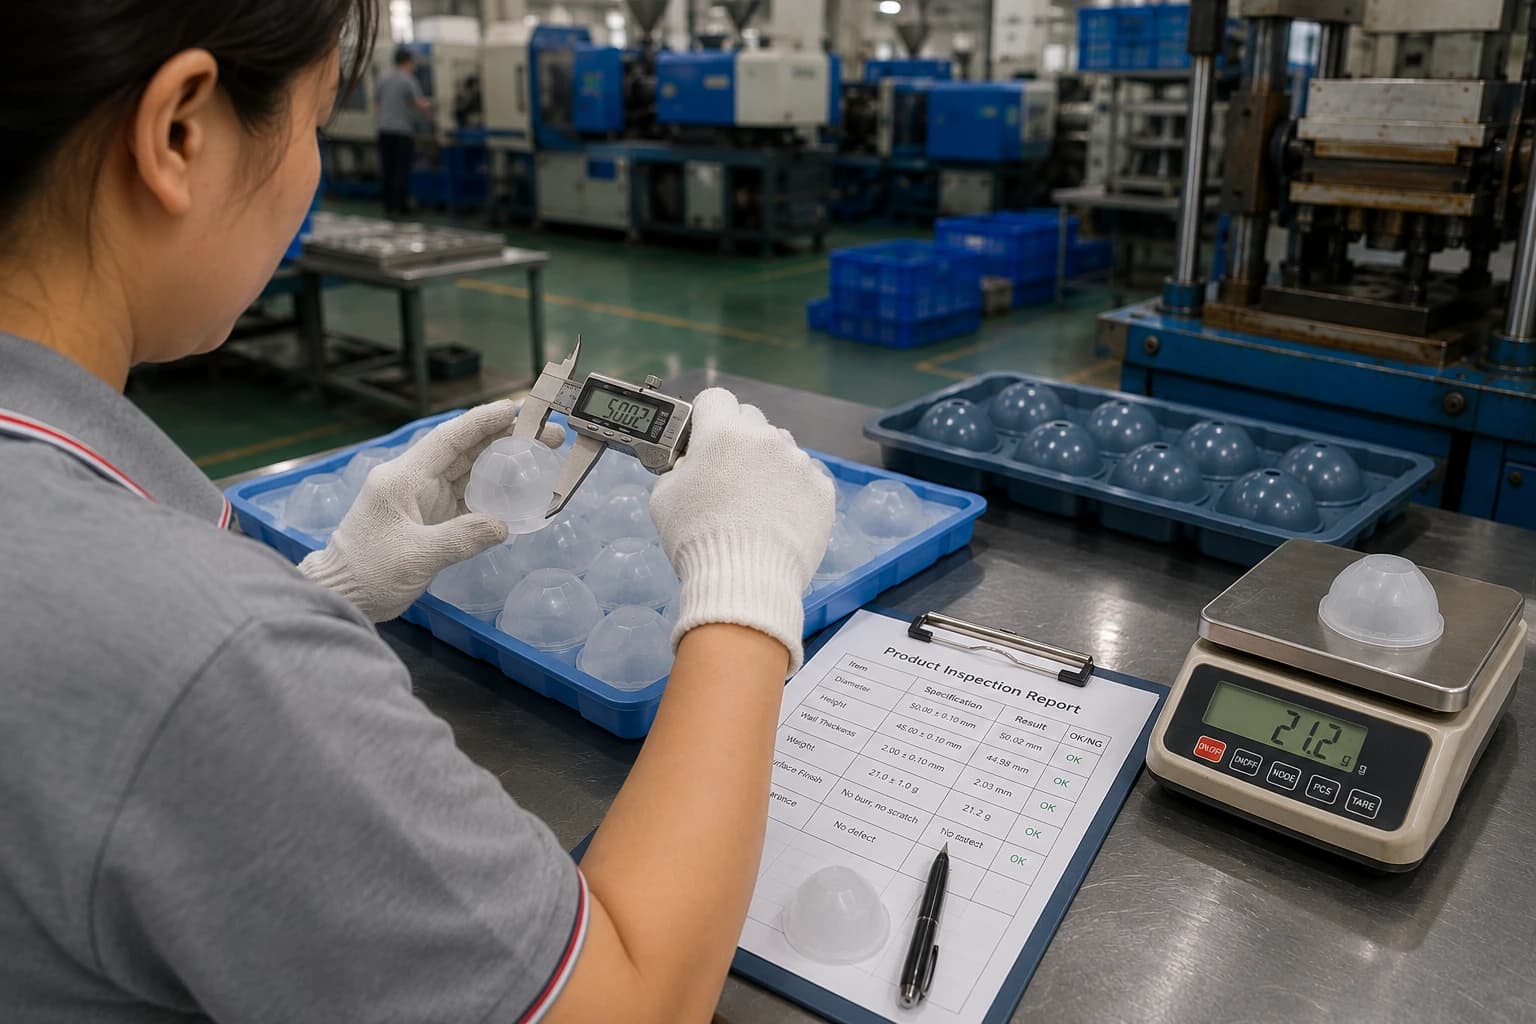
- Availability is not the same as a portfolio diagram. A product-range illustration shows what a supplier reports it can develop, not what is currently stocked or cleared for every market. Confirm current availability, material composition, dimensions, certifications, MOQ, and lead time before publishing a product page or quotation [K3].
- Category placement should not limit use cases. Ice molds can sit under household, kitchen, and promotional use cases, and cross-category content is legitimate [K3]. Compliance claims, however, must stay within what can actually be verified for the target market [K1].
For brands that want the full picture, a supplier relationship in this space typically covers custom development for shape, size, color, logo, artwork, and packaging, plus practical guidance through tooling, samples, production, inspection, and market-specific documentation [K4].
6. FAQ
Q1. Can I make clear ice cubes using only a silicone tray?
Not reliably. A silicone tray freezes water from all sides, so dissolved air still gets trapped in the center of each cube. Silicone helps most when it is used to shape or release a block that was already frozen directionally — for example, pouring clear water into a silicone mold and letting it freeze on an insulated base, or cutting clear blocks to fit a branded mold.
Q2. Does boiling water twice really produce clear ice?
Boiling and cooling water drives off some dissolved gas, which can reduce the number and size of trapped bubbles. It is a reasonable low-cost step, but it does not change the geometry of freezing. In a standard tray, boiled water still freezes from six directions and can still turn cloudy. Pair it with directional freezing for a visible difference.
Q3. How long does clear ice keep in the freezer?
Quality depends more on packaging than on time. Sealed in an airtight container or freezer bag, clear cubes hold up well for several weeks; left exposed, they frost over, pick up freezer odors, and develop surface cracks. If you need ice for a specific service date, freeze the block roughly one to two days ahead and cut close to service.
Q4. What should a buyer confirm before ordering custom silicone ice molds?
Confirm the cavity design and any logo or artwork placement, request samples before committing to tooling, and lock down MOQ, lead time, and packaging requirements early [K1][K2]. Also verify current availability, material composition, dimensions, and market-specific documentation rather than relying on a product portfolio diagram [K3]. For freezer and wash-cycle durability, ask for the food-contact grade, odor rating, and temperature-resistance range in writing [K5].
7. Conclusion
Learning how to make clear ice cubes comes down to one controlling idea: give impurities somewhere to go. Insulate the sides and bottom, leave the top exposed, freeze slowly, and cut away the cloudy base. Everything else — filtered water, boiled water, distilled water, tempering, storage — is optimization layered on top of that principle.
If you are a home enthusiast, start with a small cooler and a single overnight freeze. You will spend more time waiting than working, and the result will outperform any tray you own. If you are a bartender, build rotation into your prep schedule so clear blocks are always in the pipeline rather than improvised before service.
If you are a brand or hospitality buyer, think of the mold as tooling, not as a shortcut. Directional freezing creates clarity; silicone tooling creates shape, identity, and consistent release — cavity design, size, color, logo, and packaging are all specified at the development stage [K2]. Define your clarity method, then define the mold around it, and validate both with samples and current availability data before you commit to a quote [K3].