Key Takeaways
- Sample approval is a critical quality gate before mass production of custom silicone ice molds; skipping or rushing it often leads to rework, delays, and cost overruns.
- A structured checklist covering design confirmation, physical inspection, compliance matching, and commercial terms can reduce risk and speed up the production timeline.
- Lead times are not fixed; they depend on design complexity, tooling status, and project-specific review. Always confirm dates in writing.
- Sample fees, MOQ, and mold costs vary by project — case-by-case confirmation is essential, and unconditional promises are not standard practice.
1. Introduction
For buyers sourcing custom silicone ice molds — whether for branded ice, promotional gifts, or retail products — the sample approval stage often feels like a black box. You receive a sample, inspect it, and either approve or reject it. But what exactly should you check? Which documents and details need to be confirmed before you give the go‑ahead for mass production?
This article provides a practical pre‑production checklist tailored to ice mold sample approval. It covers the four pillars that turn a sample into a reliable production reference: design file verification, physical inspection, compliance and documentation alignment, and commercial term checks. By following this checklist, buyers can move from sample approval to production with confidence, while avoiding common pitfalls such as mismatched colors, incorrect logos, packaging surprises, or hidden costs.
2. Section 1: Confirm Design Files and Specifications Before Molding
Core conclusion: The foundation of sample accuracy lies in a fully reviewed 3D design and specification sheet. Without this, even a good sample can become a costly mismatch.
Explanation:
Custom silicone ice mold development begins with design files. For a typical project, the OEM/ODM manufacturer reviews the customer’s 2D drawings or 3D models and then confirms the final design. According to standard lead‑time planning, mold creation takes about 15 working days after 3D design confirmation [K2]. Once the mold is ready, a custom sample is produced, typically within 7–10 working days [K2].
For a related manufacturing reference, review custom silicone ice mold manufacturing.
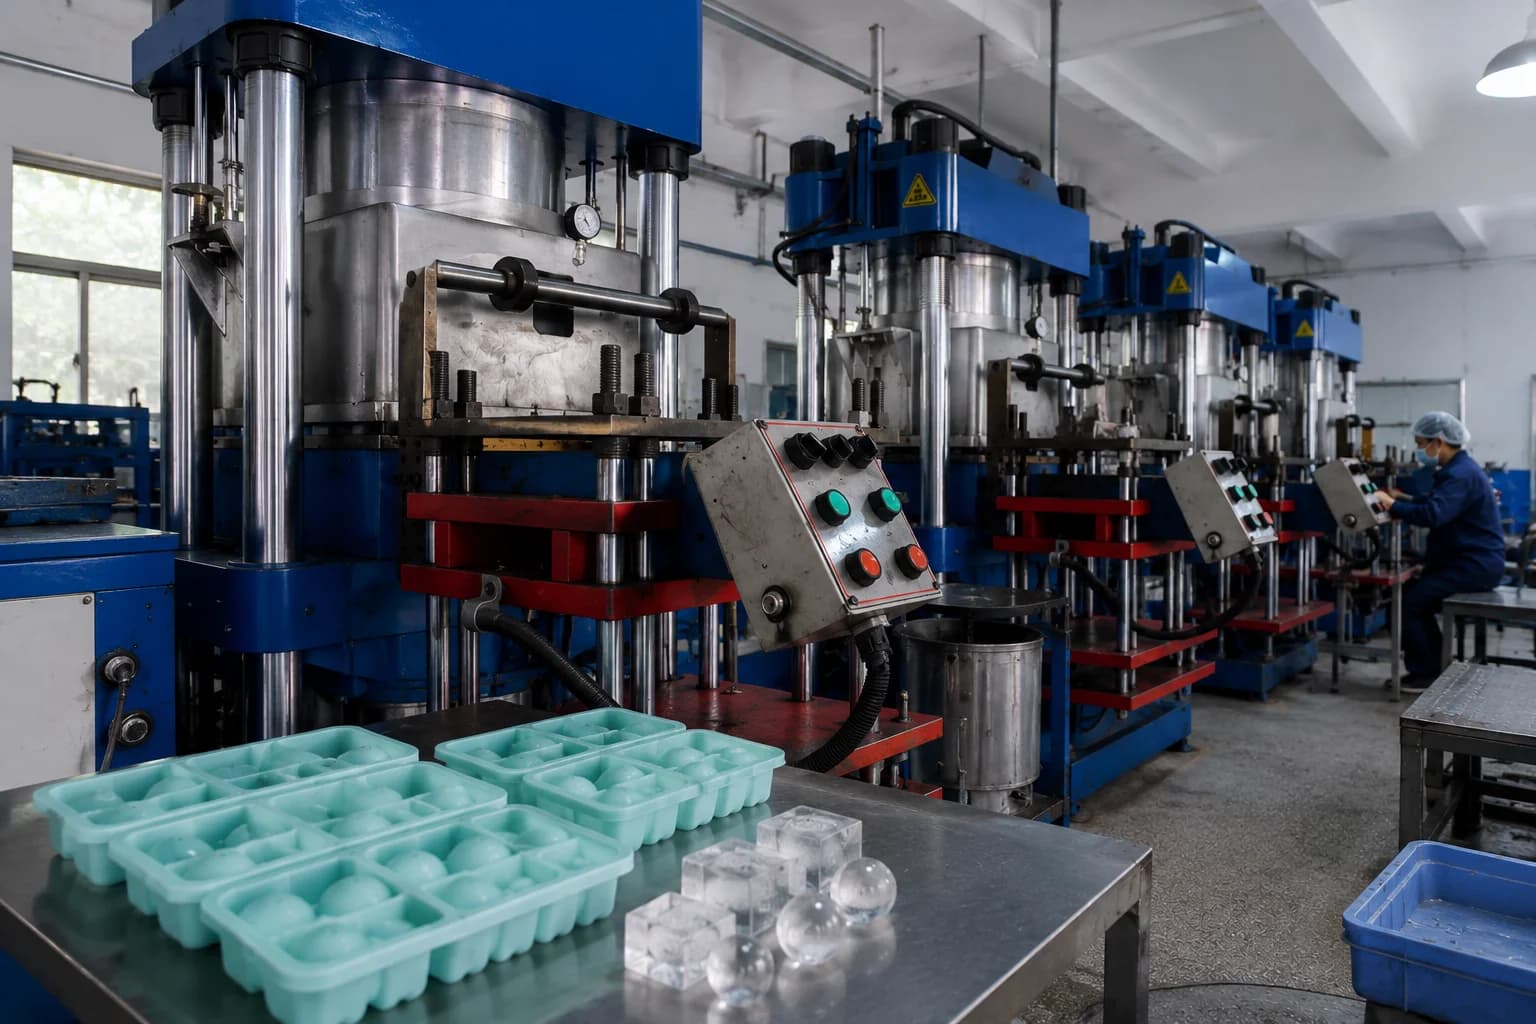
During the design review phase, confirm at least the following before tooling begins:
- Cavity design: Number and shape of ice cavities, depth, wall thickness.
- Overall dimensions: Length, width, height of the finished mold.
- Material specification: Food‑grade silicone (e.g., platinum‑cured, LFGB‑compliant if for EU markets).
- Color and finish: Pantone or RAL references for the silicone material, as well as any matte/gloss finish preferences.
- Logo and artwork: Placement, size, and reproduction method (embossed, debossed, printed, or in‑mold label).
Practical advice:
Before the OEM starts machining the mold, ask for a “design confirmation sign‑off” document. If possible, request a 3D render or a digital mock‑up of the ice mold. This is the last point where design changes are cheap. Once the mold is cut, modifications become expensive and time‑consuming.
3. Section 2: Physically Inspect the Sample Against a Unified Checklist
Core conclusion: A physical sample is only useful if you inspect it systematically. A checklist ensures nothing is missed.
Explanation:
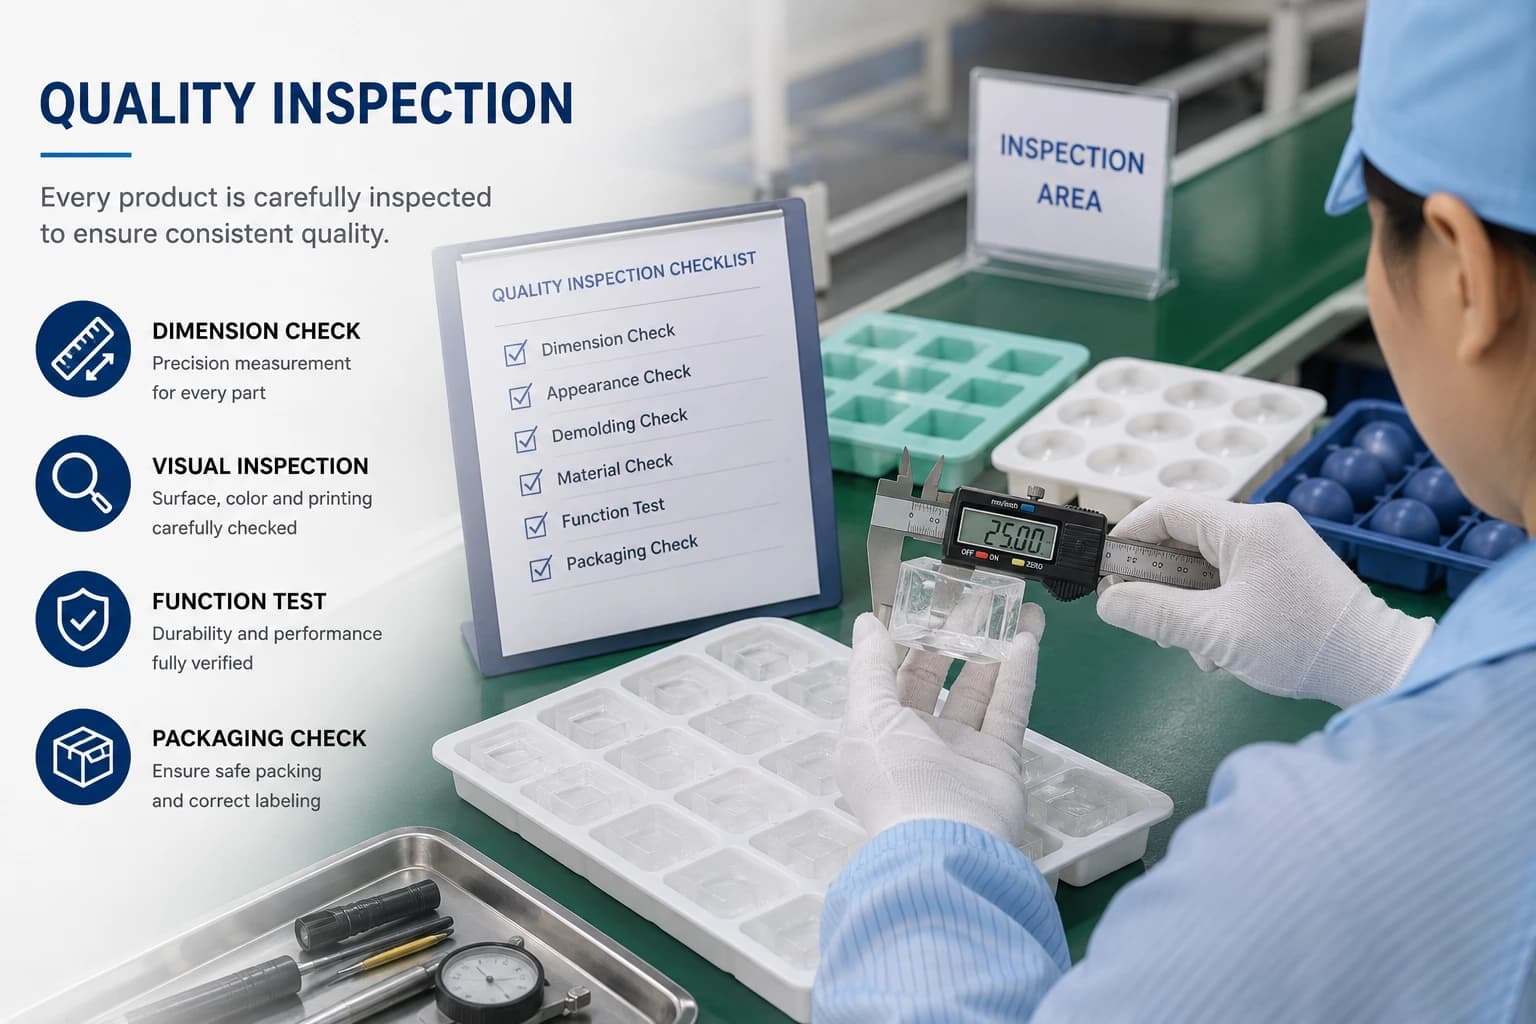
When you receive the ice mold sample, you must check more than just “does it look right”. A robust inspection covers four categories:
| Inspection Category | Checkpoints | Common Issues |
|---|---|---|
| Dimension & Fit | Compare actual dimensions (length, width, height) against approved drawing. Use a caliper. Check cavity depth. | Slight shrinkage or mold misalignment. |
| Appearance & Surface | Color accuracy (use Pantone chip), surface finish (no flash, no dimples, even texture), logo clarity and positioning. | Color mismatch, blurry logo. |
| Function & Usability | Ease of demolding (can ice cubes release cleanly?), flexibility, resistance to tearing. Fill with water and freeze a test batch. | Sticky surface, difficult demolding. |
| Packaging & Labeling | Confirm packaging type (polybag, display box, color box) and any labels (barcode, compliance marks). | Wrong packaging size, missing labels. |
Practical advice:
Use a physical sample inspection form that mirrors the above table. Take photos of any defects. If the sample fails any critical point, request a revised sample before approving. For non‑critical issues (e.g., packaging color slightly off), you may accept with a deviation memo — but document it.
4. Section 3: Align Compliance Evidence and Documentation
Core conclusion: Sample approval is not complete until you have verified that the product’s compliance documents match the sample and your target market’s requirements.
Explanation:
Custom silicone ice molds are often used for food‑contact applications (ice cubes). Therefore, regulatory compliance — such as FDA, LFGB, or GB 4806 — is a common requirement. The sample itself may be tested, but the test reports must match the specific production batch. Use the pre‑publication and order‑matching checklist [K4] to confirm:
For additional context on this decision, see Ice Mold Quality Control: What to Inspect Before Mass Production.
- The exact report number corresponds to the product style and color in the sample.
- The legal manufacturer and production site shown on the report match the OEM’s current facility.
- The intended use (food‑contact, repeated use) and age grading (if applicable) are correct.
- For US children’s products: verify CPSC‑accepted lab, required rules, and tracking label check.
- For EU products: request the technical documentation and signed Declaration of Conformity.
Practical advice:
Do not approve the sample solely on aesthetic grounds without also confirming that the compliance evidence will be ready and aligned at the order stage. Ask your OEM to share the applicable test report numbers during sampling. If the sample has a unique color or additive that is not covered by the existing report, request a new test or a supplemented statement.
5. Section 4: Confirm Commercial Terms and Avoid Assumptions
Core conclusion: Sample approval often triggers mass production. But the financial and timeline details — MOQ, mold fee, sample fee, delivery dates — must be explicitly confirmed before you give the final green light.
Explanation:
Based on standard practices for custom silicone ice molds, here are the key commercial terms that require project‑specific confirmation [K2][K5]:
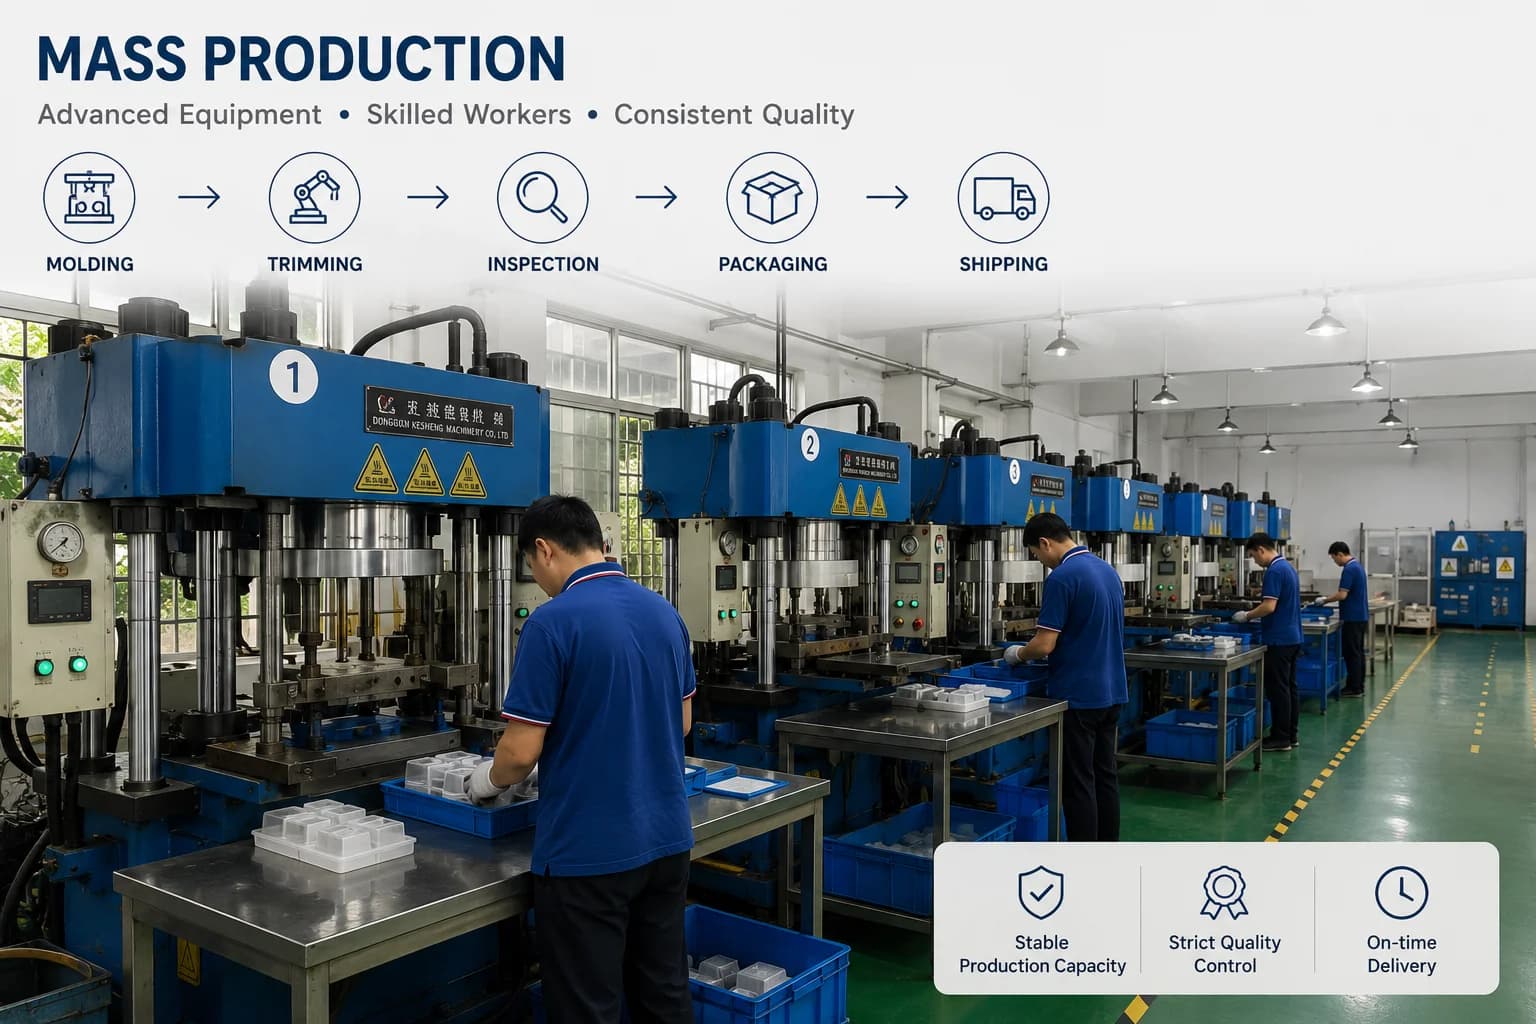
- MOQ: Typically around 500 pieces for custom orders, but final MOQ varies by design, tooling complexity, packaging, and production scheduling. Do not assume a fixed number; ask for a written quote.
- Sample fee: Free samples may be available, but eligibility, freight, and taxes must be confirmed case by case. Never expect unconditional free sample + free shipping.
- Mold fee: Quoted after reviewing the design files. There is no standard fixed fee — it depends on cavity count, size, and complexity.
- Lead times:
- Stock sample: 1–2 working days (if available).
- Custom sample: 7–10 working days after design confirmation.
- Mold production: ~15 working days.
- Mass production: 15–20 working days after order confirmation.
- Prohibited assumptions [K5]:
- Do not promise an unconditional 500‑piece MOQ for every project.
- Do not guarantee sample or production dates without project review and written confirmation.
- Do not publish a fixed mold fee without a design evaluation.
Practical advice:
Create a commercial terms checklist that you send to the OEM alongside your sample approval notice. Include: confirmed MOQ, sample fee status, mold fee, expected production lead time, and shipping terms. Ask for these to be reconfirmed in one email or formal document to avoid misunderstanding.
Before finalizing the specification, use Silicone Ice Tray Testing Plans: Dimensions, Leakage, Release, and Durability as an additional planning reference.
6. FAQ
Q1. Are custom silicone ice mold samples always free?
A: Not necessarily. Free samples may be available, but eligibility depends on the specific project, design complexity, and current stock of similar molds. Freight and taxes are typically not included. Always confirm the sample fee policy with your OEM case by case [K2].
Q2. How long does it take to get a custom ice mold sample?
A: After the design and specifications are confirmed, a custom sample typically takes 7–10 working days. Before that, mold creation takes about 15 working days. Total time from design approval to sample in hand is usually around 3–4 weeks [K2].
Q3. What should I do if the sample has a color mismatch?
A: Color mismatch is one of the most common issues. Immediately document the difference (preferably with a photo next to a Pantone chip) and request a revised sample with the corrected color. Do not approve the sample for production until the color is matched to your approved reference.
Q4. Can I approve the sample before receiving compliance test reports?
A: You can give conditional approval, but do not start mass production until the correct compliance evidence (e.g., FDA, LFGB) is matched to the sample. Use the order‑matching checklist [K4] to verify the report number, manufacturer, and product details before production begins.
7. Conclusion
Ice mold sample approval is more than a simple “yes” or “no”. It is a multi‑step process that protects your investment and ensures that the final production run matches your expectations in design, quality, compliance, and cost. By following the checklist in this article — design confirmation, physical inspection, compliance alignment, and commercial term checking — you can reduce rework, avoid delays, and build a reliable partnership with your silicone OEM.
Next step: Before your next sample arrives, prepare your own approval checklist based on these four pillars. Share it with your manufacturer so both sides are aligned on what “approve” means. A small upfront investment in process clarity can save weeks of production headaches.