Key Takeaways
- A practical silicone ice cube tray testing plan covers four measurable areas: dimensional accuracy, leakage resistance, ice release, and durability under repeated use.
- Buyers sourcing custom trays should test at the sampling stage and again during pre-shipment inspection, not rely on a single first sample alone. [K2]
- Food-grade silicone is the baseline material expectation, with documented temperature resistance from -40°C to 240°C (-40°F to 464°F). [K5]
- Custom dimensions, cavity shapes, colors, logos, and packaging are available, so test criteria should be defined per project rather than copied from a generic template. [K1][K5]
- Most core checks do not require expensive lab equipment. Calipers, water, a freezer, and a consistent recording sheet are enough to build a credible testing plan.
1. Introduction
Buyers of custom silicone ice cube trays — brand owners, importers, distributors, or promotional product buyers — face a common problem: how to verify that a tray actually performs before committing to a production order. A sample can look attractive in photos and fail in daily use: dimensions that do not match the drawing, water seeping from corners, ice cubes that refuse to release, or visible wear after a few dozen freezer cycles.
Unlike rigid plastic molds, silicone ice cube trays are expected to flex, twist, and survive extreme temperature changes. That flexibility is an advantage, but it also means quality issues are not always visible on the surface. The material may be food-grade and odorless [K5], and customization options such as cavity design, product shape, size, color, logo, and packaging are typically available [K1]. Yet none of these features guarantee a well-built tray unless the buyer verifies them.
This article provides a testing plan focused on four areas: dimensions, leakage, release, and durability. It explains what to check, how to check it, and how to turn the results into practical decisions during sample approval and pre-shipment inspection. The goal is not to replace a manufacturer's internal quality control, but to help buyers build their own verification routine with simple tools and clear pass/fail criteria.
2. Dimensional Testing: Verify What You Are Actually Buying
Core conclusion: Dimensional checks are the first line of defense. If the tray does not match the agreed dimensions, every downstream issue — cube size consistency, packaging fit, freezer space, and logo placement — follows automatically.
Reasoning: Silicone is flexible, so slight variations in cavity depth, wall thickness, and overall length are common between samples and production runs. Custom sizes are a standard offering [K5], but "custom" does not mean "self-verifying." The buyer needs to confirm that what was produced matches what was approved in the design file or specification sheet.
What to measure:
- Overall length, width, and height of the tray
- Cavity mouth width, cavity depth, and bottom width
- Wall thickness between adjacent cavities
- Distance between cavity centers, if the tray uses a repeating grid
Recommended method:
Use digital calipers and measure at three points per side rather than a single spot. Record the nominal value from the approved drawing, the measured value from each sample unit, and the deviation. If the project includes a logo or engraving, measure the depth and clarity of the logo cavity as well; shallow logos can disappear during molding, while overly deep logos can affect ice release.
For a related manufacturing reference, review custom silicone ice mold manufacturing.
Practical advice:
Define tolerances before sampling. For example, you might agree with the manufacturer on ±1.0 mm for overall dimensions and ±0.5 mm for cavity depth. These are suggested starting points, not universal standards — the right tolerance depends on the tray size and the customer's expectations. Also note that availability, material composition, and dimensions should be confirmed with the manufacturer before publishing any product-specific specification or quotation. [K4]
Scenario: A promotional buyer ordering branded ice cube trays [K3] should verify that the logo cavity is consistent across all sample units. If the logo depth varies from one cavity to another, the molded branding will look inconsistent in the final product.
3. Leakage Testing: Finding Failure Before Your Customer Does
Core conclusion: Leakage is the most visible quality failure in a silicone ice cube tray. A tray that weeps water from seams, corners, or the base is immediately unusable, regardless of how good the material feels.
Reasoning: Leakage usually points to one of three problems: a material defect such as a pinhole or bubble, a tooling issue such as poor seam alignment, or a design problem where corner geometry is too sharp for the silicone to fill evenly. Water testing is simple and directly simulates real use.
Recommended method:
- Fill each cavity to its nominal capacity with water.
- Place the filled tray on a dry white paper towel or cloth.
- Wait 30–60 minutes at room temperature and observe for wet marks under the seams, corners, and base.
- Freeze the same filled tray overnight, then thaw fully at room temperature and check again.
- Repeat the room-temperature hold test after the freeze-thaw cycle to catch stress-induced leaks.
What counts as pass:
- No visible wetting on the paper towel during the room-temperature hold
- No new weeping after the freeze-thaw cycle compared with the initial test
Practical advice:
Add a few drops of food coloring to the water to make micro-leaks visible on a white surface. Test at least three units per sample batch, not just one. If a single unit leaks, confirm whether the others show the same problem before deciding whether it is a material defect or a one-off issue.
4. Release Testing: The Test That Determines Everyday Usability
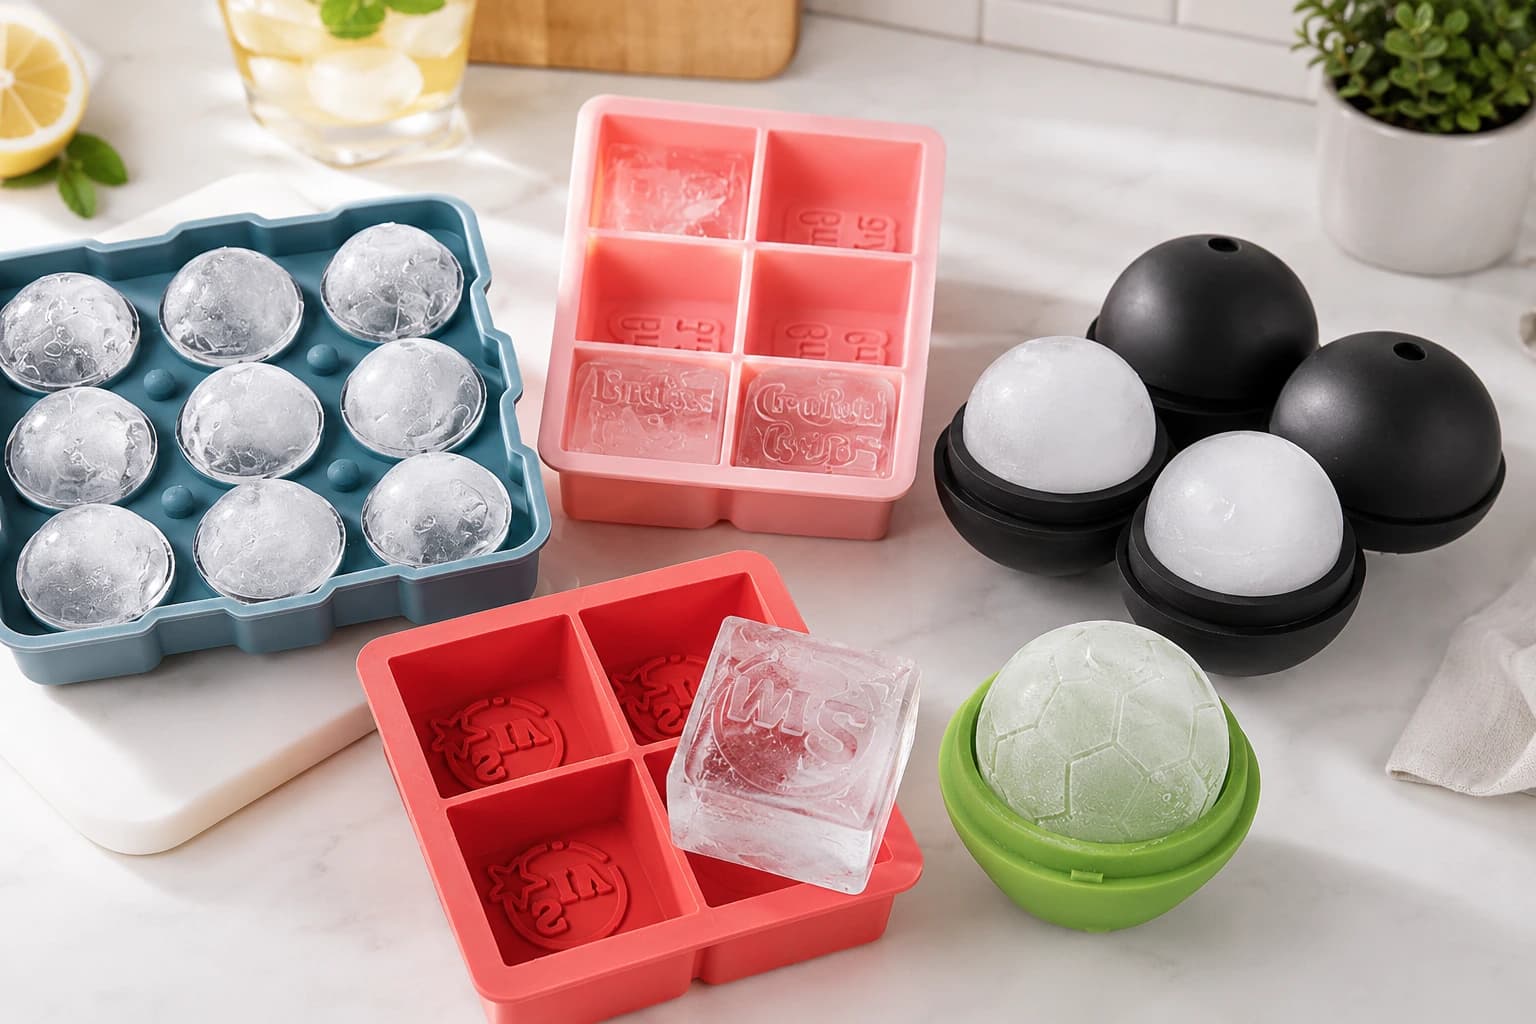
Core conclusion: Good ice release is what separates a well-designed silicone ice cube tray from a frustrating one. The material's flexibility is the main advantage, but release quality depends on cavity shape, wall thickness, and surface finish of the mold.
Reasoning: Users expect to remove ice by flexing, twisting, or pushing from the underside of a silicone ice cube tray. If the tray demands excessive force or leaves cube fragments behind, the product will generate complaints no matter how good the sample photos look.
For additional context on this decision, see Ice Mold Quality Control: What to Inspect Before Mass Production.
Recommended method:
- Freeze a filled tray for at least 8 hours, ideally overnight.
- Remove the tray from the freezer and attempt release immediately by twisting and pushing from the underside.
- Rate the effort on a simple scale: effortless, moderate, firm, or stuck.
- Repeat across 5 consecutive freeze-release cycles to observe whether release performance degrades.
- If the tray is intended for branded or flavored ice, test with the same liquid type the end customer will use. High-sugar liquids such as juice or syrup tend to stick more than plain water.
What to record:
- Release effort per cycle
- Whether each cube emerges intact
- Whether residue sticks to the cavity walls
Practical advice: For promotional products, where ice cube trays are a listed product category [K3], release testing with the actual intended liquid matters more than testing with plain water. A tray that releases water ice easily may still struggle with coffee or juice ice, and that difference will show up in customer reviews.
5. Durability Testing: Simulating Months of Freezer Life in a Short Time
Core conclusion: Durability is the least visible but most commercially important property. A tray that fails after 20 uses creates dissatisfied customers, not repeat orders.
Reasoning: Food-grade silicone is documented to resist temperatures from -40°C to 240°C (-40°F to 464°F) [K5], which means the material itself can handle freezer and typical dishwasher temperatures. However, the finished tray's lifespan is determined by how well the design and mold absorb repeated flexing, thermal cycling, and cleaning stress. The material rating is a starting point, not a guarantee of product durability.
Recommended method:
- Temperature cycling: Run at least 10 freeze-thaw cycles. Thaw at room temperature rather than in hot water to standardize the test.
- Flex test: Fold, twist, and stretch the empty tray 100 times. Inspect for cracks, surface whitening, or permanent deformation.
- Dishwasher simulation: Run 3–5 dishwasher cycles on a domestic setting, then inspect for shape change, surface damage, or odor retention. Food-grade silicone is expected to remain odorless [K5], so any persistent smell after cleaning is a warning sign.
- Dimensional re-check: After the durability tests, re-measure the overall dimensions and compare them with the pre-test measurements.
What counts as pass (example criteria):
- No visible cracking or tearing after the flex and cycling tests
- Dimensional change within 1–2% of the original measurements
- No persistent odor after cleaning
Practical advice: Run the full durability sequence on the sample you keep during sample approval, then repeat a shorter version — a few freeze-thaw cycles plus a visual inspection — on a random unit during pre-shipment inspection. Buyer checklists for sample approval and pre-shipment inspection are a standard part of custom mold sourcing. [K2]
Before finalizing the specification, use Easy-Release Silicone Ice Cube Trays: How Mold Design Affects Performance as an additional planning reference.
6. Key Comparison: A Practical Testing Plan Table
| Test area | What to measure | Tool / setup | Suggested pass criteria | When to run |
|---|---|---|---|---|
| Dimensions | Overall length, width, height, cavity depth, wall thickness | Digital calipers | Within agreed tolerance, defined per project before sampling | Sample approval + pre-shipment |
| Leakage | Water weeping from seams, corners, or base | Water fill, white paper towel, freeze-thaw cycle | No wetting at room temperature; no new weeping after freeze-thaw | Sample approval + pre-shipment |
| Release | Release effort, cube integrity, residue | Freezer, overnight freeze, manual flex | Consistent easy-to-moderate release over 5 consecutive cycles | Sample approval |
| Durability | Cracks, deformation, dimensional drift, odor retention | Repeated freeze-thaw, 100 flexes, 3–5 dishwasher cycles | No visible cracking, dimensional drift under ~2%, no persistent odor | Sample approval + pre-shipment |
This table provides a baseline. Custom tray projects may require additional checks: color consistency, logo quality, packaging fit, and confirmation of the material specification. Since typical customization options include cavity design, product shape, size, color, logo, and packaging [K1], each of those options deserves a corresponding check during the sampling stage.
7. FAQ
Q1. What is the most common failure in silicone ice cube trays?
Leakage from corners or seams is the most visible failure, followed by poor release in deep-cavity designs. Both can be caught with the simple water-fill and overnight-freeze tests described above.
Q2. How many freeze-thaw cycles should a silicone ice cube tray survive?
There is no universal consumer standard that applies to all silicone ice cube trays. A practical internal target is at least 10 temperature cycles and 100 flexes without cracking or permanent deformation. Food-grade silicone is rated for -40°C to 240°C (-40°F to 464°F) [K5], so the material should not fail under normal freezer use if the design and mold are sound.
Q3. Do all silicone ice cube trays use the same food-grade material?
No. "Food-grade" is a broad category, and buyers should confirm the material specification with the manufacturer for each project. Renjia's verified product knowledge states that its silicone material is food-contact grade, odorless, and rated for -40°C to 240°C [K5]. However, availability, material composition, and certifications must be confirmed before publishing product-specific claims. [K4]
Q4. Can I run these tests before committing to a full production order?
Yes. The recommended approach is to test during sample approval, then repeat a shorter version during pre-shipment inspection. Buyer checklists for sample approval and pre-shipment inspection are standard practice when sourcing custom silicone molds. [K2]
8. Conclusion
A silicone ice cube tray testing plan does not need to be complex, but it needs to be deliberate. Focus on four measurable areas:
- Dimensions — confirm that the produced tray matches the agreed specification.
- Leakage — catch material defects and tooling issues before they reach the customer.
- Release — verify everyday usability under real freezing conditions.
- Durability — ensure the tray survives repeated use, cleaning, and temperature cycling.
For buyers sourcing custom trays, the practical next step is to turn these methods into a written checklist before sampling, then apply the same checklist again at pre-shipment inspection. [K2] Customization options such as cavity design, shape, size, color, logo, and packaging [K1] mean that every project deserves its own testing criteria rather than a copy of a generic checklist.
When working with a silicone OEM/ODM manufacturer, ask how they handle sample approval, what tolerances they recommend for your tray design, and whether the product portfolio and current availability match your project needs before finalizing specifications. [K1][K4] A manufacturer that is willing to discuss testing criteria in detail is usually a stronger partner than one that only provides a sample and a price quote.