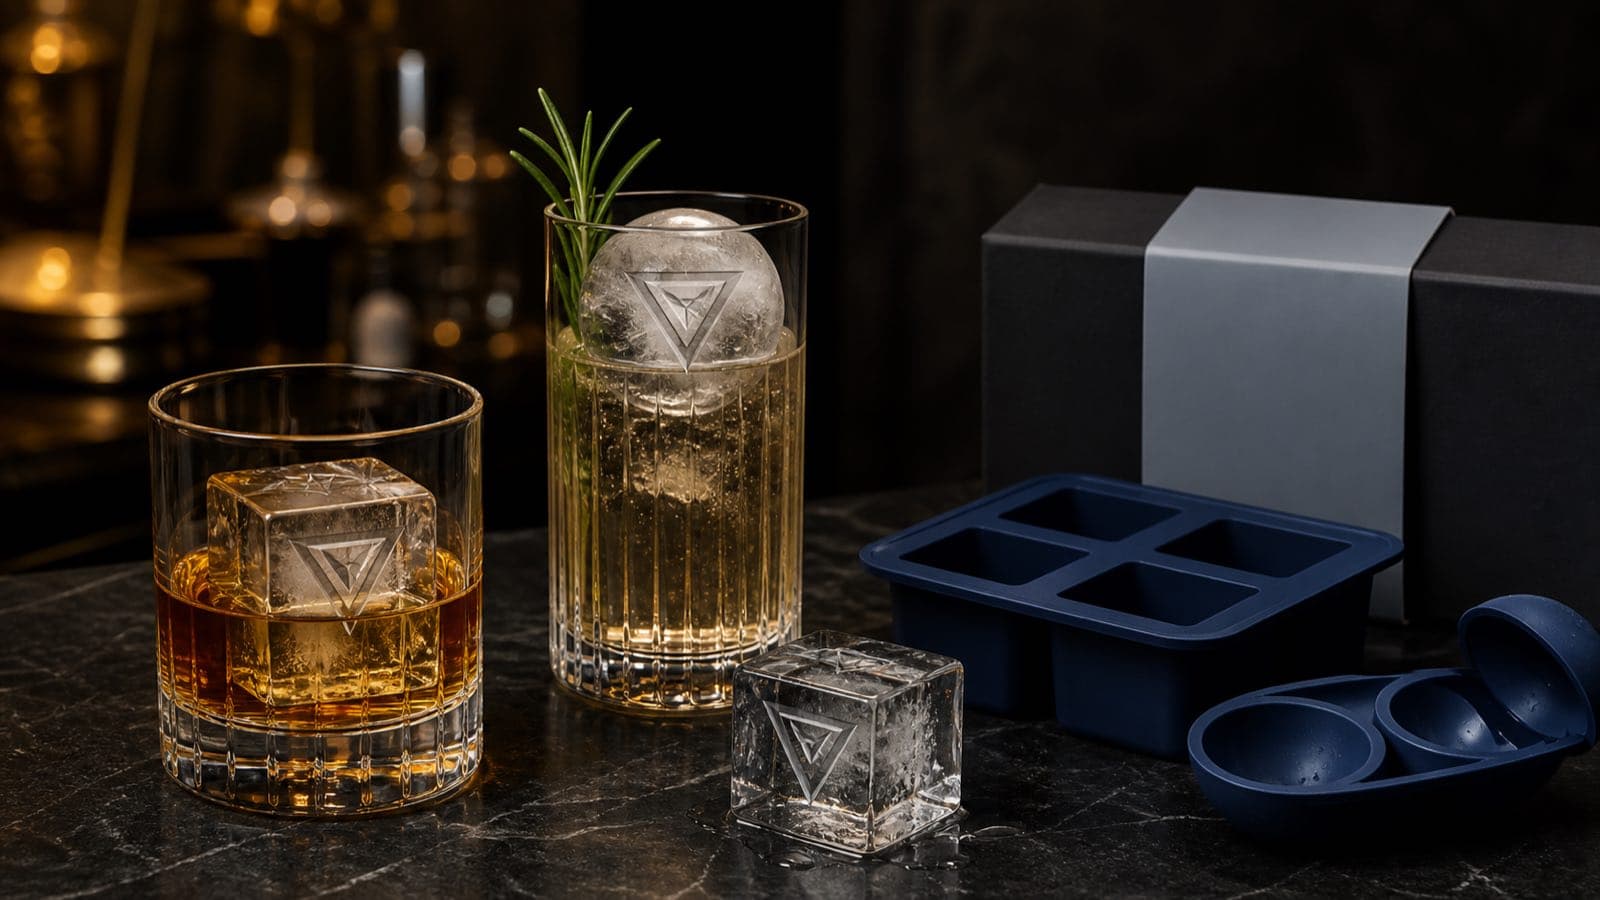
Custom logo ice can turn an ordinary drink into a recognizable brand moment, but the mold is only one part of the project. A bar needs repeatable service. A hotel needs a format that works across glassware, storage and operating shifts. A beverage launch or corporate event needs enough finished ice at the right time, plus packaging or instructions if molds are distributed as gifts.
The buyer therefore has to define more than the logo. The project brief should connect the brand objective, ice format, glassware, service volume, freezer capacity, artwork, packaging and approval method. This guide explains how to make those decisions before requesting tooling or a bulk quotation.
Short answer: how should a hospitality buyer plan custom logo ice molds?
First decide whether the mold will produce branded ice for service, support a temporary activation or become a reusable promotional product. Then match the ice size to the glassware, simplify the logo for molding, calculate the number of cavities and freeze cycles required, and approve the finished ice—not only the silicone mold—before production.
1. Start with the program, not the product name
“Custom logo ice mold” can describe three different buying jobs. Each job changes the product, quantity and approval criteria.
| Program type | Primary job | Questions to answer first | Typical conversion goal |
|---|---|---|---|
| Bar or restaurant service | Produce a repeatable branded ice presentation | Which drinks, glasses, shifts and daily serving volume? | Request a service-ready mold review |
| Hotel or hospitality program | Create a consistent experience across one or more venues | Which outlets, storage areas, staff teams and replenishment rules? | Define a rollout and operating brief |
| Brand activation or promotional campaign | Make the logo visible during an event or distribute a branded product | Is the mold used on site, placed in a gift kit or sold at retail? | Request an event or packaging quotation |
A permanent bar program usually values consistency, handling and daily capacity. A short campaign may prioritize a distinctive visual result and a fixed event deadline. A promotional-product buyer may care more about tray color, retail presentation, barcode labels and carton packing than about the venue’s freezer workflow.
Define the program in one sentence before selecting a mold. For example: “Create one 45 mm logo cube for the hotel’s signature rocks-glass drink, with enough capacity for 120 serves per evening.” That sentence gives a manufacturer more useful direction than “Please quote a custom ice tray.”
2. Decide where the brand should appear
The brand can be carried by the finished ice, the silicone product or the presentation around it. These options can be combined, but they solve different problems.
Logo molded into the ice
An embossed or recessed cavity detail creates the logo impression on the finished cube or sphere. This is the strongest option when the ice itself must be visible in a drink or photograph. The artwork must be simplified around line width, spacing, depth and release.
Custom ice silhouette
A product icon, symbol or geometric shape can become the entire ice form. This may work well when a brand asset is recognizable without text. Narrow extensions, deep undercuts and isolated details may need revision so the ice can form and release reliably.
Branded silicone tray and packaging
The tray can use a custom color, exterior mark or sleeve even when the ice shape remains standard. This route is often relevant for corporate gifts, retail barware and promotional kits because the product stays visible after the ice melts.
For a broader view of available shapes, colors, logos and packaging, review Renjia’s custom silicone ice mold options. If the project is still at the supplier-comparison stage, use the separate custom ice mold sourcing guide rather than repeating the full sourcing process here.
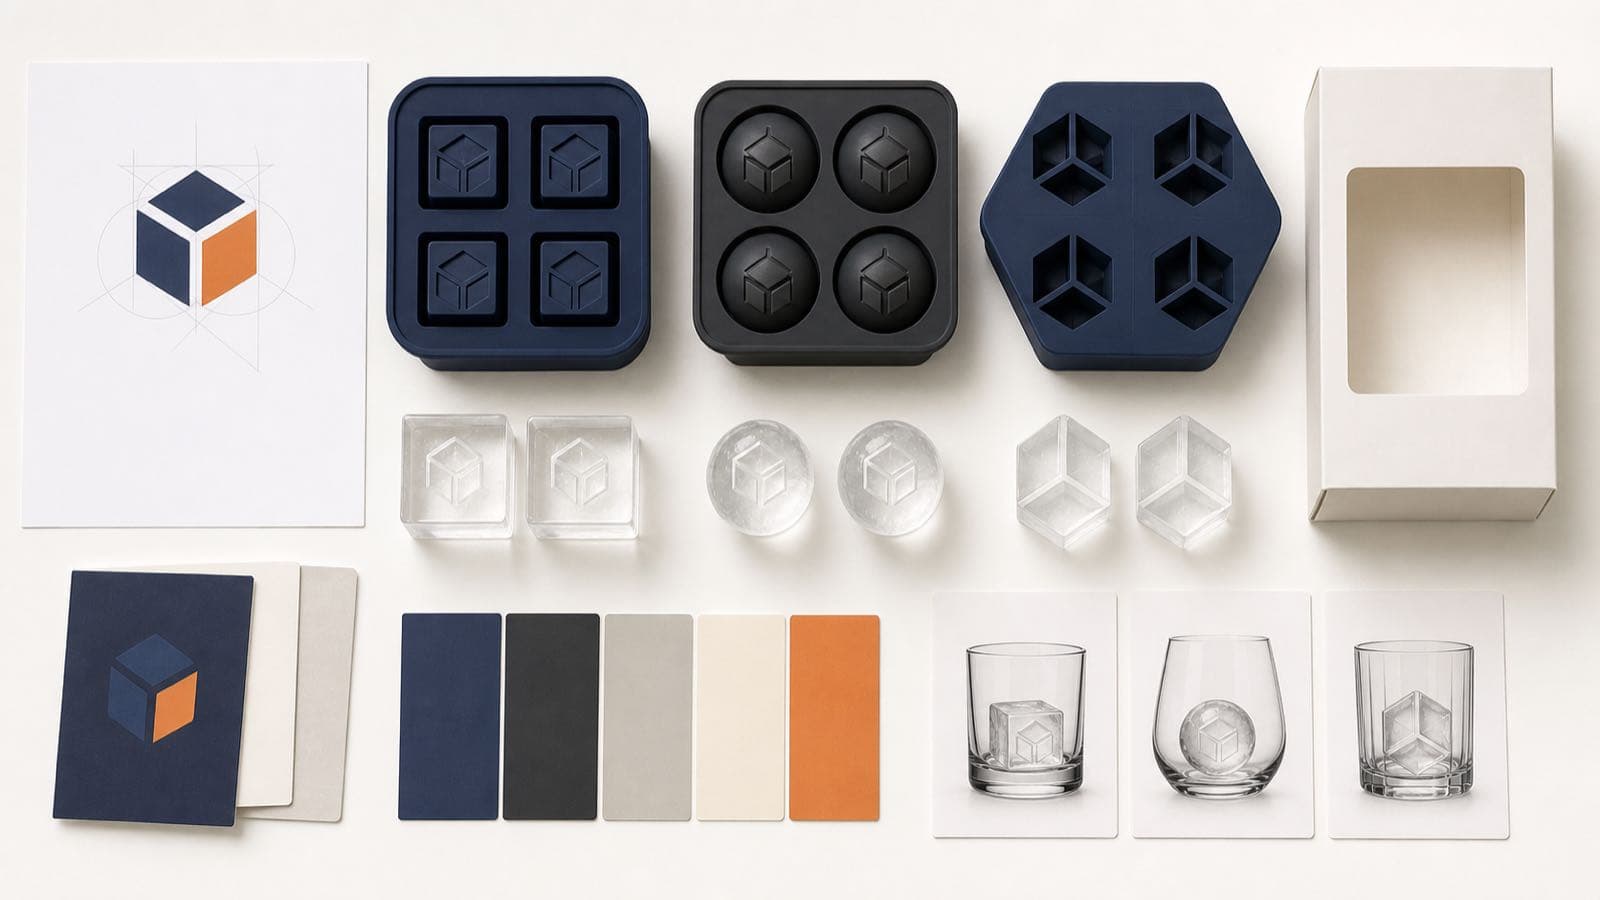
AI-generated editorial illustration showing a generic planning concept; it is not a customer design or production record.
3. Convert the logo into a moldable ice mark
A logo designed for a screen or printed menu may not remain legible when it is formed in transparent ice. Color disappears, fine lines compete with bubbles and surface texture, and the mark changes as the ice begins to melt.
Use the following review sequence:
- Select the essential brand element. A symbol or monogram is usually easier to evaluate than a full wordmark with a tagline.
- Scale it to the intended ice face. Review the mark at the actual cube, sphere or medallion size—not only on a large monitor.
- Check line width and spacing. Fine strokes and tight gaps may merge or disappear.
- Choose raised or recessed ice detail. The cavity design determines how the finished mark catches light and releases.
- Approve the production interpretation. The buyer should sign off on the revised artwork or rendering before tooling.
- Test the finished ice. A correct silicone impression does not guarantee that the mark will be clear in the intended water, freezer, glass and service conditions.
Send vector artwork when possible—AI, EPS, SVG or an editable PDF. Include the brand-clearance owner in the approval process. The manufacturer can review moldability, but the buyer remains responsible for permission to use the submitted trademark, logo or campaign artwork.
4. Match the ice format to the glassware and drink program
The ice must fit the glass before it can support the brand experience. Measure the usable internal width of the intended glass, not only the rim. Also consider garnish, fill level, drinking clearance and the way the ice will be placed during service.
Large cubes
Large logo cubes are visually direct and can present a broad flat face. They often suit rocks glasses, tasting presentations and gift-set concepts. Confirm cube dimensions, logo orientation and whether staff need the mark facing a specific direction.
Ice spheres
Spheres create a different presentation and may suit rounded or wider glassware. Review the fill method, mold closure, seam expectation and logo position. A mark can rotate away from the guest unless the service method accounts for orientation.
Smaller cubes or multi-cavity trays
Smaller cavities can increase output per tray, but the available logo area becomes more limited. This format may be useful when serving volume matters more than a large individual mark.
Custom silhouettes
Distinctive shapes can support launches, seasonal menus and event themes. Test whether the shape is recognizable in the actual drink and whether delicate features survive release and handling.
Do not use a render as the final glassware check. Freeze the sample, release the ice and place it in the exact glass with the intended beverage, garnish and service sequence.
5. Calculate service capacity before ordering trays
A visually successful mold can still fail operationally if the venue cannot produce enough ice. Build a simple capacity estimate before confirming the cavity count and number of trays.
Daily ice requirement = expected branded drinks × logo ice pieces per drink × operating buffer
Then estimate practical output:
Daily mold output = cavities per tray × number of trays × reliable freeze cycles per day
The operating buffer should cover damaged pieces, unclear impressions, spills, VIP additions and demand variation. Freeze-cycle assumptions should come from the venue’s actual freezer and operating schedule rather than a universal promise.
Example planning calculation
A hotel bar expects 100 signature drinks per evening, each using one logo cube. With a 15% operating buffer, the daily target is 115 usable cubes. If one tray has six cavities and the team can complete one reliable cycle per day, the venue would need at least 20 trays to produce 120 positions before accounting for any rejected pieces or storage limits.
This is a planning example, not a production recommendation for every venue. A trial should verify freezing time, shelf space, tray handling, release, storage and ice quality in the actual operation.
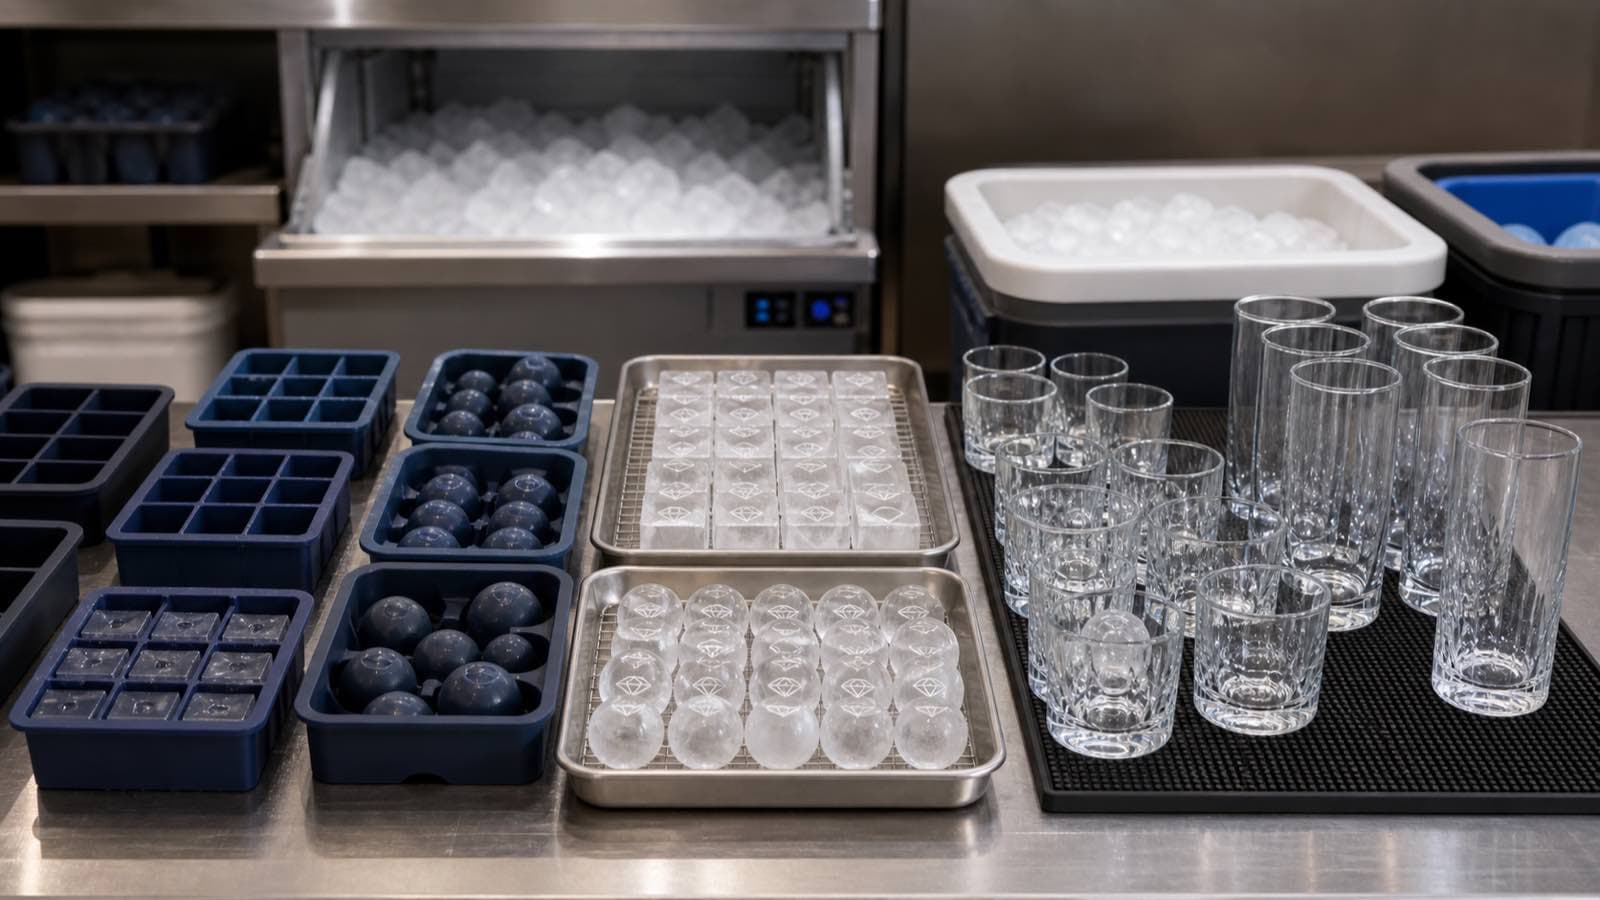
AI-generated editorial illustration of a generic service-capacity concept; it is not a Renjia factory or customer venue.
6. Approve the finished service result
The approval sample should answer three different questions:
Is the silicone product correct?
Check the dimensions, cavity count, color reference, surface finish, logo detail, lid or closure, product weight where specified and packaging fit. Record comments against a dated drawing or specification revision.
Does the mold make acceptable ice?
Freeze more than one cycle. Review fill behavior, tray stability, release, visible logo detail, edge condition and repeatability. Document the water and freezer conditions used for the review because they affect the appearance of the result.
Can the team use it during service?
Ask the staff who will fill, carry, release, store and serve the ice to complete a trial. A design may look excellent in a studio photograph but create unnecessary handling during a busy shift.
Use the silicone sample-approval and pre-shipment inspection checklist to turn the approved physical sample and packaging files into a controlled production reference. If the project needs food-contact documentation, match any report or test scope to the exact material, color, construction and market using the silicone compliance-document guide.
7. Plan packaging around the way the mold will be used
A venue purchasing molds for internal use may need simple bulk packing, identification labels and handling instructions. A promotional or retail program may need a different specification:
- Custom color or exterior branding.
- Paper sleeve, retail box or gift-set insert.
- Barcode, country-of-origin or importer information.
- Use, cleaning and storage instructions.
- Inner-pack and master-carton quantities.
- Event-location or store-allocation labels.
- Photo or unboxing requirements for campaign teams.
Keep product approval and packaging approval separate. A mold sample can be ready while the sleeve artwork, barcode or carton mark is still under revision. The order should not move into final packing until the current files and responsibilities are clear.
Renjia’s customization process covers design review, tooling, sampling and packaging direction. Product and packaging acceptance criteria can be incorporated into a project-specific quality plan.
8. Build an RFQ that a manufacturer can evaluate
Use this checklist for a first project review:
Brand and application
- Venue, event, campaign or retail use.
- Intended drink or serving context.
- Logo ownership or approved artwork contact.
- Target launch, event or delivery date.
Ice and mold
- Cube, sphere, standard format or custom silhouette.
- Target ice dimensions and cavity count.
- Glassware measurements or reference photo.
- Vector logo and preferred logo orientation.
- Tray color, lid and other components.
Operations and quantity
- Expected drinks or ice pieces per day or event.
- Available freezer space and planned freeze cycles.
- Number of venues, event locations or distribution points.
- Estimated mold order quantity and repeat-order expectations.
Packaging and market
- Bulk operational packing, gift set or retail packaging.
- Labels, inserts, barcodes and carton marks.
- Destination market and intended consumer use.
- Required document or testing review.
Approval
- Required drawing, rendering and physical sample stages.
- Named decision makers for brand, operations and procurement.
- Acceptance criteria for the mold, finished ice and packaging.
For Renjia’s current ice-mold line, custom orders can start at 500 pieces, while orders of 1,000 pieces generally offer more favorable unit pricing. Typical sample timing is 2–7 days and typical production timing is 15–25 days. These are planning references only. New tooling, artwork revisions, testing, packaging and shipping can change the final schedule and commercial terms.
9. Compare suppliers on program readiness
The lowest unit price is not enough to protect an event date or daily service program. Compare whether each supplier can explain:
- How the logo will be revised for moldability.
- What is included in tooling and sample revisions.
- Which product and packaging files control production.
- How sample comments are recorded and closed.
- Which quality checkpoints apply before packing.
- How document requests will be matched to the final product and market.
- What inputs are still missing from the delivery schedule.
A useful supplier should make uncertainty visible before tooling release. Immediate agreement with every request is less valuable than a clear explanation of what must be tested.
Frequently asked questions
Can a detailed wordmark be molded into an ice cube?
Sometimes, but the mark may need simplification. Final feasibility depends on the available ice face, line width, spacing, depth, release and the intended viewing conditions. Approve both the artwork interpretation and the finished ice.
What ice shape works best for a hotel or bar logo?
There is no universal best shape. Large cubes provide a broad logo face, spheres create a different premium presentation, and smaller cavities may improve tray output. The right format depends on the glassware, drink, service volume and brand asset.
How many logo ice molds does an event need?
Estimate the required ice pieces, add an operating buffer, then divide by the verified output per tray and realistic freeze cycles. Test the venue’s freezer space and workflow before relying on the calculation.
Can the mold itself use our brand color and packaging?
Yes, custom tray color and private-label packaging can be reviewed in addition to the logo cavity. Pantone references, packaging dielines, labels and carton requirements should be included in the project brief.
Should the buyer approve the silicone mold or the finished ice?
Both. The silicone product must match the approved specification, while the finished ice must be evaluated for logo visibility, release, glassware fit and service handling under the intended conditions.
Conclusion
A successful custom logo ice program connects brand design with venue operations. Define what the project must achieve, choose where the brand will appear, simplify the artwork for ice, match the format to the glassware, calculate service capacity and approve the result in a real use trial.
This approach protects both the visual concept and the operating team. It also gives the manufacturer enough information to quote the correct tooling, tray quantity, packaging scope and development schedule.